

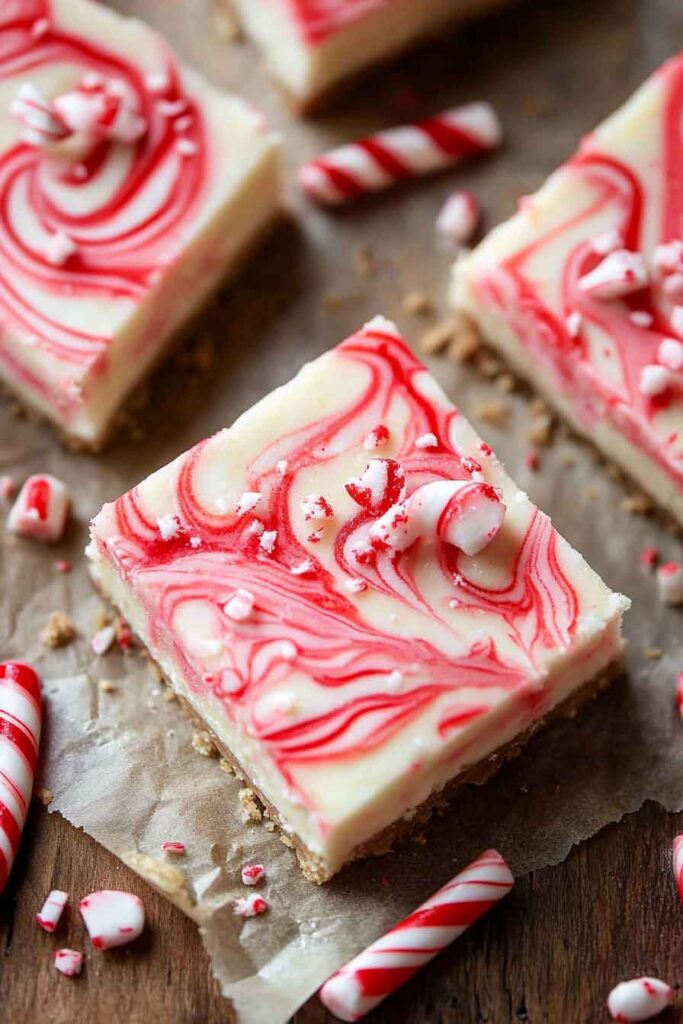
I love making desserts that feel fresh and festive. These peppermint cheesecake bars do just that. They’re cool, creamy, and perfect for the holidays.
The crust is buttery, and the cheesecake is smooth with a hint of mint. I like how the peppermint crunch on top makes every bite fun. It’s simple but feels so special.
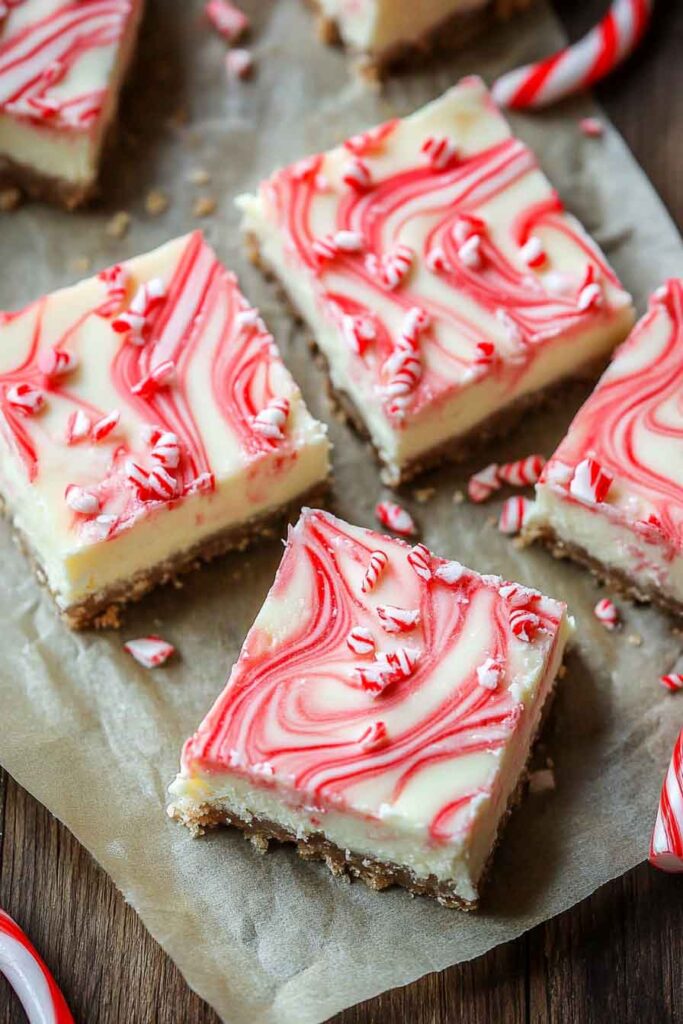
My friends always ask for these bars at Christmas parties. They look pretty and taste even better. And the best part is they’re easy to cut and share.
So, let’s bake these peppermint cheesecake bars together. You’ll see how fun they are to make. And once they’re ready, you’ll have the perfect holiday treat.

Why You’ll Love This Recipe
- Reader Favorite: Peppermint lovers and cheesecake fans unite! These bars are sure to be a hit with anyone who loves creamy, minty desserts.
- No Bake or Bake Needed: You get the best of both worlds—easy-to-make cheesecake bars with a delicious baked crust.
- Perfect for the Holidays: With peppermint flavor and candy cane topping, these bars scream holiday cheer, but they’re so delicious, you’ll want to make them year-round!
- Gluten-Free Option: Using almond flour for the crust makes these bars naturally gluten-free without sacrificing flavor or texture.
- Make-Ahead: Prepare them in advance for a stress-free dessert option for parties or gatherings.
Required Kitchen Tools
Before we dive into the ingredients and steps, here’s a quick list of tools you’ll need to get started on these peppermint cheesecake bars:
- 9×9-inch Baking Dish: For baking the crust and assembling the bars.
- Mixer (Hand or Stand): To beat the cream cheese filling to a smooth consistency.
- Spatula: For spreading the filling and scraping the sides of your bowls.
- Parchment Paper: For easy removal of the bars from the pan.
- Heatproof Bowl: For melting the white chocolate.
- Knife or Food Processor: To crush your candy canes into small, festive pieces.
Ingredients
Now, let’s get into what you’ll need to create these irresistible peppermint cheesecake bars. I’ve carefully selected ingredients to give these bars the perfect combination of sweetness, minty goodness, and rich creaminess.
For the Almond Flour Crust:
- 2 cups fine almond flour: This is the base of our gluten-free crust. Almond flour creates a buttery, slightly nutty flavor and texture that perfectly complements the creamy cheesecake filling.
- 1/3 cup butter: I prefer unsalted butter here to control the saltiness and enhance the richness of the crust.
- 3 tablespoons sugar: To give the crust a subtle sweetness.
- 1/2 teaspoon salt: To balance out the sweetness and enhance the flavors in the crust.
For the Cheesecake Filling:
- 2 (8 oz) packages PHILADELPHIA cream cheese (room temperature): Cream cheese is the heart of any cheesecake. It gives the filling its signature smooth and creamy texture. Let it soften before mixing for the best results.
- 1/2 cup powdered sugar: This helps sweeten the cheesecake filling without making it too grainy, creating a silky-smooth texture.
- 1 teaspoon vanilla extract: The vanilla adds depth and a lovely fragrance to the filling.
- 2 large eggs: Eggs are essential to help set the filling, giving it structure and creaminess.
- 1/2 cup crushed gluten-free candy canes: This adds a refreshing mint flavor and a fun crunch to the cheesecake filling.
For the Topping:
- 4 oz white chocolate baking squares (melted): White chocolate complements the peppermint flavor beautifully and gives the topping a creamy, sweet finish.
- 3 tablespoons crushed gluten-free candy canes: For a festive touch and an extra burst of peppermint crunch!
Step-by-Step Instructions
1. Make the Almond Flour Crust
Start by preparing the crust. Preheat your oven to 350°F (175°C). Line your 9×9-inch baking dish with parchment paper, leaving some overhang on the sides for easy removal later. In a mixing bowl, combine 2 cups of almond flour, 1/3 cup of melted butter, 3 tablespoons of sugar, and 1/2 teaspoon of salt. Stir everything together until well combined, and you have a dough-like mixture.
Press the mixture evenly into the bottom of the prepared baking dish, making sure it’s flat and compact. Bake in the preheated oven for about 10-12 minutes, or until the crust is golden and fragrant. Once done, remove it from the oven and set it aside to cool slightly while you prepare the cheesecake filling.
2. Prepare the Cheesecake Filling
For the filling, you’ll want to make sure your cream cheese is at room temperature for the smoothest texture. Use a hand or stand mixer to beat the 2 packages of softened cream cheese in a large bowl until smooth and creamy, about 1-2 minutes. Add the 1/2 cup of powdered sugar and 1 teaspoon of vanilla extract, and continue to beat on medium speed until well combined.
Next, add the 2 eggs, one at a time, beating well after each addition until the mixture is smooth and creamy. Finally, fold in the 1/2 cup of crushed candy canes. This will add a refreshing minty flavor to your cheesecake filling.
3. Assemble the Bars
Now that your crust is ready and the filling is smooth, pour the cheesecake mixture over the cooled almond flour crust. Use a spatula to spread it evenly across the pan.
4. Bake the Cheesecake Bars
Place the baking dish in the preheated oven and bake the cheesecake for about 35-40 minutes, or until the edges are set and the center is just slightly jiggly. It should firm up as it cools. Be careful not to over-bake it; you want the center to remain creamy. Once done, remove it from the oven and let it cool to room temperature, then refrigerate for at least 4 hours or overnight to allow the cheesecake to fully set.
5. Add the White Chocolate Topping
Once your cheesecake bars have cooled and set, it’s time for the finishing touches. In a heatproof bowl, melt the 4 oz of white chocolate squares. You can do this in the microwave in 30-second intervals, stirring each time, until the chocolate is completely melted and smooth.
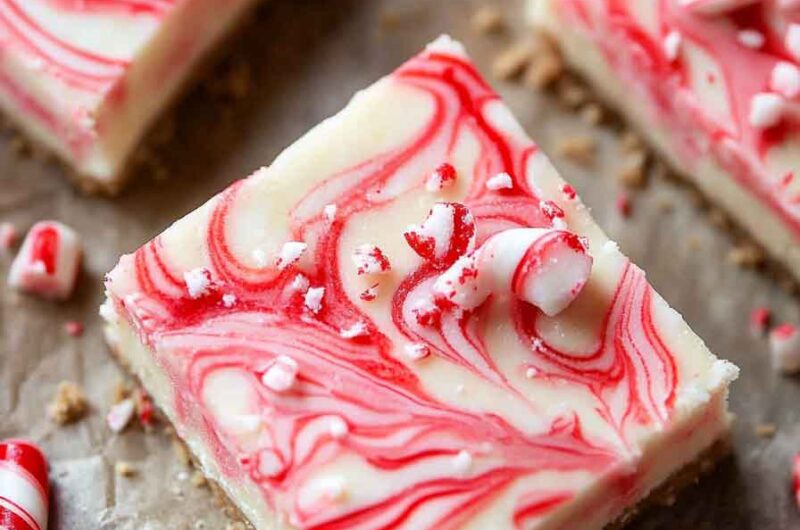
Drizzle the melted white chocolate over the top of the chilled cheesecake bars, using a spatula to spread it evenly. Sprinkle the 3 tablespoons of crushed candy canes on top for a festive touch and extra minty crunch.

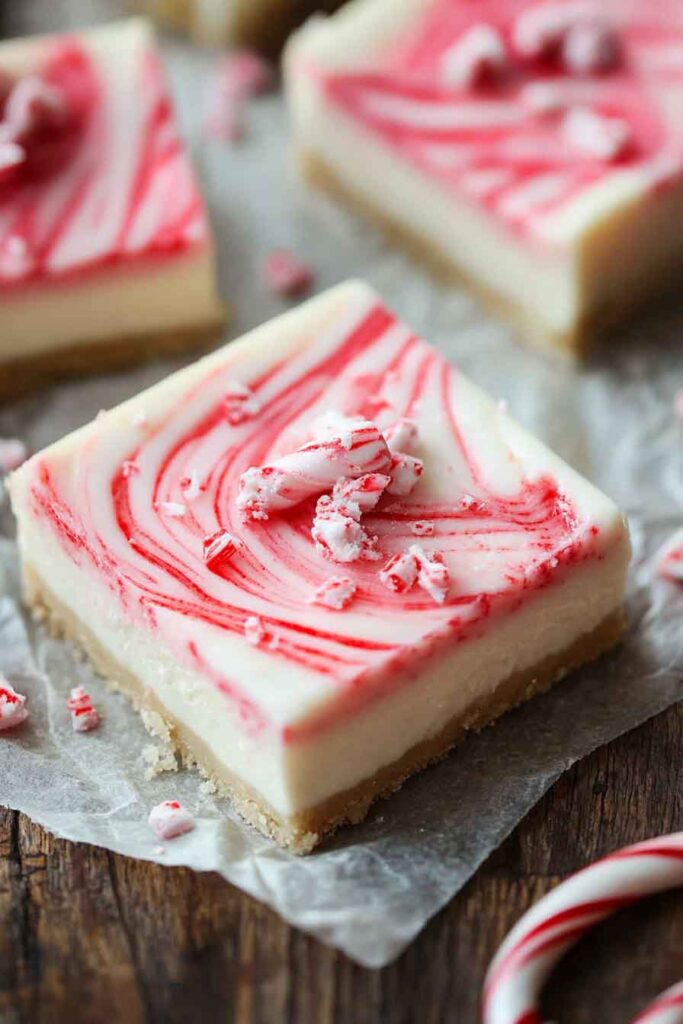
6. Slice and Serve
Use the parchment paper overhang to lift the cheesecake bars out of the pan. Slice them into squares, and you’re ready to serve! Enjoy the creamy, minty, and decadent layers of these Peppermint Cheesecake Bars.
Variations for Peppermint Cheesecake Bars
Feel free to get creative with these peppermint cheesecake bars! Here are a few variations you can try:
Add a Drizzle of Chocolate
For an extra indulgent touch, drizzle some melted dark chocolate along with the white chocolate topping. The bitter-sweet contrast will pair beautifully with the sweet and minty flavors.
Use Different Crusts
While the almond flour crust is gluten-free, you can also swap it with a traditional graham cracker crust if you prefer. If you need a gluten-free graham cracker option, there are plenty of gluten-free graham cracker crumbs available at most grocery stores.
Crushed Peppermints Instead of Candy Canes
If you can’t find candy canes, you can use crushed peppermint candies or even peppermint extract in place of the candy canes. A teaspoon of peppermint extract can add a subtle flavor to the filling if you prefer a more uniform mint taste.
Storing Peppermint Cheesecake Bars
- In the Refrigerator: These peppermint cheesecake bars can be stored in an airtight container in the fridge for up to 5 days. Make sure to let them cool completely before storing to avoid any condensation inside the container.
- For Freezing: If you want to make these bars ahead of time, you can freeze them! Once they’ve been fully chilled and set, slice the bars and place them in a single layer on a baking sheet to freeze. Once frozen, transfer them to a freezer-safe container and store them for up to 2-3 months. Let them thaw in the fridge for a few hours before serving.
Nutrition
Here’s a quick look at the approximate nutrition per serving (based on 12 servings):
| Nutrient | Amount per Serving |
|---|---|
| Calories | 280 |
| Total Fat | 22g |
| Saturated Fat | 10g |
| Cholesterol | 60mg |
| Sodium | 120mg |
| Total Carbs | 22g |
| Fiber | 3g |
| Sugars | 13g |
| Protein | 5g |
Please note that nutrition values are estimates and may vary based on specific ingredient choices.
Conclusion
These Peppermint Cheesecake Bars are a delightful holiday treat that’s both easy to make and incredibly delicious. With their rich cream cheese filling, gluten-free almond flour crust, and festive peppermint topping, they’re perfect for sharing with friends and family. Whether you’re celebrating a special occasion or simply want a treat to enjoy with a cup of hot cocoa, these bars will bring a smile to anyone who tries them.
Enjoy them fresh from the fridge, or take them along to your next holiday gathering. No matter when or where you serve them, these peppermint cheesecake bars will be the star of the show!

Peppermint Cheesecake Bars
Course: Uncategorized12
bars25
minutes35
minutes280
kcal4
hoursIngredients
- For the Crust:
2 cups fine almond flour
1/3 cup butter (melted)
3 tablespoons sugar
1/2 teaspoon salt
- For the Filling:
2 (8 oz) packages PHILADELPHIA cream cheese (room temperature)
1/2 cup powdered sugar
1 teaspoon vanilla extract
2 eggs
1/2 cup crushed gluten-free candy canes
- For the Topping:
4 oz white chocolate baking squares (melted)
3 tablespoons crushed candy canes
Directions
- Preheat oven to 350°F (175°C). Line a 9×9-inch baking dish with parchment paper.
- Mix almond flour, butter, sugar, and salt for the crust. Press into the baking dish and bake for 10-12 minutes.
- Beat cream cheese, powdered sugar, and vanilla for the filling. Add eggs and crushed candy canes.
- Pour filling over the cooled crust and bake for 35-40 minutes. Let cool, then refrigerate for 4 hours or overnight.
- Drizzle with melted white chocolate and sprinkle with crushed candy canes. Slice and serve!