

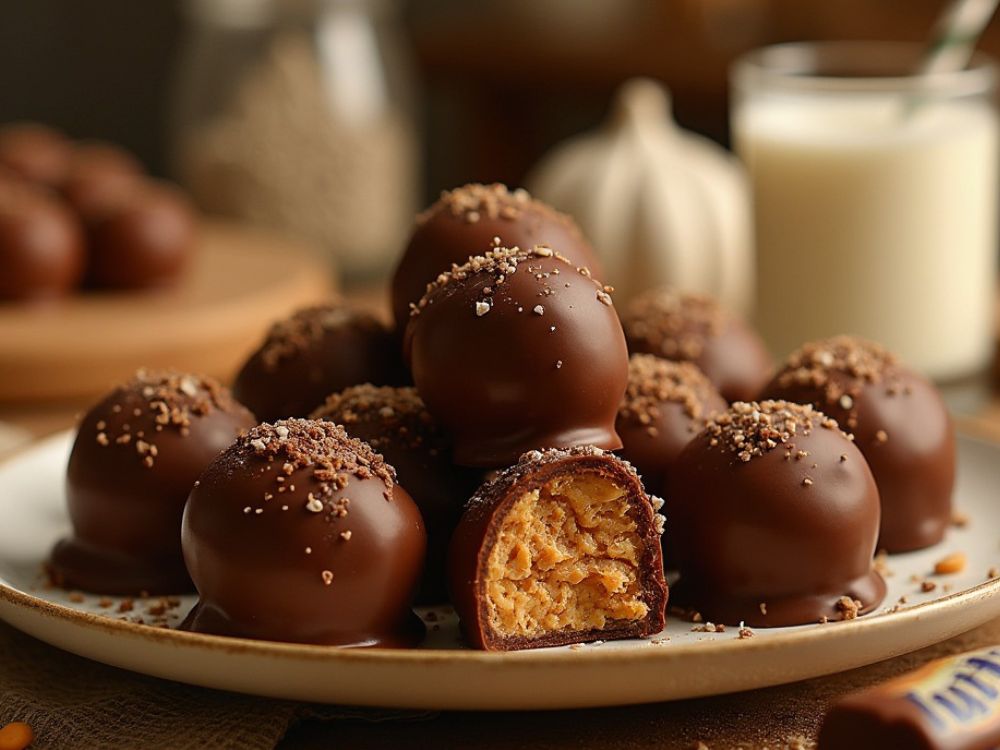
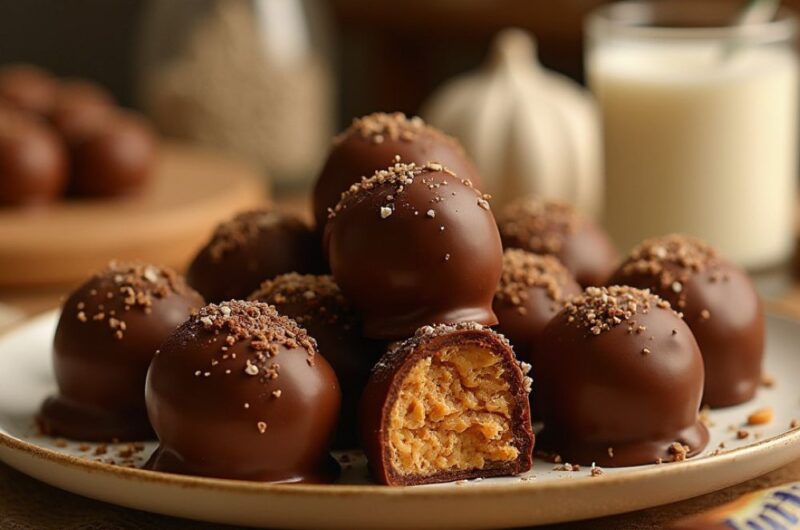
Oh wow, have you ever had Butterfinger Balls? They are little bites of crunchy, peanut buttery goodness. And let me tell you—they are so easy to make!
I remember the first time I made them. I couldn’t believe how just a few ingredients could taste this amazing. They are sweet, crispy, and totally addictive.
If you love Butterfingers, you need to try these. They’re like the candy bar but even better because you make them yourself! And guess what? No baking required.
So, what are you waiting for? Let’s grab some peanut butter, chocolate, and Butterfingers. It’s time to make the best treat ever!
Why You’ll Love This Recipe
- Reader Favorite: Readers rave about how irresistible these little treats are. Many have called them the perfect mix of peanut butter and chocolate, with the crunch of Butterfinger.
- Quick to Make: You can have a batch of these in under 30 minutes. No complicated steps or long prep times.
- No-Bake: That’s right! These are no-bake treats. After preparing the mixture, all you need to do is chill them in the fridge and then dip them in chocolate.
- Perfect for Any Occasion: Whether it’s a holiday party, birthday, or just a regular day that needs some sweetness, Butterfinger Balls are the perfect treat for any occasion.
- Kid-Friendly: Kids love these! They are easy to make and fun to eat. Involve the little ones in the process—trust me, they’ll have a blast.

Required Kitchen Tools
Before we start, let’s make sure you have everything you need:
- Mixing Bowl: You’ll need a large bowl to combine the peanut butter, crushed Butterfinger bars, and powdered sugar.
- Spoon or Cookie Scoop: For rolling the mixture into small balls.
- Baking Sheet or Tray: For placing the balls while they chill.
- Parchment Paper or Wax Paper: To line the baking sheet for easy cleanup.
- Microwave-Safe Bowl: For melting the chocolate coating.
- Refrigerator: To chill the Butterfinger Balls before dipping them in chocolate.
Ingredients for Butterfinger Balls
Here’s what you’ll need to make this delicious treat (exact measurements are in the recipe card below):
- Peanut Butter: Use creamy peanut butter for smooth texture. It provides the base flavor that complements the crunchy Butterfinger bars.
- Butter (Softened): This adds richness and makes the mixture easy to combine.
- Vanilla Extract: A touch of vanilla adds a subtle sweetness that rounds out the flavors.
- Powdered Sugar: To bind everything together and give the mixture a sweet, smooth consistency.
- Crushed Butterfinger Bars: These are the star of the show! You’ll crush the bars to get that signature crunch.
- Semi-Sweet Chocolate Chips: These are melted and used to coat the balls, creating that delicious chocolate exterior.
- Coconut Oil or Vegetable Oil: This helps the chocolate melt smoothly, making it easy to coat the Butterfinger Balls.
Step-by-Step Instructions
1. Prepare the Butterfinger Mixture
Start by placing the softened butter and peanut butter in a large mixing bowl. Use a spoon or hand mixer to blend them until smooth and well-combined. Once the peanut butter and butter are mixed together, add in the powdered sugar. Slowly stir it in until the mixture is thick and well-blended. You’ll want it to be firm but still pliable enough to form into balls.
2. Crush the Butterfinger Bars
Take your Butterfinger bars and crush them into small pieces. You can do this by placing the bars in a plastic bag and using a rolling pin to crush them, or you can use a food processor if you want a finer texture. Either way, you’ll want to break the bars into small chunks that will give the balls their signature crunch.
3. Combine the Butterfinger Pieces
Add the crushed Butterfinger bars into the peanut butter mixture and stir them in until they are evenly distributed. The combination of peanut butter, powdered sugar, and Butterfinger chunks will form a thick, dough-like consistency that’s easy to shape into balls.
4. Shape the Balls
Use a spoon or a cookie scoop to form small balls from the mixture. I like to make mine about 1-inch in diameter, but feel free to make them larger or smaller based on your preference. Once shaped, place the balls on a baking sheet lined with parchment or wax paper. They’ll need to chill for a little while to firm up before dipping them in chocolate.
Part 2: Butterfinger Balls Recipe – Chocolate Coating and Serving Suggestions
Now that you’ve prepped your Butterfinger mixture and shaped the balls, it’s time to move on to the fun part—the chocolate coating! This step is where the magic happens, turning your peanut butter and Butterfinger mixture into little chocolate-covered bites of joy.
Step-by-Step Instructions (Continued)
5. Chill the Balls
Once the Butterfinger balls are shaped, it’s important to chill them for about 30 minutes in the refrigerator. This helps them firm up, making them easier to coat in chocolate. The cold temperature helps the balls keep their shape when dipped, so they don’t become a gooey mess. Just place the tray in the fridge and relax for a bit while they chill.
6. Melt the Chocolate Coating
While the balls are chilling, it’s time to melt the chocolate! Take your semi-sweet chocolate chips and place them in a microwave-safe bowl. Add about 1 tablespoon of coconut oil or vegetable oil to the chocolate. This will help the chocolate melt smoothly and coat the balls more evenly.
- Microwave Method: Microwave the chocolate in 30-second intervals, stirring between each interval, until the chocolate is fully melted and smooth. Be careful not to overheat it.
- Stovetop Method: If you prefer, you can melt the chocolate in a double boiler on the stovetop, stirring continuously until melted.
7. Dip the Butterfinger Balls in Chocolate
Once your chocolate is smooth and melted, take the chilled Butterfinger balls from the refrigerator. Use a fork or a toothpick to dip each ball into the chocolate, ensuring it’s fully coated. Allow any excess chocolate to drip off before placing the coated balls back onto the parchment-lined tray. Repeat this process for all the balls.
8. Let the Chocolate Set
After all the balls are coated in chocolate, place the tray back into the fridge to let the chocolate harden. This usually takes about 30 minutes. The cold chocolate will firm up beautifully and create that satisfying snap when you bite into each ball.


How to Serve Butterfinger Balls
Now that your Butterfinger Balls are chilled and coated in chocolate, it’s time to serve them up! These little bites are perfect for a variety of occasions and can be enjoyed in many different ways.
Serving Suggestions
- Perfect for Parties: Serve them on a platter at your next holiday party or family gathering. You can even place them in mini cupcake liners for a cute and easy presentation.
- As a Gift: These Butterfinger Balls make a wonderful homemade gift. Package them in a cute tin or a glass jar with a ribbon for a sweet, personalized present.
- Snack Time: Keep a batch of these in the fridge for when a sweet craving strikes. They are the perfect bite-sized treat to satisfy your sweet tooth.
- With a Cup of Coffee or Milk: Pair them with a hot cup of coffee or a glass of milk. The combination of chocolate and peanut butter is a classic that’s even better when enjoyed with your favorite drink.
Storing Butterfinger Balls
These Butterfinger Balls are so delicious, they probably won’t last long in your home. But if you happen to have leftovers, here’s how to store them:
In the Refrigerator
Keep your Butterfinger Balls in an airtight container in the refrigerator. They’ll stay fresh for up to a week. If you want to keep them even longer, you can store them in the freezer!
Freezing Butterfinger Balls
To freeze them, simply place the chilled Butterfinger balls on a baking sheet and freeze them until firm. Then, transfer the frozen balls to an airtight container or freezer-safe bag and store them for up to 2-3 months. When you’re ready to enjoy, just let them thaw in the fridge for a couple of hours.
Variations for Butterfinger Balls
- Use Different Chocolate: You can swap the semi-sweet chocolate for milk chocolate or even white chocolate, depending on your personal taste. Each type of chocolate will give a different flavor profile to the balls.
- Add Toppings: After dipping in chocolate, sprinkle the tops with crushed Butterfinger crumbs, sea salt, or even a drizzle of caramel for extra flavor.
- Try Almond or Peanut Butter: For a slightly different twist, try using almond butter or crunchy peanut butter for more texture and depth.
- Make Them Mini: If you prefer smaller treats, reduce the size of the balls to make mini Butterfinger bites that are even more snackable.
Conclusion
These Butterfinger Balls are truly a crowd-pleaser. Whether you’re making them for a holiday, special occasion, or just because, they are sure to be a hit. The creamy peanut butter, the crunch from the Butterfinger pieces, and the smooth chocolate coating create the perfect combination of textures and flavors in each bite. And with just a few simple ingredients, you can whip up a batch in no time!
Give them a try, and you’ll see why they’ve become one of my favorite treats to make and share. They’re easy, delicious, and always a hit with friends and family. If you’re ready to indulge in a sweet, chocolatey peanut butter bite, then these Butterfinger Balls are calling your name!
Recipe Card for Butterfinger Balls
Butterfinger Balls
Yield: About 24 balls
Prep Time: 20 minutes
Chill Time: 30 minutes
Total Time: ~50 minutes
Ingredients:
- 1 cup peanut butter (creamy)
- 1/2 cup butter (softened)
- 1 teaspoon vanilla extract
- 2 cups powdered sugar
- 4 Butterfinger bars (crushed)
- 1 1/2 cups semi-sweet chocolate chips
- 1 tablespoon coconut oil or vegetable oil
Instructions:
- Combine peanut butter, butter, and vanilla in a large bowl. Stir in powdered sugar until smooth.
- Fold in the crushed Butterfinger bars until evenly mixed.
- Roll the mixture into 1-inch balls and place them on a parchment-lined baking sheet.
- Chill in the fridge for at least 30 minutes.
- Melt chocolate chips and coconut oil in the microwave or over a double boiler until smooth.
- Dip each chilled ball into the melted chocolate, coating them completely. Return to the parchment-lined tray.
- Refrigerate until the chocolate hardens, about 30 minutes.
- Enjoy or store in an airtight container in the fridge.
Butterfinger Balls FAQs
Can I use crunchy peanut butter?
Absolutely! Crunchy peanut butter will add an extra texture to the balls, making them even more fun to eat.
Can I freeze these?
Yes, you can freeze Butterfinger Balls! Just freeze them in a single layer before storing them in an airtight container for up to 2-3 months.
Can I use another type of chocolate?
Definitely! Feel free to swap the semi-sweet chocolate with milk or white chocolate depending on your preference.
Part 3: Butterfinger Balls Recipe – Tips, Tricks, and Final Thoughts
As we near the end of this recipe, let’s talk about some important tips and tricks to ensure your Butterfinger Balls turn out perfectly every time. Plus, I’ll share some final thoughts on why this recipe is a must-try for every dessert lover. You’ll also find a few extra ideas for customizing your Butterfinger Balls for different occasions or flavor twists.
Tips and Tricks for Success
1. Softened Butter is Key
Ensure that your butter is softened to room temperature before mixing. This helps it blend smoothly with the peanut butter, ensuring the mixture has a creamy consistency. If your butter is too hard, it will be difficult to mix, and you might end up with chunks in the mixture.
2. Chill the Balls Long Enough
It’s crucial to chill the balls for at least 30 minutes before dipping them in chocolate. This gives them the firmness they need to hold their shape when coated in chocolate. Don’t rush this step—it’s essential for getting that perfectly round ball that holds together.
3. Use a Spoon or Cookie Scoop
Using a spoon or a cookie scoop ensures that all the balls are the same size, making them look uniform and professional. Plus, it helps you keep your hands clean, which is always a bonus!
4. Don’t Overheat the Chocolate
When melting the chocolate, be careful not to overheat it, as it can seize up and become grainy. Use short bursts in the microwave, stirring in between, or melt it gently over low heat on the stove. If the chocolate gets too thick, you can add a little more coconut oil to thin it out.
5. Let the Chocolate Cool Slightly
After melting the chocolate, let it cool for a minute or two before dipping the Butterfinger balls. If the chocolate is too hot, it can melt the peanut butter mixture inside, causing it to lose its shape and become messy.
6. Use Wax Paper or Parchment Paper
When placing the balls on a tray, always line it with parchment or wax paper. This ensures the chocolate doesn’t stick, and the balls come off the paper easily once they’re set.
Serving Butterfinger Balls for Special Occasions
These little bites of heaven can be made for just about any occasion, and they’re sure to impress everyone who tries them. Whether you’re looking to add something sweet to a party spread or preparing a homemade gift for someone special, Butterfinger Balls are always a great option.
Holiday Treats
These Butterfinger Balls are perfect for the holidays. Their chocolate coating and peanut butter center make them an ideal gift for Christmas, Valentine’s Day, or Easter. They also work wonderfully in a holiday dessert platter, next to cookies and other goodies.
Birthday Parties
If you’re throwing a birthday bash, these balls make a fantastic addition to the dessert table. You can even dress them up with fun sprinkles or colored chocolate to match the party theme.
Gift Giving
Since these are easy to make and so delicious, they’re great as homemade gifts. Simply place them in a cute jar or tin, and add a ribbon for a personalized touch. Who wouldn’t love receiving a jar full of these chocolate-covered treats?
Why You’ll Want to Keep This Recipe Handy
Butterfinger Balls are the perfect treat for any occasion. They’re easy to make, require only a few ingredients, and are loved by everyone who tries them. The combination of creamy peanut butter, crunchy Butterfinger bars, and rich chocolate is unbeatable. Plus, they’re no-bake, which means less mess and quicker cleanup.
This recipe is versatile, too. You can customize it by using different types of chocolate, adding extra toppings, or even experimenting with other candy bars or flavorings. Whether you’re making them for a holiday, a party, or just a casual snack, they’re always a winner.
Conclusion
There you have it—Butterfinger Balls in all their sweet, crunchy, and chocolate-covered glory. They’re an easy-to-make, no-bake treat that’s perfect for satisfying your sweet tooth or sharing with friends and family. The best part? You can customize these little balls however you like, making them a versatile dessert that can be enjoyed year-round. Whether you’re making a batch to share or indulging in them all on your own (no judgment here!), these Butterfinger Balls are bound to be a hit.
So what are you waiting for? Gather your ingredients and get rolling! Trust me, these little bites of deliciousness won’t last long once they’re in front of you. Enjoy!

Butterfinger Balls Recipe – A Sweet and Crunchy Treat
Course: Uncategorized24 balls
servings20
minutes30
minutes210
kcalIngredients
1 cup peanut butter (creamy)
1/2 cup butter (softened)
1 teaspoon vanilla extract
2 cups powdered sugar
4 Butterfinger bars (crushed)
1 1/2 cups semi-sweet chocolate chips
1 tablespoon coconut oil or vegetable oil
Directions
- Combine peanut butter, butter, and vanilla in a large bowl. Stir in powdered sugar until smooth.
- Fold in the crushed Butterfinger bars until evenly mixed.
- Roll the mixture into 1-inch balls and place them on a parchment-lined baking sheet.
- Chill in the fridge for at least 30 minutes.
- Melt chocolate chips and coconut oil in the microwave or over a double boiler until smooth.
- Dip each chilled ball into the melted chocolate, coating them completely. Return to the parchment-lined tray.
- Refrigerate until the chocolate hardens, about 30 minutes.
- Enjoy or store in an airtight container in the fridge.
Butterfinger Balls FAQs
Can I use crunchy peanut butter?
Absolutely! Crunchy peanut butter will add an extra texture to the balls, making them even more fun to eat.
Can I freeze these?
Yes, you can freeze Butterfinger Balls! Just freeze them in a single layer before storing them in an airtight container for up to 2-3 months.
Can I use another type of chocolate?
Definitely! Feel free to swap the semi-sweet chocolate with milk or white chocolate depending on your preference.
Nutrition Information (Per Serving)
| Nutrient | Amount |
|---|---|
| Calories | 210 kcal |
| Total Fat | 14g |
| Saturated Fat | 4g |
| Trans Fat | 0g |
| Cholesterol | 10mg |
| Sodium | 80mg |
| Total Carbohydrates | 22g |
| Dietary Fiber | 1g |
| Sugars | 18g |
| Protein | 4g |
| Vitamin D | 0mcg |
| Calcium | 20mg |
| Iron | 1mg |
| Potassium | 110mg |
These values are approximate and may vary depending on ingredient brands and sizes. Make sure to adjust the measurements based on your specific ingredients if you need more precise nutritional information!