

Ever wished stuffing could be even better? Like, easier to eat, crispier on the outside, and packed with flavor in every bite? Well, let me tell you—savory stuffing balls are the answer!
Interest:
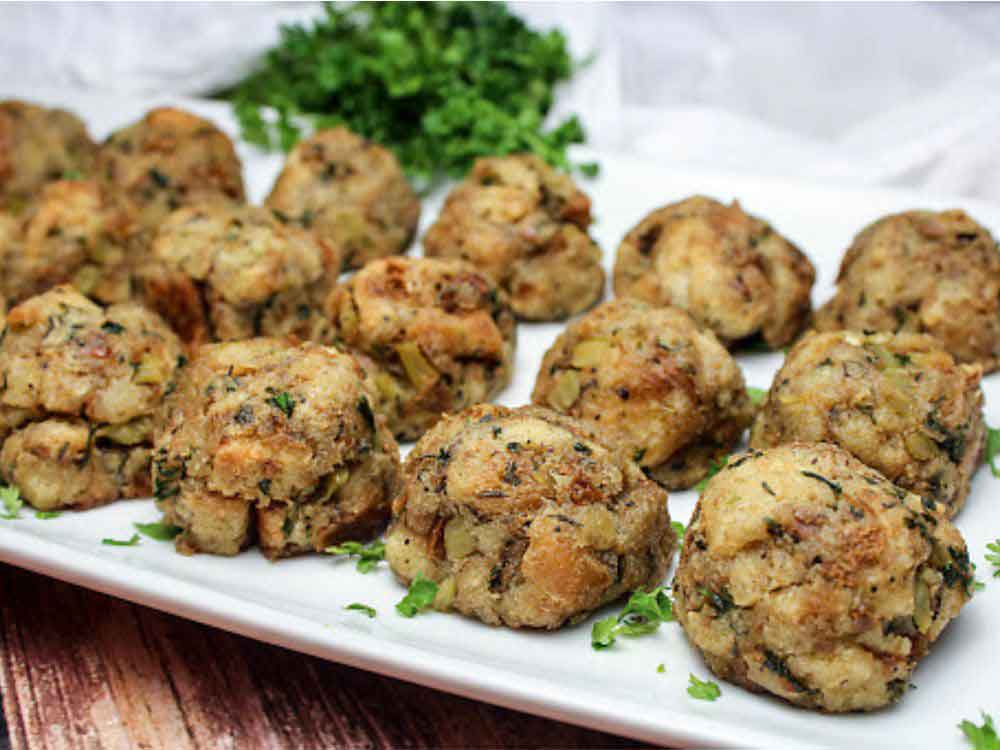
These little bites of joy take everything you love about stuffing and turn them into the perfect handheld snack. They’re crunchy on the outside, soft and herby on the inside, and, oh, so satisfying. Plus, they’re ridiculously easy to make!
Imagine biting into one—golden, crisp, and full of cozy, savory goodness. Serve them with gravy, and you’ve got a side dish that steals the show. Trust me, once you try these, you’ll never look at stuffing the same way again.
Ready to make your holiday meals (or any meal, really) extra special? Let’s roll up our sleeves and get cooking. These stuffing balls won’t last long on the table!
Why You’ll Love This Recipe
- Crispy Outside, Soft Inside: These stuffing balls have the perfect balance of crispy edges and soft, flavorful centers that will keep you coming back for more.
- Great for Any Occasion: Whether you’re hosting a holiday dinner or just making a simple family meal, these savory stuffing balls are the perfect side or snack.
- Comfort Food: Made with bread, herbs, and chicken broth, this recipe brings the comforting flavors of traditional stuffing into a fun, bite-sized form.
- Versatile: Serve them alongside turkey, roast chicken, or even on their own with a dipping sauce.
- Easy to Make: With simple ingredients and straightforward steps, this recipe is perfect for both beginners and seasoned home cooks.

Required Kitchen Tools
Before you get started, gather the following tools for a smooth cooking experience:
- Mixing Bowls: For combining all the ingredients and mixing the stuffing.
- Baking Sheet: To bake the stuffing balls evenly.
- Large Spoon or Ice Cream Scoop: For portioning the stuffing into uniform balls.
- Skillet (Optional): For sautéing the onions and celery before mixing them into the stuffing.
- Measuring Spoons & Cups: To ensure the right proportions of spices and liquids.
- Aluminum Foil or Parchment Paper: For lining your baking sheet for easy cleanup.
Ingredients for Savory Stuffing Balls
Here’s what you’ll need to make these flavorful stuffing balls (exact measurements are in the recipe card below):
- Dry Bread Cubes: The base of any good stuffing. Use day-old bread or even stale bread for the best texture.
- Onion, Finely Chopped: A classic stuffing ingredient that adds depth of flavor.
- Celery, Finely Chopped: Another essential vegetable for stuffing that adds crunch and freshness.
- Unsalted Butter: For sautéing the vegetables and adding richness to the stuffing mixture.
- Dried Sage: A must-have herb for that signature stuffing taste.
- Dried Thyme: Complements the sage and adds a slightly earthy, savory flavor.
- Salt: To bring all the flavors together.
- Black Pepper: For a little kick and to balance out the richness.
- Chicken Broth: Adds moisture to the stuffing, helping the mixture hold together while also contributing to the savory flavor.
- Large Eggs, Beaten: These help bind the stuffing together and give it structure.
Step-by-Step Instructions
1. Sauté the Vegetables
Start by heating a skillet over medium heat and adding the unsalted butter. Once it’s melted, sauté the finely chopped onions and celery until they’re softened, about 5-7 minutes. This step enhances the flavor and gives the stuffing mixture a wonderful aroma.
2. Prepare the Bread Mixture
In a large mixing bowl, combine the dry bread cubes, dried sage, dried thyme, salt, and black pepper. Mix everything together until the herbs and spices are evenly distributed throughout the bread. The dried bread cubes will absorb the flavors of the spices and give the stuffing a nice texture.
3. Add the Sautéed Vegetables
Once the onions and celery are soft and fragrant, add them to the bread mixture. Stir well to ensure the vegetables are evenly mixed with the bread cubes. The sautéed vegetables will bring moisture and flavor to the stuffing balls, making them extra delicious.
4. Incorporate the Chicken Broth
Slowly pour in the chicken broth, stirring the mixture as you go. You’ll want to add just enough broth so that the bread cubes are moistened but not soggy. If you need to, add more broth, a little at a time, until the stuffing reaches a consistency where it holds together without being too wet.
5. Bind with Eggs
Once the bread mixture is moistened, add the beaten eggs. These help bind the stuffing together and give the balls structure. Mix everything together until the ingredients are well incorporated, and you have a cohesive mixture.
6. Form the Stuffing Balls
Now that your stuffing mixture is ready, it’s time to shape it into balls. Use a large spoon or an ice cream scoop to portion out the mixture. Aim for golf ball-sized portions for the perfect bite-sized stuffing balls. Roll each portion between your hands to form neat, round balls.
Make sure not to pack the mixture too tightly—loosely packed stuffing balls will bake up lighter and fluffier.
7. Bake the Stuffing Balls
Preheat your oven to 375°F (190°C). Line a baking sheet with parchment paper or aluminum foil to ensure easy cleanup. Place the stuffing balls on the baking sheet, spacing them about 2 inches apart to allow for even cooking and browning.
Bake the stuffing balls in the preheated oven for about 25-30 minutes, or until the outsides are golden brown and crispy. You may need to flip them halfway through to ensure even browning on all sides.
8. Serve and Enjoy
Once the stuffing balls are golden brown and crispy, remove them from the oven. Let them cool for a few minutes before serving. These savory stuffing balls are best enjoyed fresh out of the oven while the insides are warm and soft, with the perfect crispy crunch on the outside.

How to Serve Savory Stuffing Balls
These versatile stuffing balls are great for a variety of occasions and can be served in multiple ways:
- As a Side Dish: Pair them with your favorite main course, whether it’s roasted chicken, turkey, or even a hearty stew.
- As an Appetizer: Serve them with a dipping sauce like gravy, cranberry sauce, or a tangy mustard sauce for a flavorful starter at holiday gatherings or parties.
- In a Salad: Toss these stuffing balls into a fresh salad for a crunchy twist. A simple arugula and spinach salad pairs wonderfully with the savory flavor of the balls.
- As a Snack: These are perfect for a quick, savory snack or to nibble on while watching your favorite shows or movies.
Variations for Savory Stuffing Balls
- Add Bacon: For a smoky, rich flavor, sauté some chopped bacon along with the onions and celery. It will add an extra depth of savory goodness to your stuffing balls.
- Use Sausage: Ground sausage is another great addition to these stuffing balls. Brown the sausage in the skillet before adding the other vegetables for a hearty, meaty flavor.
- Cheesy Stuffing Balls: Stir in some shredded cheese, such as cheddar or mozzarella, into the bread mixture for a cheesy, gooey center.
- Gluten-Free Option: If you need to make these stuffing balls gluten-free, simply swap the bread cubes for gluten-free bread or use a gluten-free stuffing mix.
9. Storing Savory Stuffing Balls
Leftovers? No problem! These stuffing balls store wonderfully and can be kept for later use.
- Refrigeration: Once they’ve cooled, store the stuffing balls in an airtight container in the fridge for up to 4-5 days. Simply reheat them in the oven or microwave before serving.
- Freezing: To make ahead, freeze the stuffing balls after they’ve been baked. Place them on a baking sheet in a single layer and freeze until solid. Then, transfer them to a freezer bag or airtight container. They can be stored in the freezer for up to 3 months. To reheat, bake them straight from the freezer at 375°F (190°C) for 15-20 minutes until heated through.
10. Nutrition Information (Optional)
Here’s a quick look at the nutritional breakdown for each stuffing ball:
| Nutrient | Amount per Serving |
|---|---|
| Calories | 120 |
| Protein | 4g |
| Carbohydrates | 18g |
| Fat | 5g |
| Fiber | 1g |
| Sodium | 230mg |
These values are approximate and will vary based on the exact ingredients and portion sizes used.
Conclusion
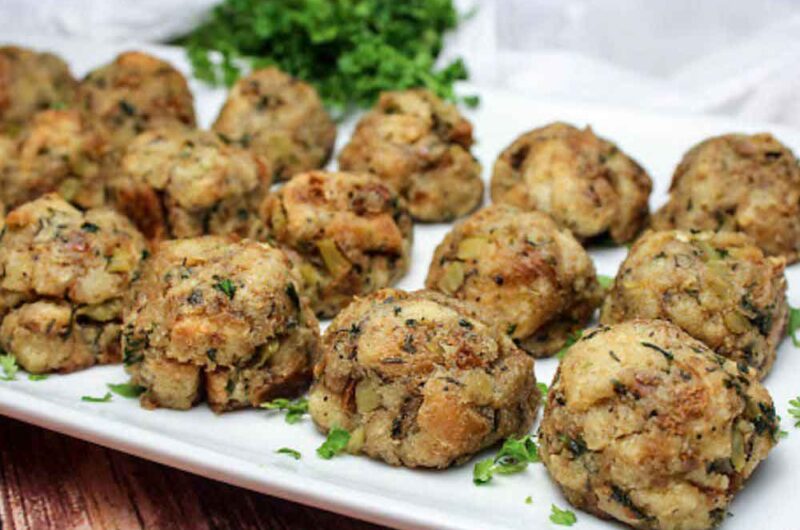
Savory stuffing balls are a fun, flavorful twist on a holiday classic. They offer the perfect balance of crispy, golden exteriors and soft, herb-infused interiors. Whether you’re making them for a family dinner, a special holiday gathering, or as a savory snack, they’re sure to become a favorite in your recipe repertoire. Plus, they’re easy to customize with different flavors and ingredients to suit your preferences. Serve them alongside your favorite main dishes or enjoy them as an appetizer, and you’ll be the star of any meal.

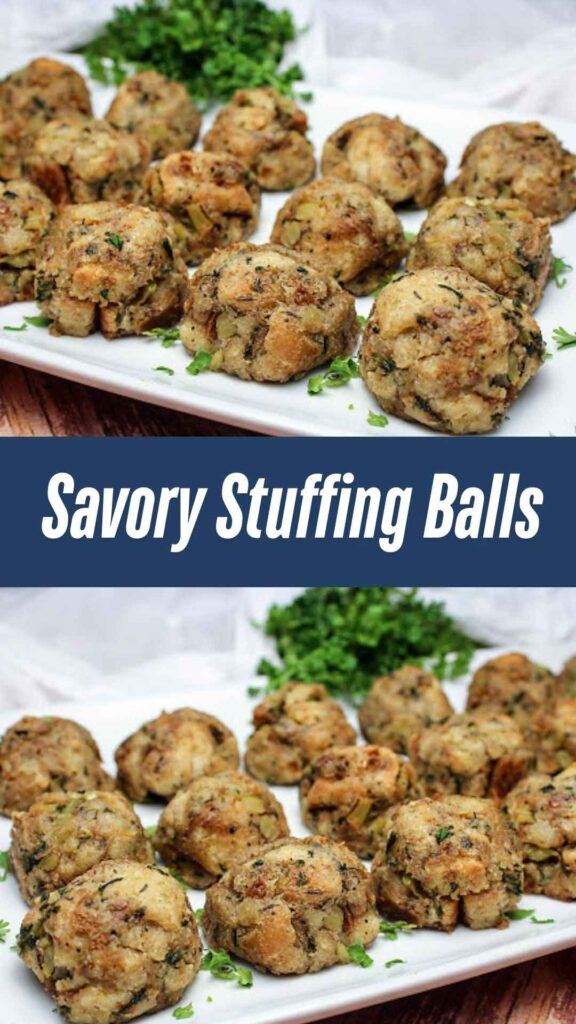
Savory Stuffing Balls: Perfectly Crispy and Flavorful Bites
Course: Uncategorized20 stuffing balls
servings20
minutes30
minutes120
kcalIngredients
Dry bread cubes: 4 cups
Onion, finely chopped: 1 medium
Celery, finely chopped: 2 stalks
Unsalted butter: 4 tablespoons
Dried sage: 1 teaspoon
Dried thyme: 1 teaspoon
Salt: 1/2 teaspoon
Black pepper: 1/4 teaspoon
Chicken broth: 1-1 1/2 cups
Large eggs, beaten: 2
Directions
- Sauté the chopped onions and celery in butter until softened, about 5-7 minutes.
- Combine dry bread cubes, sage, thyme, salt, and pepper in a large mixing bowl.
- Add the sautéed vegetables to the bread mixture and stir.
- Slowly pour in chicken broth until the bread is moistened, stirring as you go.
- Mix in the beaten eggs and combine everything well.
- Form the mixture into golf-ball-sized stuffing balls.
- Place the stuffing balls on a lined baking sheet and bake at 375°F (190°C) for 25-30 minutes until golden brown and crispy.
- Serve warm with your favorite dipping sauce or as part of your meal.
Savory Stuffing Balls FAQs
Can I make these stuffing balls ahead of time?
Absolutely! You can form the balls and refrigerate them for up to 24 hours before baking. You can also freeze them before baking and cook them directly from the freezer when ready.
Can I make these vegetarian?
Yes, simply substitute the chicken broth with vegetable broth for a vegetarian-friendly version.
How can I make these more flavorful?
Try adding some fresh herbs like parsley or rosemary, or add garlic for extra savory notes. Bacon, sausage, or cheese are also great additions!
How do I know when they’re done baking?
Your stuffing balls are done when they’re golden brown on the outside and crispy. You can insert a toothpick into the center to check if they’re fully cooked inside.