Raspberry Layer Cake
If you want a cake that’s soft, fruity, and beautiful, this Raspberry Layer Cake is the one. I made it for a birthday once, and everyone fell in love with it at first sight. It’s light, sweet, and full of fresh raspberry flavor.
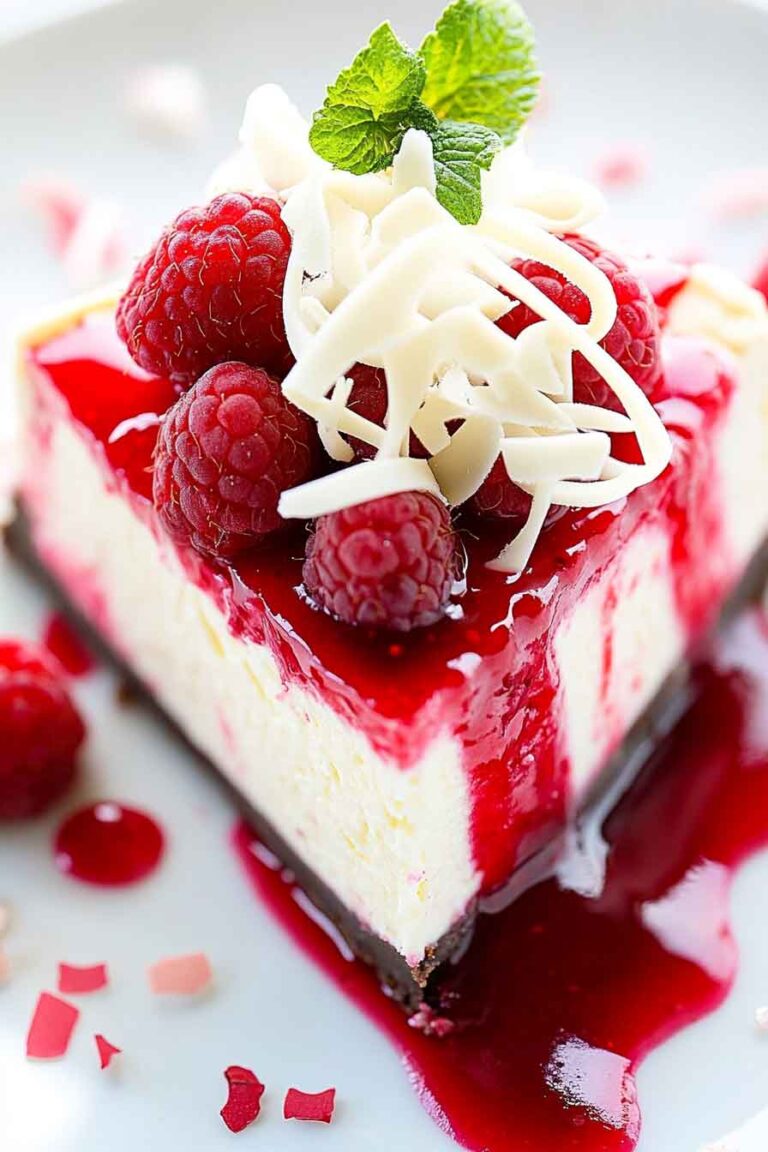
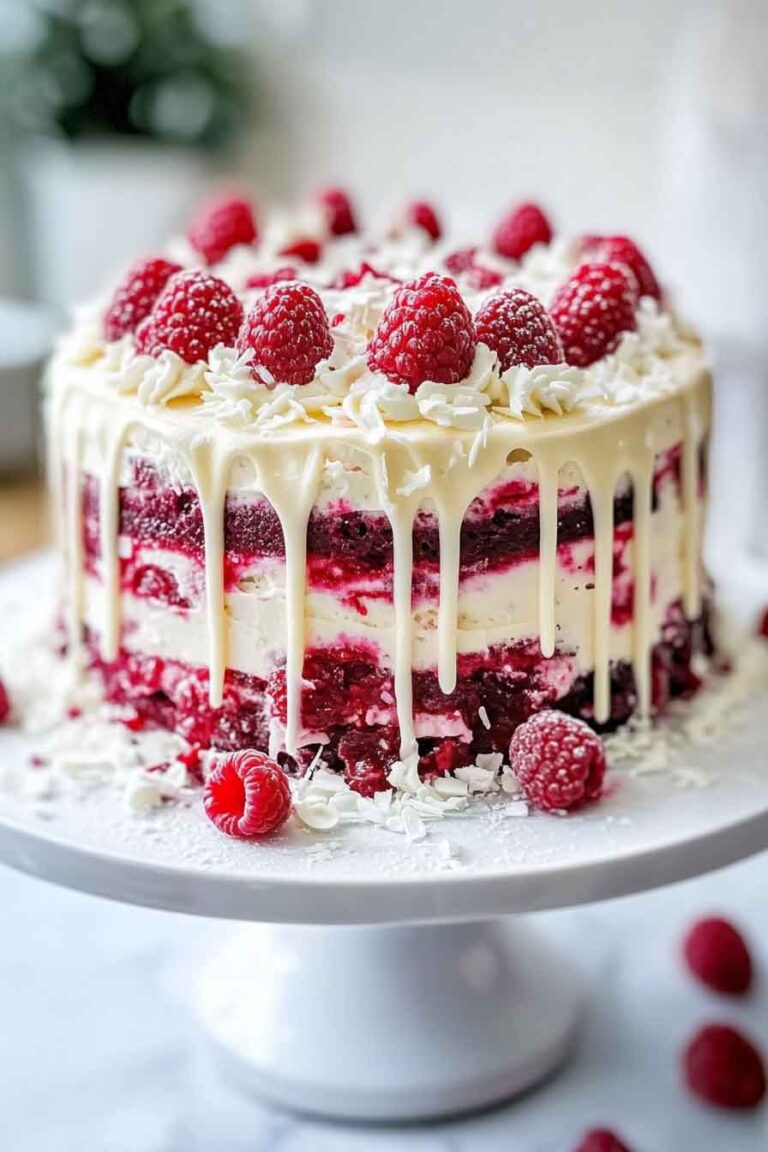
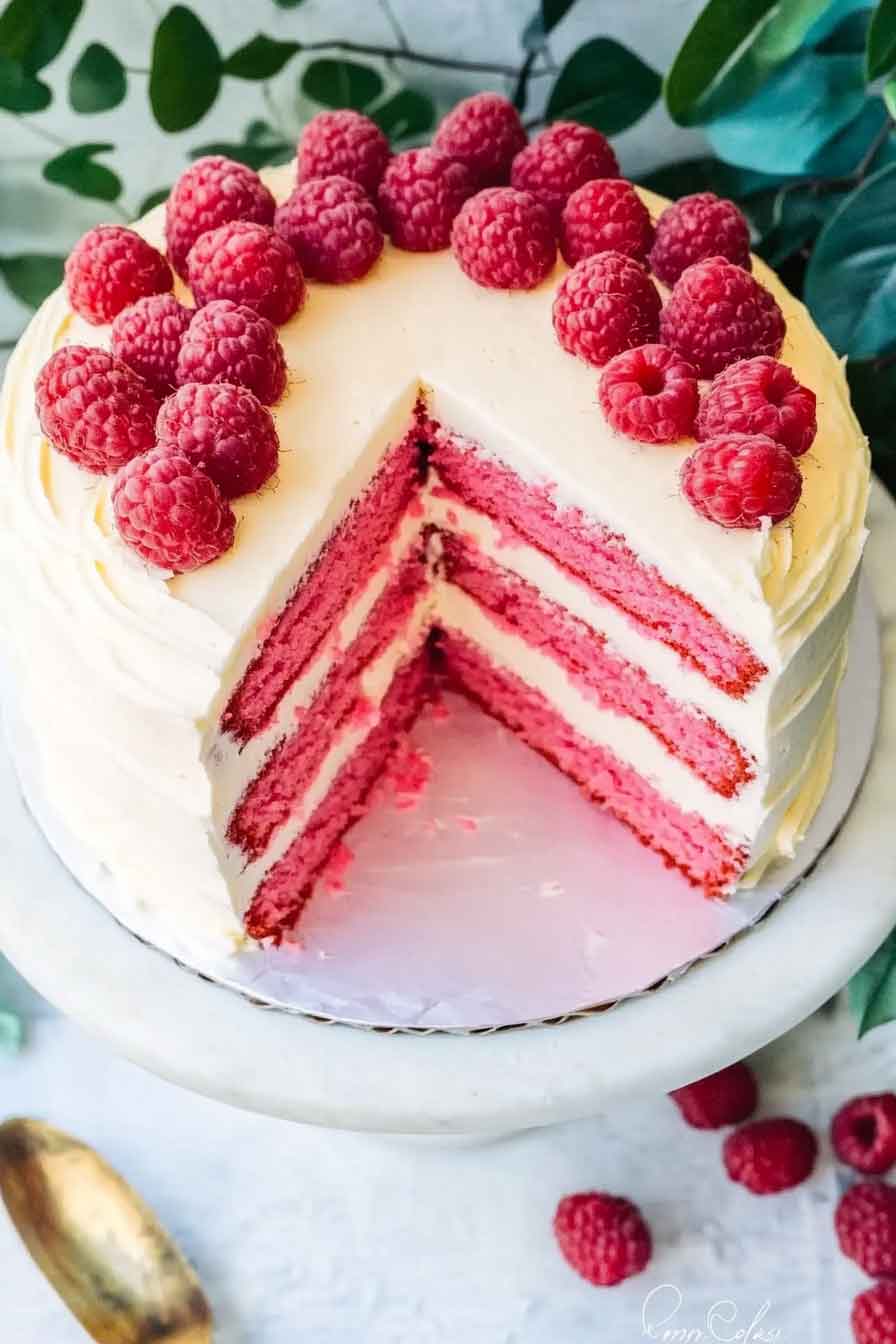
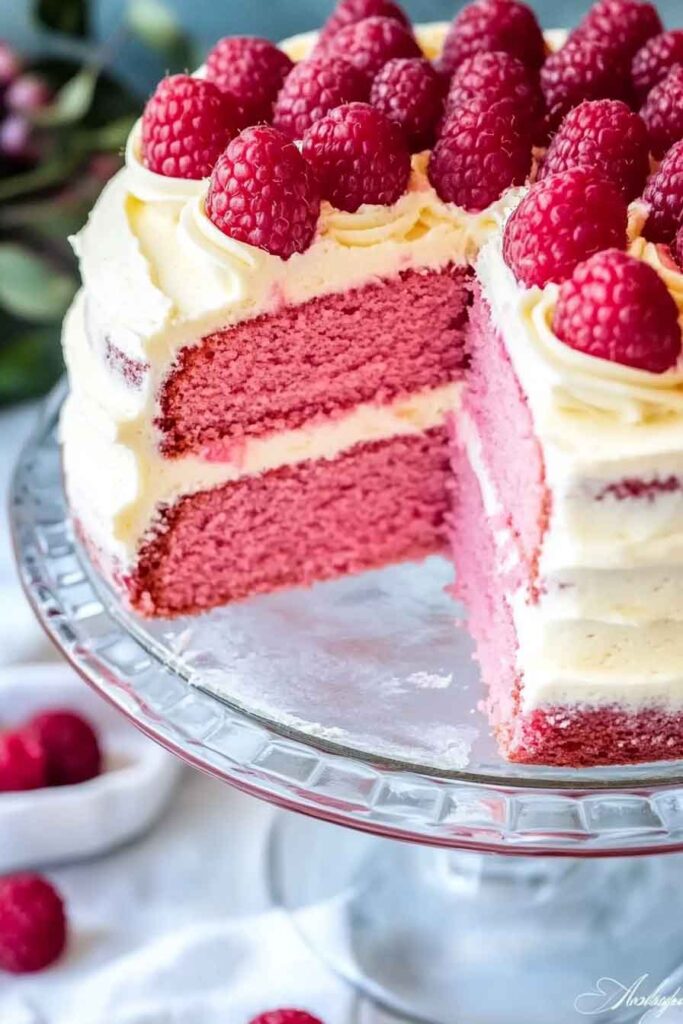
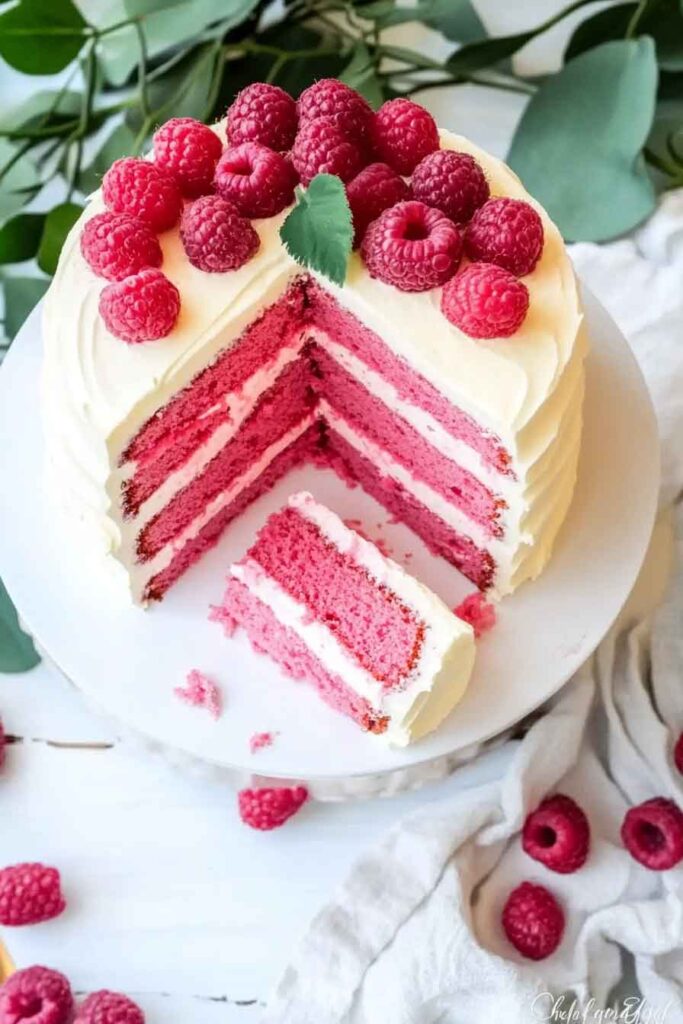
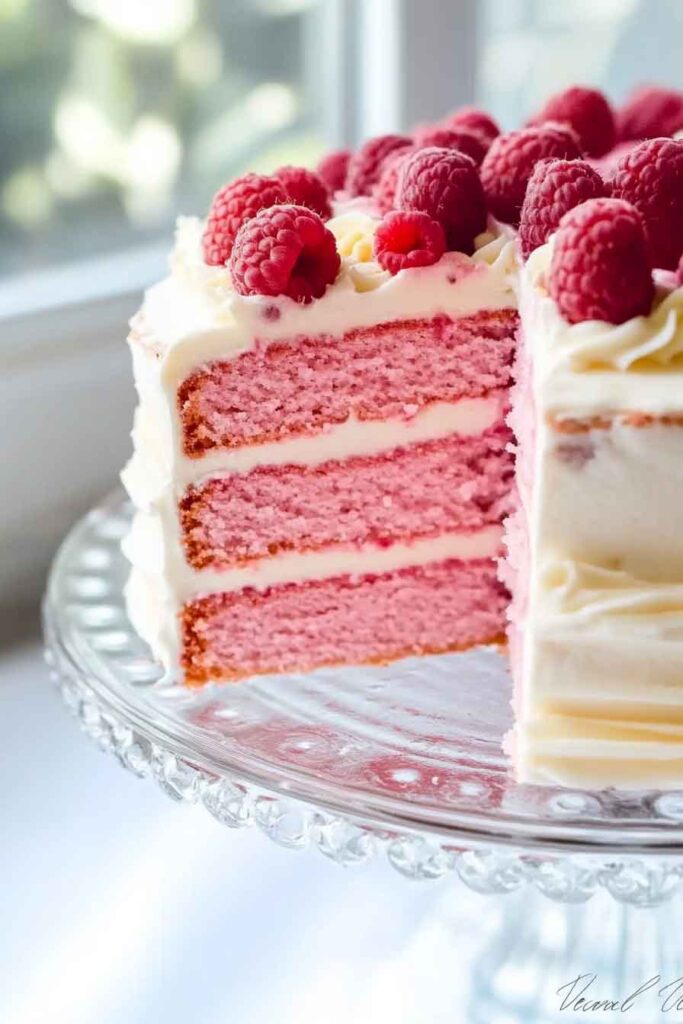
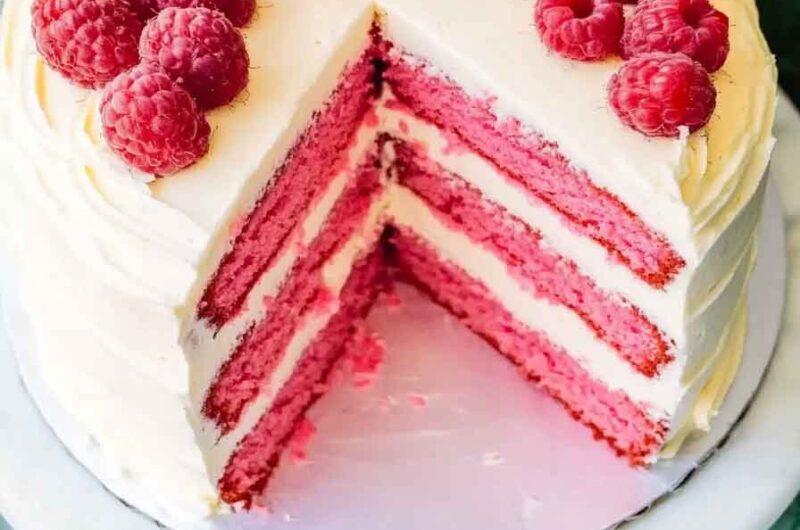
The layers come out soft and fluffy, and the raspberry filling adds that perfect burst of tartness. I love how the frosting ties it all together—creamy, smooth, and just the right amount of sweet. Every slice looks so pretty with those pink swirls inside.
It’s the kind of cake that makes any day feel special. The taste is bright and fresh, and it’s hard to stop at just one bite. I always keep a few extra raspberries on top for that little pop of color.
So grab your mixing bowls and some juicy raspberries. This Raspberry Layer Cake is simple to make, stunning to serve, and absolutely delicious.

Why You’ll Love This Recipe
- Fresh and Fruity: The combination of fresh raspberries and the creamy mascarpone filling is irresistibly delicious.
- Light and Fluffy: The cake layers are light, airy, and perfectly soft, making each bite melt in your mouth.
- Easy to Make: With just a few simple ingredients, this recipe is surprisingly easy and quick to prepare.
- Perfect for Any Occasion: Whether you’re celebrating a special event or just indulging in a sweet treat, this cake is ideal.
- Showstopping Presentation: The beautiful layers of the cake, topped with fresh raspberries and a dusting of icing sugar, make for a stunning presentation.
Required Kitchen Tools
Before we jump into the recipe, let’s gather all the necessary tools:
- Cake Tin (8-inch round): This recipe calls for two 8-inch round cake tins, but you can use a slightly different size if needed.
- Mixing Bowls: You’ll need a couple of large mixing bowls to prepare the batter and filling.
- Electric Hand Mixer: For the best results when whipping the cream and mascarpone, a hand mixer or stand mixer will save you time and effort.
- Whisk: For combining dry ingredients and whipping the egg mixture.
- Cooling Rack: To cool the cake layers before assembling the final masterpiece.
- Spatula: For spreading the filling evenly between the layers and smoothing the top.
- Sifter: For dusting the cake with icing sugar before serving.
Ingredients
For the Cake:
- 200g Caster Sugar: This provides sweetness and contributes to the cake’s light, fluffy texture.
- 200g Softened Butter: It’s essential for creating a rich and moist cake.
- 4 Beaten Eggs: Eggs are the binder for the cake batter, helping it rise and achieve the right consistency.
- 200g Self-Raising Flour: This will give your cake the perfect rise and fluffy texture.
- 1 tsp Baking Powder: Added to help the cake rise even more for a light and airy result.
- Icing Sugar (to decorate): A light dusting of icing sugar will give the cake a beautiful finish.
For the Syrup:
- 85g Caster Sugar: Used to sweeten the syrup, enhancing the flavor of the cake.
- 50ml Amaretto: This adds a subtle almond flavor that pairs beautifully with the raspberry filling. You can substitute with fruit juice if you prefer a non-alcoholic version.
For the Filling:
- 284ml Double Cream: A rich, creamy base for the mascarpone filling, giving it a smooth texture.
- 250g Mascarpone: The star of the filling, mascarpone adds a rich and slightly tangy flavor that balances the sweetness of the cake.
- 3 tbsp Caster Sugar: This helps sweeten the filling without overpowering the mascarpone.
- 150g Fresh Raspberries: The main fruity flavor of the cake. Fresh raspberries bring a burst of tangy goodness that perfectly complements the sweetness of the cake.
Step-by-Step Instructions
1. Prepare the Cake Layers
Preheat the oven: Begin by preheating your oven to 180°C (350°F) and greasing two 8-inch round cake tins. You can also line the bottom of the tins with parchment paper for easy removal later.
Cream the Butter and Sugar: In a large mixing bowl, use a hand mixer to cream together the softened butter and caster sugar until the mixture becomes light and fluffy. This process takes about 3-4 minutes, and it’s key to achieving a light, airy cake.
Add the Eggs: Add the beaten eggs to the butter and sugar mixture one at a time, mixing well after each addition. If you add them too quickly, the batter may curdle. This step is crucial for creating a smooth and cohesive batter.
Mix the Dry Ingredients: In a separate bowl, sift together the self-raising flour and baking powder. This ensures that the flour is evenly mixed and free from any lumps.
Combine Wet and Dry Ingredients: Gradually add the dry ingredients to the wet mixture, mixing gently until just combined. Be careful not to overmix, as this could result in a dense cake. The batter should be smooth and slightly thick.
Bake the Cake Layers: Divide the batter evenly between the two prepared cake tins. Smooth the tops with a spatula for an even bake. Bake the cakes in the preheated oven for about 20-25 minutes or until a skewer inserted into the center comes out clean.
Cool the Cakes: Once the cakes are baked, allow them to cool in the tins for about 10 minutes. Then, transfer them to a cooling rack to cool completely before assembling.
2. Make the Syrup
While your cake layers are cooling, prepare the syrup. In a small saucepan, combine the caster sugar and amaretto. Heat gently over medium heat until the sugar has dissolved and the syrup has thickened slightly, which should take about 2-3 minutes. Once ready, remove from heat and set aside to cool.
3. Prepare the Filling
Whip the Double Cream: In a mixing bowl, whip the double cream until it forms soft peaks. You can use a hand mixer for this step, but be careful not to overwhip the cream.
Mix in the Mascarpone: Add the mascarpone to the whipped cream and beat until the mixture is smooth and well-combined. Stir in the caster sugar and continue to beat until the filling is light and fluffy.
Fold in the Raspberries: Gently fold in the fresh raspberries. This will add some texture and burst of flavor to the filling. Be careful not to crush the raspberries too much – we want them to retain their shape.
4. Assemble the Raspberry Layer Cake
Level the Cakes: Once the cakes have completely cooled, level the tops with a serrated knife if necessary to ensure they are flat and even.
Brush with Syrup: Use a pastry brush to lightly soak the top of each cake layer with the amaretto syrup. This will add moisture and enhance the flavor.
Spread the Filling: Place one layer of cake on a serving platter or cake stand. Spread a generous amount of the mascarpone filling on top, smoothing it out evenly with a spatula.
Top with the Second Cake Layer: Place the second cake layer on top of the filling, pressing down gently to make sure the layers stick together.
Decorate: Finish by dusting the top of the cake with icing sugar and decorating with additional fresh raspberries for a beautiful, fresh presentation.
How to Serve Raspberry Layer Cake
This Raspberry Layer Cake is perfect on its own, but you can also serve it with additional fresh raspberries or a dollop of whipped cream. It pairs wonderfully with a cup of tea or coffee, making it an excellent choice for an afternoon gathering.
Storing Raspberry Layer Cake
If you have leftovers (which is unlikely!), you can store the cake in an airtight container in the refrigerator for up to 3 days. Be sure to cover the cake with plastic wrap or store it in a cake box to keep it fresh. Because of the fresh cream filling, this cake should be consumed fairly quickly.
| Nutrient | Amount per Serving |
|---|---|
| Calories | 420 kcal |
| Total Fat | 20 g |
| Saturated Fat | 12 g |
| Trans Fat | 0 g |
| Cholesterol | 80 mg |
| Sodium | 210 mg |
| Total Carbohydrates | 55 g |
| Dietary Fiber | 2 g |
| Total Sugars | 38 g |
| Protein | 5 g |
| Calcium | 60 mg |
| Iron | 1.2 mg |
| Potassium | 150 mg |
Raspberry Layer Cake
Course: Uncategorized1
cake20
minutes25
minutes420
kcalIngredients
- For the Cake:
200g caster sugar
200g softened butter
4 beaten eggs
200g self-raising flour
1 tsp baking powder
Icing sugar for decorating
- For the Syrup:
85g caster sugar
50ml amaretto
- For the Filling:
284ml double cream
250g mascarpone
3 tbsp caster sugar
150g fresh raspberries
Directions
- Preheat the oven to 180°C (350°F). Grease and line two 8-inch cake tins.
- Cream the butter and sugar until light and fluffy.
- Add the beaten eggs, one at a time, mixing well.
- Sift the flour and baking powder, and gradually fold it into the wet ingredients.
- Divide the batter between the tins and bake for 20-25 minutes or until a skewer comes out clean.
- Cool the cakes on a wire rack.
- Make the syrup by dissolving the caster sugar in amaretto over low heat.
- Whip the double cream and mascarpone together with the caster sugar.
- Fold in the raspberries.
- Brush the cakes with the syrup and assemble by layering the cake, filling, and topping with the second layer.
- Dust with icing sugar and decorate with fresh raspberries.
Conclusion
This Raspberry Layer Cake is a delightful combination of light, fluffy cake, creamy filling, and the perfect balance of sweetness and tartness from the raspberries. It’s not just a cake—it’s a celebration of fresh flavors and simple indulgence. Perfect for any occasion, it’s sure to impress your guests and satisfy your sweet tooth!
FAQs
Can I use frozen raspberries for the filling?
Yes, you can use frozen raspberries, but fresh raspberries will give the best texture and flavor. If using frozen, let them thaw before folding them into the filling.
Can I make this cake in advance?
Yes, you can bake the cake layers a day in advance and store them in an airtight container. Assemble the cake the day you plan to serve it.
Can I use a different type of fruit?
Absolutely! You can swap raspberries for strawberries, blackberries, or even blueberries. Just make sure the fruit is fresh for the best flavor.