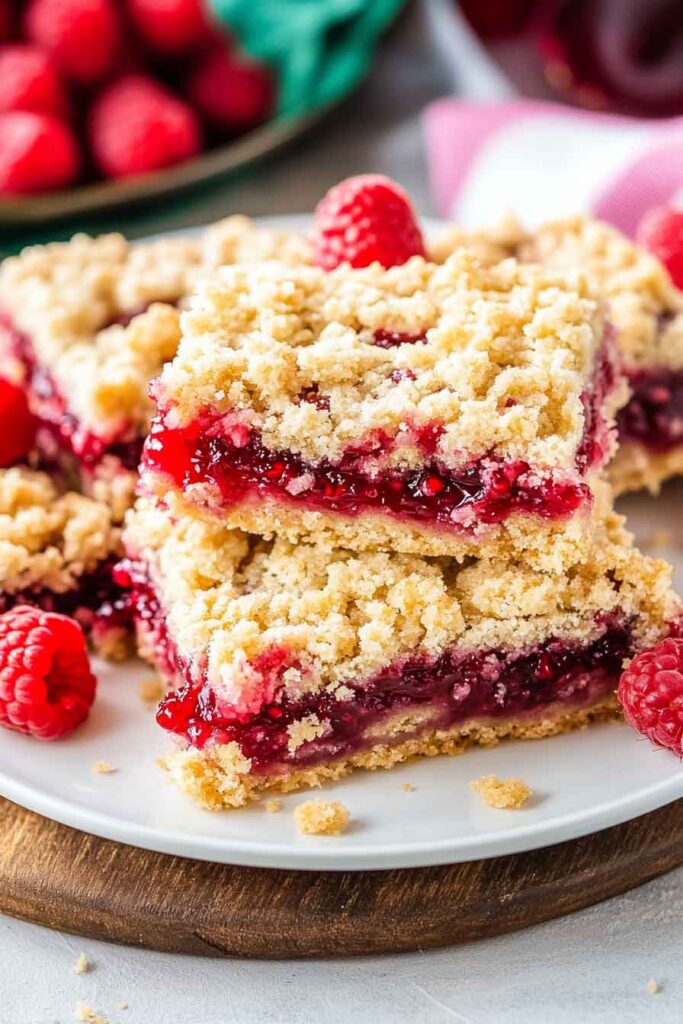
Raspberry Crumble Bars Recipe

The first time I baked Raspberry Crumble Bars, I was hooked. They smelled so sweet and buttery in the oven. I knew right away these would be a favorite.
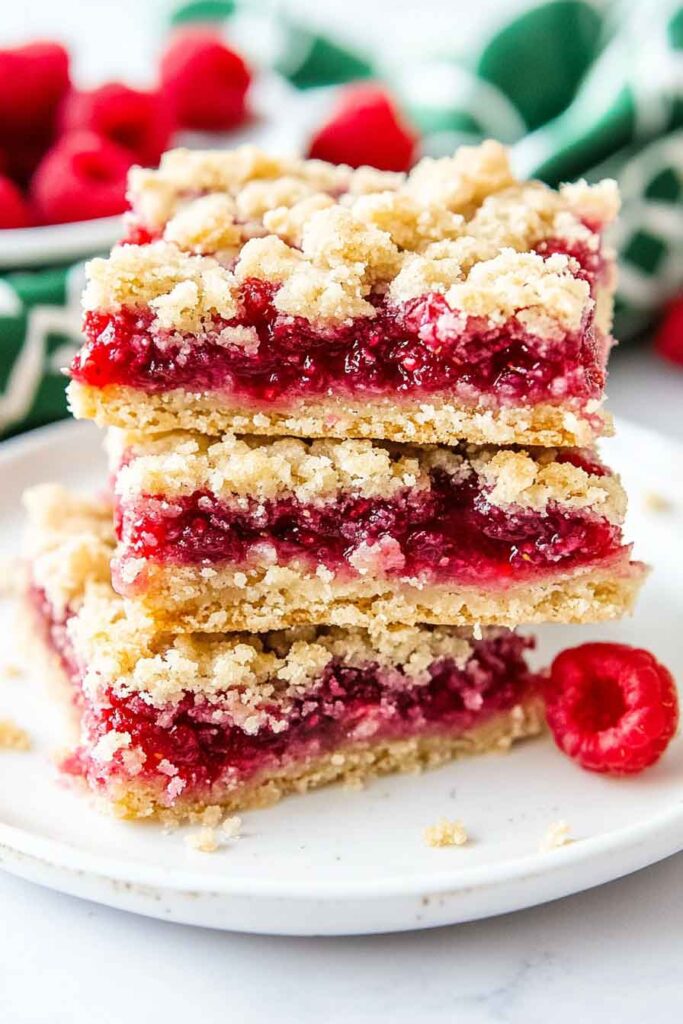
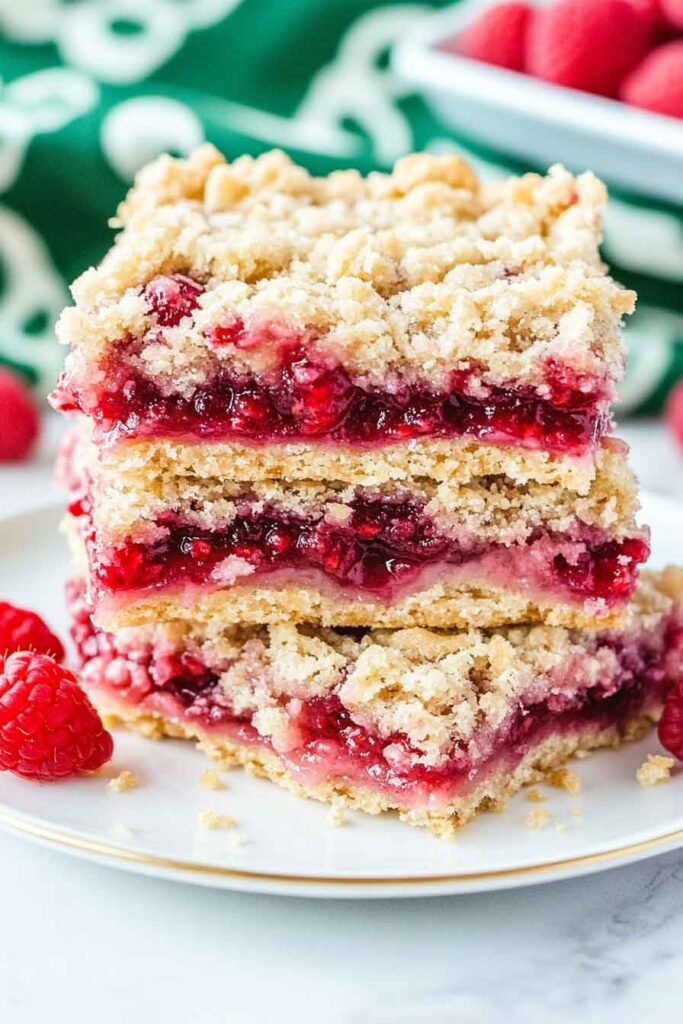
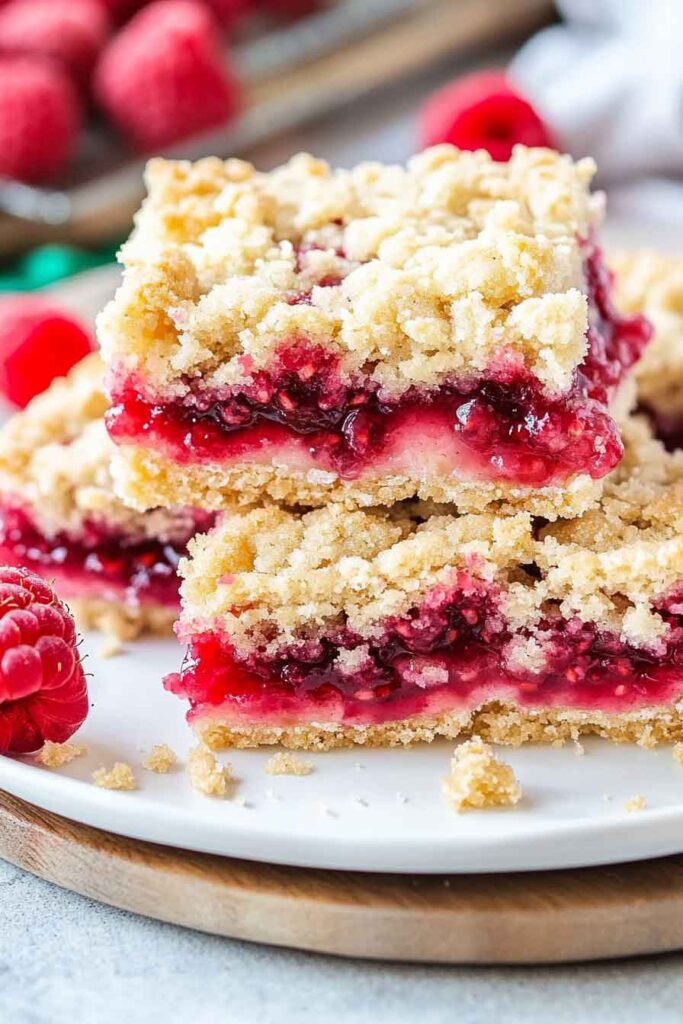
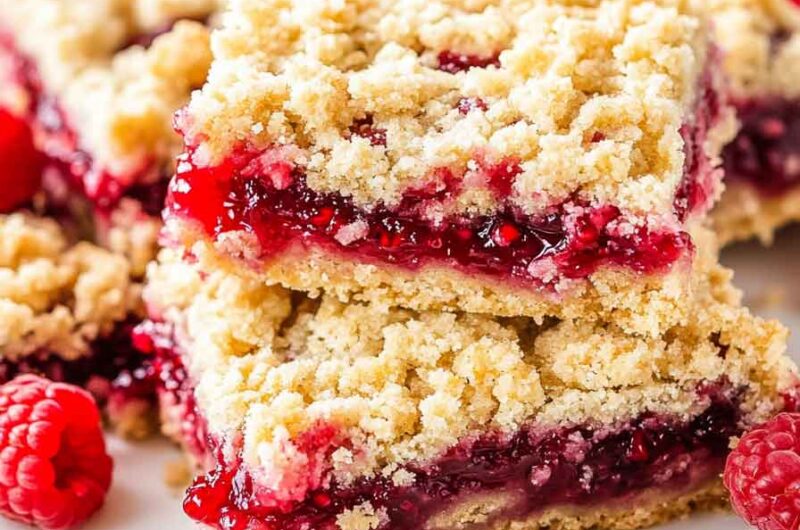
The mix of tart raspberries and golden crumble was perfect. Every bite had that soft, jammy middle with a little crunch on top. I remember thinking, wow, this is such a simple but special treat.
My family kept reaching for another square before the pan even cooled. They looked rustic, tasted amazing, and felt like comfort in every bite. Honestly, I love making them again and again.
If you’re craving something fruity and cozy, these bars are the way to go. Let’s go step by step and make Raspberry Crumble Bars together.
Why You’ll Love This Recipe
- Reader Favorite: Many readers say this recipe is the “perfect balance of sweet and tart!” And once you try it, you’ll understand why these bars are often labeled a “crowd-pleaser.”
- Perfect for All Occasions: Whether you’re serving these at a family dinner, a picnic, or simply making them for a special treat, these raspberry crumble bars are sure to impress.
- Sweet & Tart Filling: The raspberry filling is sweet with just the right amount of tartness, making every bite unforgettable.
- Buttery Crumble: The oat-based crumble has the perfect texture—crispy on the top with just a slight chew in the middle.
- Make-Ahead Friendly: These bars can be made ahead and stored for up to a week, making them great for meal prep or sharing.
Required Kitchen Tools
Before we dive into the recipe, here’s a quick rundown of what you’ll need to get started:
- Mixing Bowls: For combining your dry ingredients, wet ingredients, and filling.
- 9×13-inch Baking Pan: This size works best for the recipe and ensures the right thickness for your bars.
- Spatula: Perfect for spreading the raspberry filling and pressing the crumble layer into the pan.
- Measuring Cups and Spoons: Precision is key when measuring both dry and wet ingredients.
- Medium Saucepan: For making the raspberry filling, a small saucepan is all you need.
- Whisk: A whisk is essential for combining the dry ingredients in the crumble layer.
Ingredients
Here’s everything you’ll need for this delicious recipe:
Raspberry Filling:
- Two 12-ounce bags of frozen raspberries – Fresh raspberries can be used in season, but frozen raspberries work great for this recipe as they provide a more consistent texture and flavor.
- 1/2 cup granulated sugar – You may need to adjust this depending on the tartness of your raspberries.
- 2 tablespoons flour – This helps thicken the raspberry filling.
- 1 tablespoon cornstarch – Cornstarch is perfect for ensuring the raspberry mixture thickens properly.
- Juice of one lemon – The acidity from the lemon juice helps balance out the sweetness of the raspberries.
Crumble Layer:
- 3 cups rolled oats – Old-fashioned oats give the crumble a perfect texture. Make sure they’re not quick oats.
- 3 cups all-purpose flour – All-purpose flour helps bind everything together while maintaining a light, crumbly texture.
- 2 cups brown sugar (loosely packed) – Brown sugar adds richness and depth of flavor to the crumble.
- 1 teaspoon baking powder – This gives the crumble a bit of lift.
- 1 1/2 cups melted butter (preferably salted) – Salted butter adds both flavor and richness to the crumble. If using unsalted, consider adding a pinch of salt.
- 1/2 teaspoon salt – To balance the sweetness and bring out the flavor of the other ingredients.
Step-by-Step Instructions
1. Prepare the Raspberry Filling
Start by making the raspberry filling. Add the frozen raspberries, granulated sugar, flour, cornstarch, and lemon juice into a medium saucepan.
- Cook the mixture over medium heat. Stir it occasionally to break down the raspberries. You’ll notice the mixture will start to bubble and thicken.
- Simmer for about 5-7 minutes or until it has reached a thick, jam-like consistency. The filling should be able to hold its shape but still be spreadable.
- Remove from heat and set it aside to cool while you prepare the crumble layer.
2. Make the Crumble Layer
Now, it’s time to prepare the oat crumble that will serve as both the crust and topping for these delicious bars.
- In a large bowl, combine the rolled oats, flour, brown sugar, baking powder, and salt.
- Add the melted butter and mix everything together with a spoon or your hands. You should get a crumbly mixture that resembles coarse crumbs.
- Take a small handful of the crumble mixture and press it into the bottom of a 9×13-inch baking pan to form the crust. Make sure to press down firmly to create a solid base for the raspberry filling.
3. Assemble the Raspberry Crumble Bars
- Spread the raspberry filling over the crust layer. You can use a spatula to ensure an even layer of filling.
- Top with the remaining crumble mixture. Sprinkle the crumble mixture evenly over the raspberry filling. There’s no need to press it down – it will naturally bake into a crunchy topping as it bakes.
4. Bake the Bars
- Preheat your oven to 350°F (175°C).
- Bake for 35-40 minutes, or until the top is golden brown and the filling is bubbly. The center may still look a little soft, but it will set as the bars cool.
- Once the bars are done baking, remove them from the oven and let them cool in the pan on a wire rack for at least an hour before cutting into squares.
Serving and Decoration
How to Serve Raspberry Crumble Bars
These raspberry crumble bars are perfect for any occasion, and there are several ways you can serve them:
- As a Dessert: Serve them on their own with a scoop of vanilla ice cream or a dollop of whipped cream for an indulgent dessert.
- With Coffee or Tea: Enjoy them alongside your morning coffee or tea. The combination of buttery crumble and fruity raspberry filling pairs perfectly with a warm beverage.
- For Breakfast or Brunch: These bars are just sweet enough to serve at brunch. Pair them with fresh fruit and yogurt for a more balanced meal.
Decoration Options:
- Powdered Sugar Dusting: A light dusting of powdered sugar adds a simple, elegant touch.
- Fresh Berries: For an added burst of color and flavor, top the bars with fresh raspberries, blackberries, or even a few sprigs of mint.
- Whipped Cream or Ice Cream: Serve with a scoop of vanilla ice cream or a dollop of freshly whipped cream for an extra indulgent treat.
Storing Raspberry Crumble Bars
- Room Temperature: These bars can be stored in an airtight container at room temperature for up to 3 days. If you plan to keep them for longer, I recommend refrigerating them.
- In the Refrigerator: For longer storage, keep the bars in an airtight container in the refrigerator for up to a week.
- Freezing: If you want to make a large batch in advance, these bars freeze wonderfully. Simply place the cooled bars in an airtight container or freezer-safe bag, and freeze for up to 3 months. Thaw in the refrigerator before serving.
Variations for Raspberry Crumble Bars
While this recipe is absolutely perfect as is, here are a few ways to switch things up:
1. Use a Different Berry:
- Swap the raspberries for other berries such as blackberries, strawberries, or blueberries. You could even use a mix of different berries for a unique flavor profile.
2. Add Nuts:
- Stir in chopped nuts like almonds, walnuts, or pecans into the crumble layer for extra crunch and flavor.
3. Add a Lemon Glaze:
- After the bars cool, drizzle a lemon glaze over the top for an extra burst of citrus flavor. Simply whisk together powdered sugar, lemon juice, and a bit of milk for a smooth glaze.
4. Make It Gluten-Free:
- Use a gluten-free flour blend in place of regular flour and ensure your oats are certified gluten-free to make these bars gluten-free.
Nutrition Facts
Serving Size: 1 bar
Servings: 16
- Calories: 230
- Total Fat: 10g
- Saturated Fat: 6g
- Trans Fat: 0g
- Cholesterol: 25mg
- Sodium: 70mg
- Total Carbohydrates: 32g
- Dietary Fiber: 2g
- Total Sugars: 18g
- Protein: 3g
Vitamins & Minerals
- Vitamin A: 4% DV
- Vitamin C: 6% DV
- Calcium: 2% DV
- Iron: 6% DV
Raspberry Crumble Bars Recipe
Course: Uncategorized24
bars15
minutes35
minutes230
kcalIngredients
- Raspberry Filling:
Two 12-ounce bags of frozen raspberries
1/2 cup granulated sugar
2 tablespoons flour
1 tablespoon cornstarch
Juice of one lemon
- Crumble Layer:
3 cups rolled oats
3 cups all-purpose flour
2 cups brown sugar (loosely packed)
1 teaspoon baking powder
1 1/2 cups melted butter (preferably salted)
1/2 teaspoon salt
Directions
Conclusion
These Raspberry Crumble Bars are the perfect dessert for any occasion. With a sweet, tangy raspberry filling, a buttery, oat-based crumble, and a hint of lemon, they are sure to become a new favorite in your recipe collection. Whether you’re serving them at a party or enjoying them with a cup of tea, these bars are sure to impress. Happy baking!
Raspberry Crumble Bars FAQs
Can I use fresh raspberries instead of frozen?
Yes, you can use fresh raspberries, but frozen berries tend to work better as they break down more easily and thicken up the filling faster.
Can I make these ahead of time?
Absolutely! These bars store well, so you can make them up to 3 days in advance and keep them in the fridge. They also freeze wonderfully for up to 3 months.
Can I make the crumble without oats?
You can try making a simple crumble with just flour, sugar, and butter, but the oats give it that perfect texture. If you want to skip the oats, you might want to try a more traditional shortbread crumble.