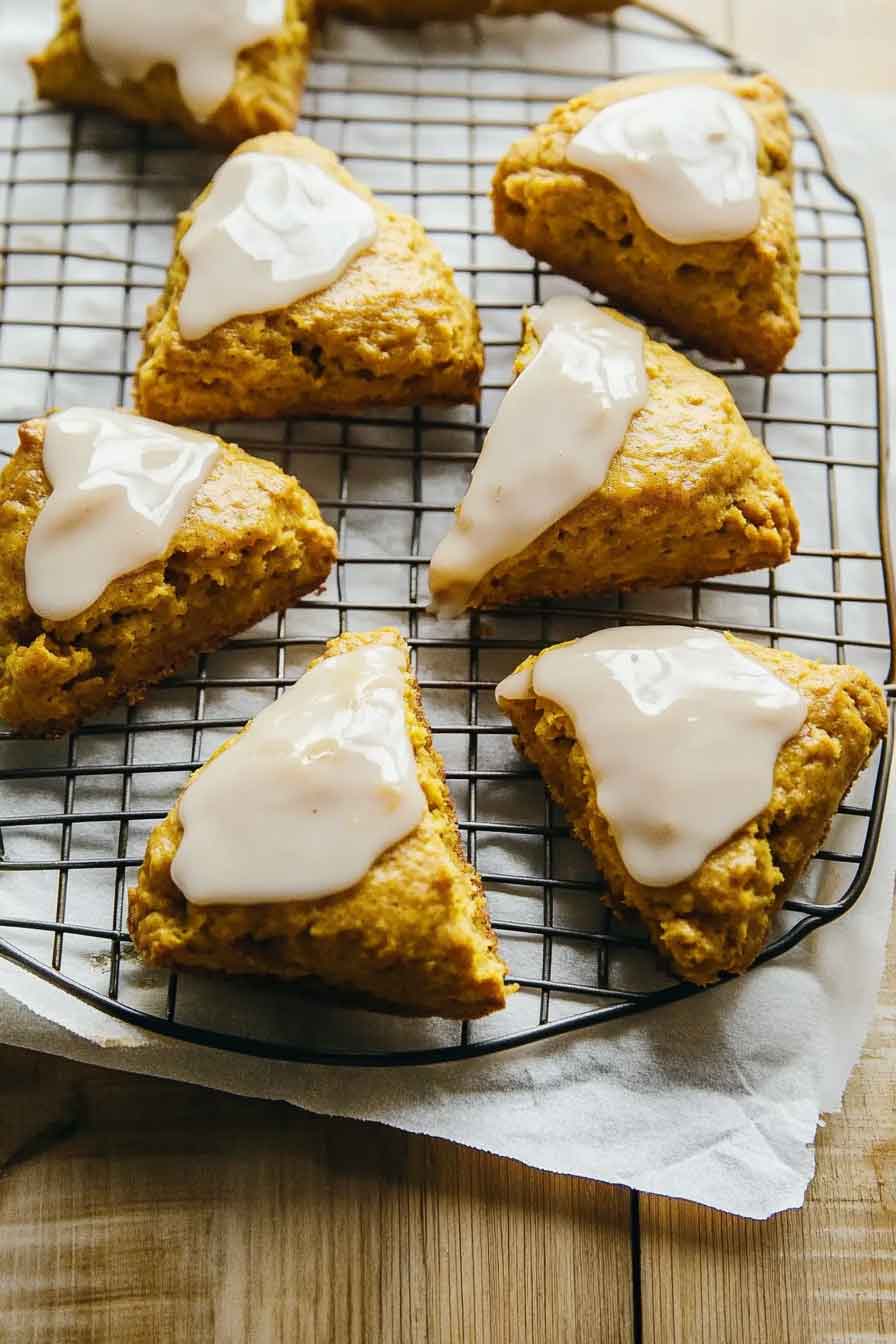
Pumpkin Scones
Oh wow, Pumpkin Scones always make my day. They smell like fall and feel so warm. I couldn’t wait to take a bite.
I baked these on a cozy morning, and wow, they were easy. The pumpkin makes them soft and tasty. Each bite feels sweet and comforting.
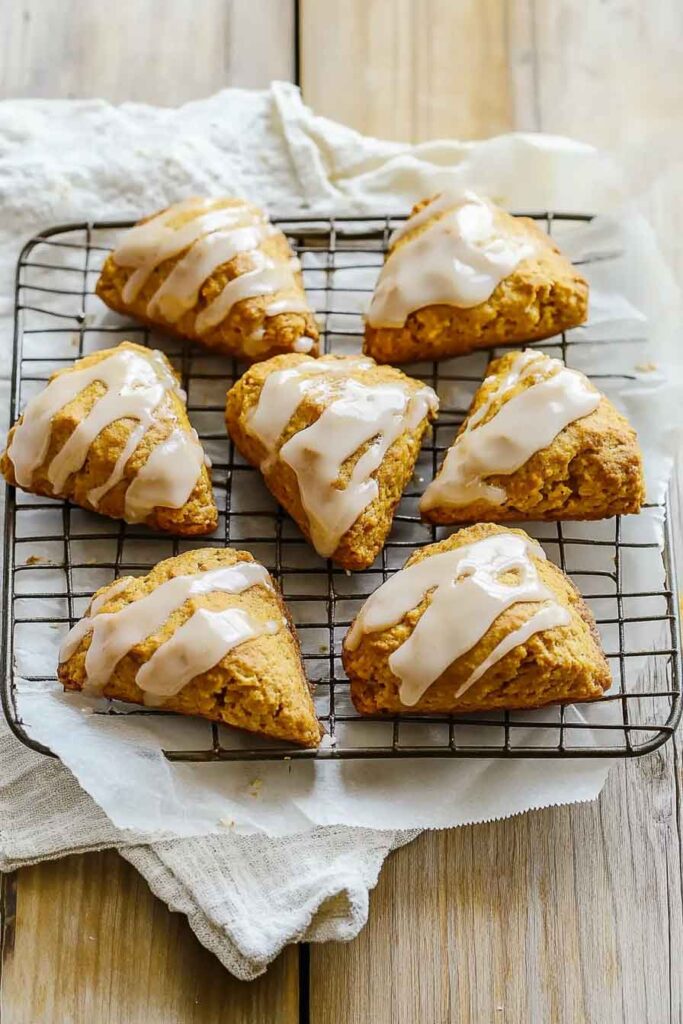
I love how golden and pretty they look on the plate. They feel fancy, but really, they’re simple. I always want one more, oops!
So yeah, let me show you how I make them. You can do this too, no stress. Let’s bake Pumpkin Scones together.

Why You’ll Love This Recipe
- Autumnal Flavor: Packed with pumpkin and nutmeg, these scones will give you all the cozy vibes you crave during fall.
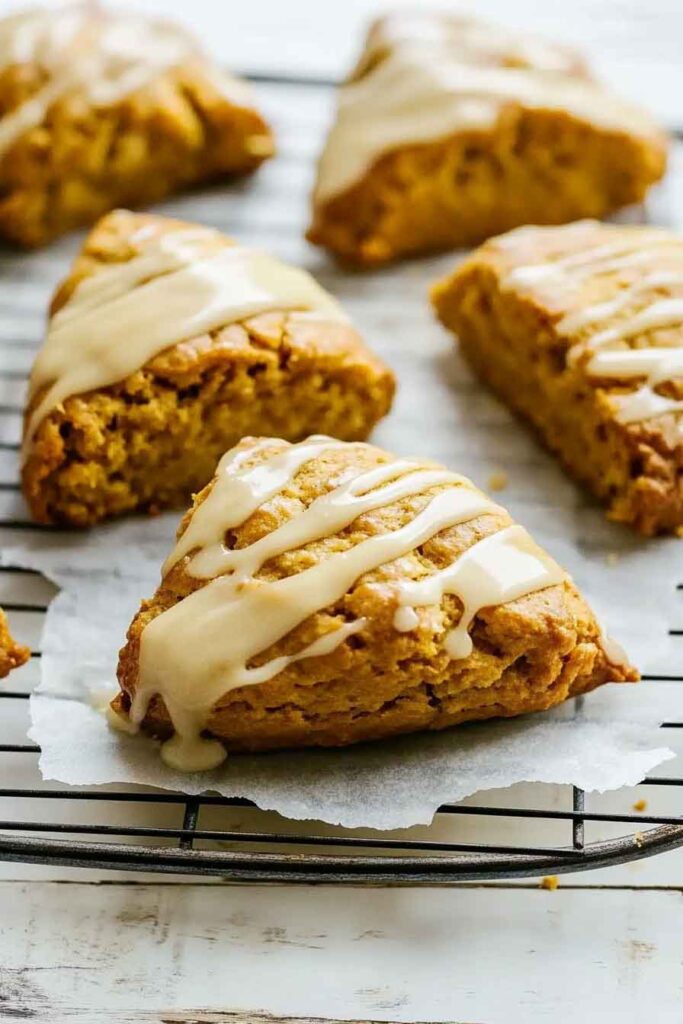
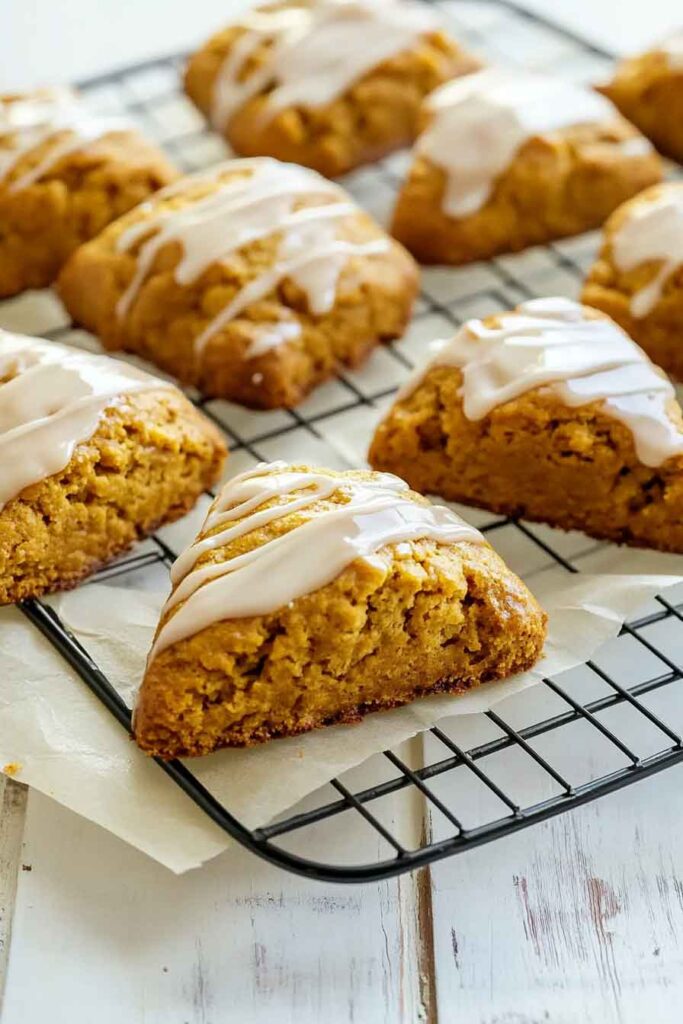
- Perfect Texture: The scones are perfectly flaky, with a tender crumb that melts in your mouth.
- Quick and Easy: Ready in about 45 minutes from start to finish, this recipe is simple yet delicious.
- Make-Ahead Friendly: You can prepare the dough in advance and bake fresh scones whenever you need them.
- Versatile: Enjoy these scones for breakfast, tea time, or as a dessert option for your next dinner party.
Required Kitchen Tools
To make these perfect pumpkin scones, you’ll need just a few simple kitchen tools:
- Mixing Bowls: A large mixing bowl for the dry ingredients and a separate one for wet ingredients.
- Pastry Cutter or Fork: To incorporate the cold butter into the flour, ensuring a flaky texture.
- Baking Sheet: A flat surface for baking your scones.
- Parchment Paper or Silicone Mat: To line your baking sheet for easy cleanup and to prevent sticking.
- Pastry Brush: For brushing the egg wash on top of your scones to give them a beautiful, golden finish.
- Measuring Cups and Spoons: For precise ingredient measurements.
Ingredients
Here’s what you’ll need to make these perfectly fluffy pumpkin scones (exact measurements are in the recipe card below):
For the Pumpkin Scones:
- 500 g (3 1/3 cup) Plain Flour (All-purpose Flour): The base of the scones, providing the right texture when combined with other ingredients.
- 1 teaspoon Fine Salt: Helps balance out the sweetness and brings out the flavor of the scones.
- 25 g (2 tablespoons) Caster Sugar (Superfine Sugar): Adds a touch of sweetness to the dough.
- 4 teaspoons Baking Powder: This leavening agent helps the scones rise and gives them their signature fluffy texture.
- 1/4 teaspoon Freshly Grated Nutmeg: Nutmeg gives the scones a comforting, warm spiciness that complements the pumpkin perfectly.
- 75 g (3/4 stick) Unsalted Butter (Cold and Cut into Cubes): Cold butter is essential for creating a flaky texture. If you want extra buttery scones, you can add a little more butter, but be mindful not to overdo it.
- 250 g (1 cup) Pumpkin Purée: Provides moisture and a rich, earthy flavor to the scones. I highly recommend using fresh or homemade pumpkin purée for the best results.
- 125 ml (1/2 cup) Buttermilk: Adds richness and a slight tang to balance the sweetness of the scones.
For the Egg Wash:
- 1 Egg: Helps the scones brown beautifully and gives them a golden finish.
- 1 tablespoon Milk: To thin out the egg wash and create a glossy surface.
Variations for Pumpkin Scones
While this pumpkin scone recipe is absolutely delicious as is, there are a few variations you can try to suit your taste preferences or experiment with new flavors:
- Add Chocolate Chips: Mix in a handful of semi-sweet or milk chocolate chips for a sweet, indulgent treat.
- Incorporate Spices: For a more spiced scone, you could increase the amount of nutmeg or add cinnamon, ginger, or cloves.
- Add Nuts: Chopped pecans or walnuts can add a delightful crunch to the scones.
- Make Them Glazed: For extra sweetness, drizzle a simple glaze made with powdered sugar and milk over the baked scones.
- Replace Buttermilk: If you don’t have buttermilk, you can substitute it with regular milk or add a splash of lemon juice or vinegar to milk to make a quick buttermilk substitute.
Step-by-Step Instructions
Making these pumpkin scones is easy and straightforward. Let’s walk through the process step-by-step to ensure your scones turn out perfectly every time.
1. Prepare the Dry Ingredients
Start by preheating your oven to 400°F (200°C). Then, line a baking sheet with parchment paper or a silicone baking mat.
In a large mixing bowl, sift together the plain flour, salt, sugar, baking powder, and freshly grated nutmeg. Sifting helps to ensure the dry ingredients are evenly distributed, resulting in a smooth dough.
2. Incorporate the Cold Butter
Next, add the cold unsalted butter (cut into small cubes) to the dry ingredients. Using a pastry cutter, fork, or your hands, work the butter into the flour mixture until it resembles coarse crumbs. The key here is to avoid overworking the butter to ensure the scones are light and flaky. There should still be small chunks of butter throughout the dough.
3. Add the Wet Ingredients
In a separate bowl, whisk together the pumpkin purée and buttermilk. Pour this wet mixture into the dry ingredients and gently stir until the dough just comes together. Be careful not to overmix, as this can make the scones dense.
If the dough seems too sticky, you can add a bit more flour, but avoid adding too much as the dough should remain a little tacky. Turn the dough out onto a lightly floured surface.
4. Shape the Dough
Gently press the dough into a round disc, about 1-inch thick. Using a sharp knife or a bench scraper, cut the dough into 8 wedges, just like a pizza.
Transfer the scone wedges to the prepared baking sheet, spacing them out slightly to give them room to expand as they bake.
5. Prepare the Egg Wash
In a small bowl, whisk together the egg and milk to make an egg wash. Using a pastry brush, gently brush the top of each scone with the egg wash. This step will help the scones achieve a beautiful golden brown color once baked.
6. Bake the Scones
Bake the scones in the preheated oven for about 15-20 minutes, or until they are golden brown on top and a toothpick inserted into the center comes out clean.
Remove the scones from the oven and allow them to cool slightly on the baking sheet for a few minutes before transferring them to a wire rack to cool completely.
How to Serve Pumpkin Scones
These pumpkin scones are incredibly versatile and can be served in a variety of ways:
- For Breakfast: Serve warm with butter, jam, or a dollop of whipped cream for a cozy morning treat.
- For Tea Time: Pair with your favorite tea, such as chai or Earl Grey, for a lovely afternoon snack.
- As a Dessert: Serve with a drizzle of icing or alongside a scoop of vanilla ice cream for a sweet ending to a fall meal.
- As a Snack: Enjoy them on their own as a simple, comforting snack to nibble on during the day.
Storing Pumpkin Scones
- Room Temperature: If you have any leftovers, store them in an airtight container at room temperature for up to 2 days. Be sure to let them cool completely before storing to prevent them from becoming soggy.
- Freezing: Pumpkin scones can be frozen before baking. Simply freeze the cut wedges on a baking sheet for 1 hour, then transfer them to a freezer bag. When you’re ready to bake, preheat your oven and bake straight from frozen for about 20-25 minutes.
- Reheating: To enjoy your scones again, simply warm them in the oven for a few minutes at 350°F (175°C), or heat them in the microwave for a few seconds.
Nutrition Facts for Pumpkin Scones
Here’s a rough breakdown of the nutrition per serving (1 scone):
| Nutrient | Amount per Scone |
|---|---|
| Calories | 250 |
| Protein | 4 g |
| Total Fat | 12 g |
| Saturated Fat | 7 g |
| Carbohydrates | 33 g |
| Fiber | 1 g |
| Sugar | 7 g |
| Sodium | 150 mg |
Please note that these values may vary depending on the specific ingredients used and portion size.
Conclusion
Pumpkin scones are the perfect way to celebrate the flavors of fall. With a delicate, flaky texture and a wonderful balance of sweetness and spice, these scones are bound to become your new favorite fall treat. Whether you’re baking them for a special occasion or simply for yourself, you can’t go wrong with this recipe. The combination of pumpkin purée and freshly grated nutmeg is simply irresistible. Plus, the scones are quick and easy to make—perfect for busy mornings or cozy afternoons.
I hope this recipe brings warmth and comfort to your kitchen. Enjoy your pumpkin scones with a cup of tea, coffee, or your favorite fall drink!

Pumpkin Scones
Course: Uncategorized8
scones15
minutes20
minutes250
kcalIngredients
2 cups all-purpose flour
½ cup sugar
1 tablespoon baking powder
½ teaspoon salt
1 teaspoon ground cinnamon
½ teaspoon ground nutmeg
½ cup unsalted butter, cold and cubed
½ cup pumpkin puree
1 large egg
2 tablespoons milk (plus extra for brushing)
1 teaspoon vanilla extract
Optional: ½ cup chocolate chips or chopped nuts
- Glaze (optional)
½ cup powdered sugar
1–2 teaspoons milk
¼ teaspoon vanilla extract
Directions
- Preheat oven to 400°F (200°C). Line a baking sheet with parchment paper.
- In a large bowl, mix flour, sugar, baking powder, salt, cinnamon, and nutmeg.
- Cut in cold butter until mixture resembles coarse crumbs.
- In another bowl, whisk pumpkin, egg, milk, and vanilla.
- Stir wet ingredients into dry until just combined. Fold in optional add-ins.
Turn dough onto floured surface, shape into an 8-inch circle, and cut into 8 wedges.- Place scones on the baking sheet, brush tops with milk.
- Bake 20–22 minutes until golden brown.
- Mix glaze ingredients and drizzle over warm scones if desired.
Pumpkin Scones FAQs
Can I use canned pumpkin instead of fresh purée?
Yes, canned pumpkin purée works just as well in this recipe. Just make sure it’s 100% pure pumpkin purée with no added sugar or spices.
Can I make these scones ahead of time?
Yes, you can prepare the dough in advance, shape the scones, and freeze them before baking. Then, bake them directly from frozen when you’re ready to enjoy them.
How do I know when my scones are done?
The scones should be golden brown on top, and a toothpick inserted into the center should come out clean. If the scones are too soft or doughy, give them a few more minutes in the oven.
Can I make these scones gluten-free?
Yes, you can use a gluten-free all-purpose flour blend in place of the regular flour. Be sure to check that your baking powder and other ingredients are gluten-free as well.
Let me know how your pumpkin scones turn out or if you have any other questions! Happy baking!