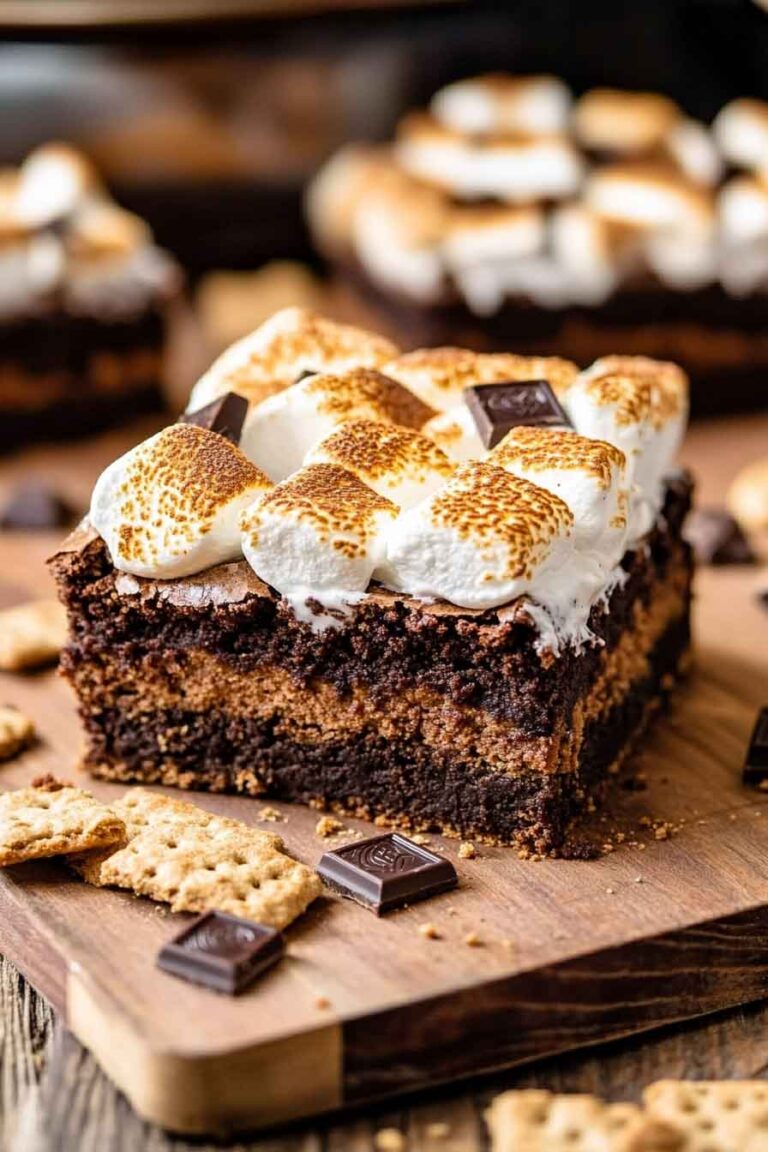
Pumpkin Brownies

Oh wow, you guys! I just made these pumpkin brownies, and my kitchen smells amazing. I couldn’t wait to taste one.
They are soft, chocolatey, and full of warm pumpkin flavor. Honestly, they are way better than I imagined.
Just thinking about that first bite makes my mouth water. Sweet, fudgy, and a little cozy—so perfect for snack time.
You have to try these with me. Let’s grab our ingredients and bake some together!

Why You’ll Love This Recipe
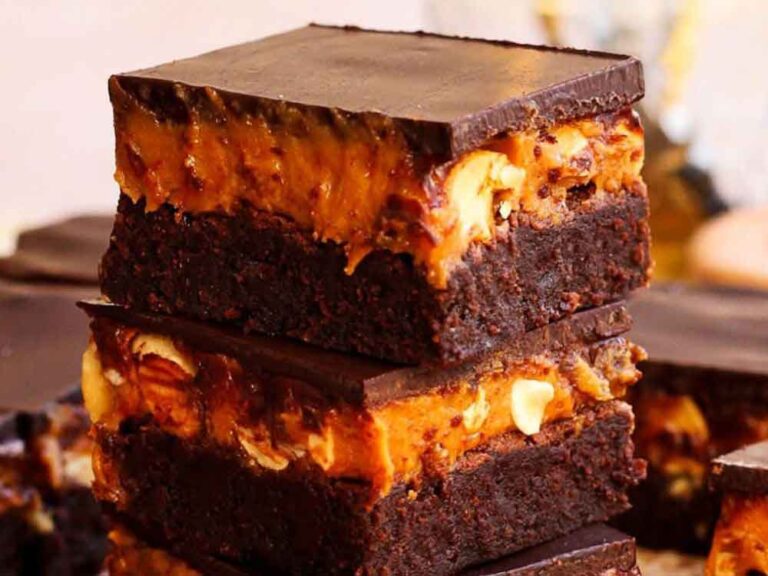
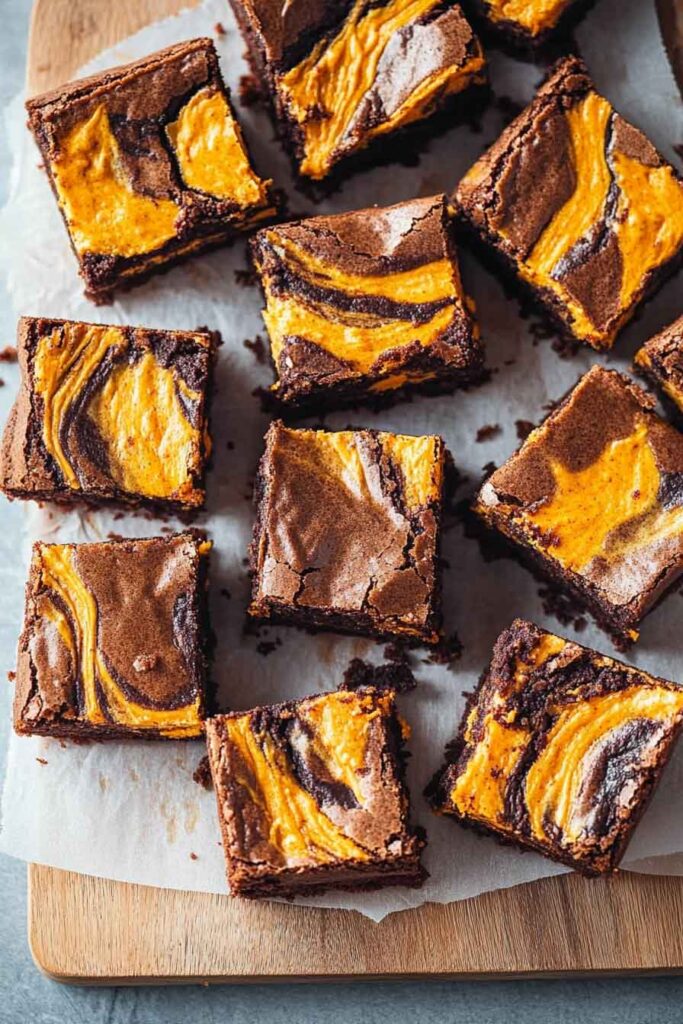
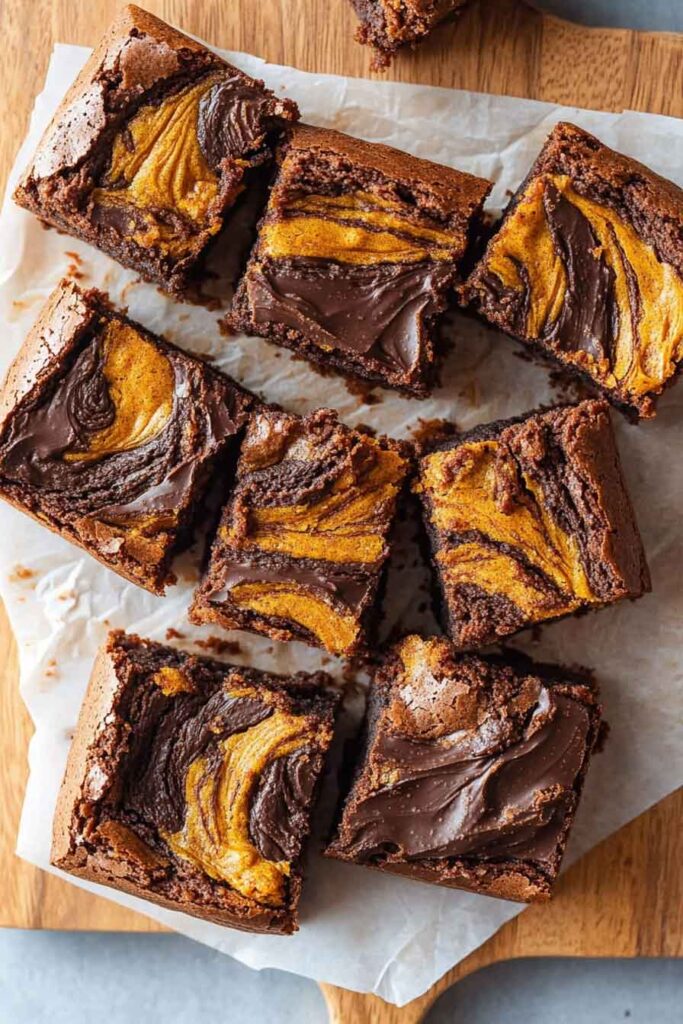
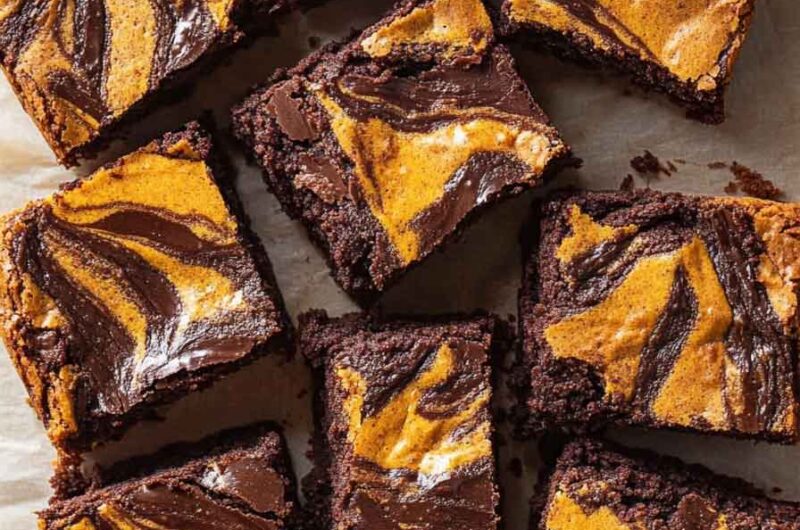
- Irresistible Layers: A decadent, chocolatey brownie base topped with a creamy, spiced pumpkin layer. It’s the best of both worlds!
- Quick and Easy: Made with simple ingredients, this recipe uses a boxed brownie mix to save time without sacrificing flavor.
- Perfect for Fall: Pumpkin spice and everything nice make this the ultimate seasonal dessert.
- Make-Ahead Friendly: Prepare these ahead of time for gatherings, as they store beautifully.
- Crowd-Pleaser: Whether you’re serving a holiday crowd or treating yourself, these brownies are always a winner.
Required Kitchen Tools
- Mixing Bowls: At least two medium-sized bowls for the brownie batter and pumpkin layer.
- Electric Mixer or Whisk: To ensure a smooth and creamy pumpkin topping.
- 9×9-Inch Baking Pan: Perfect for achieving the ideal thickness in your brownies.
- Parchment Paper: For easy removal and less mess.
- Measuring Cups and Spoons: To get everything just right.
Ingredients
For the Brownie Base
- 18 ounces brownie mix (510 grams, Ghirardelli recommended)
- ¼ cup water (57 grams)
- ⅓ cup vegetable oil (67 grams)
- 1 large egg (50 grams)
- ½ cup semisweet chocolate chips (85 grams)
For the Pumpkin Layer
- 7.5 ounces pumpkin puree (213 grams, about ½ can) – not pumpkin pie filling!
- 6 ounces cream cheese (170 grams, softened, about ¾ brick)
- 3 tablespoons granulated sugar (38 grams)
- 1 tablespoon pumpkin pie spice (9 grams)
Variations for Pumpkin Brownies
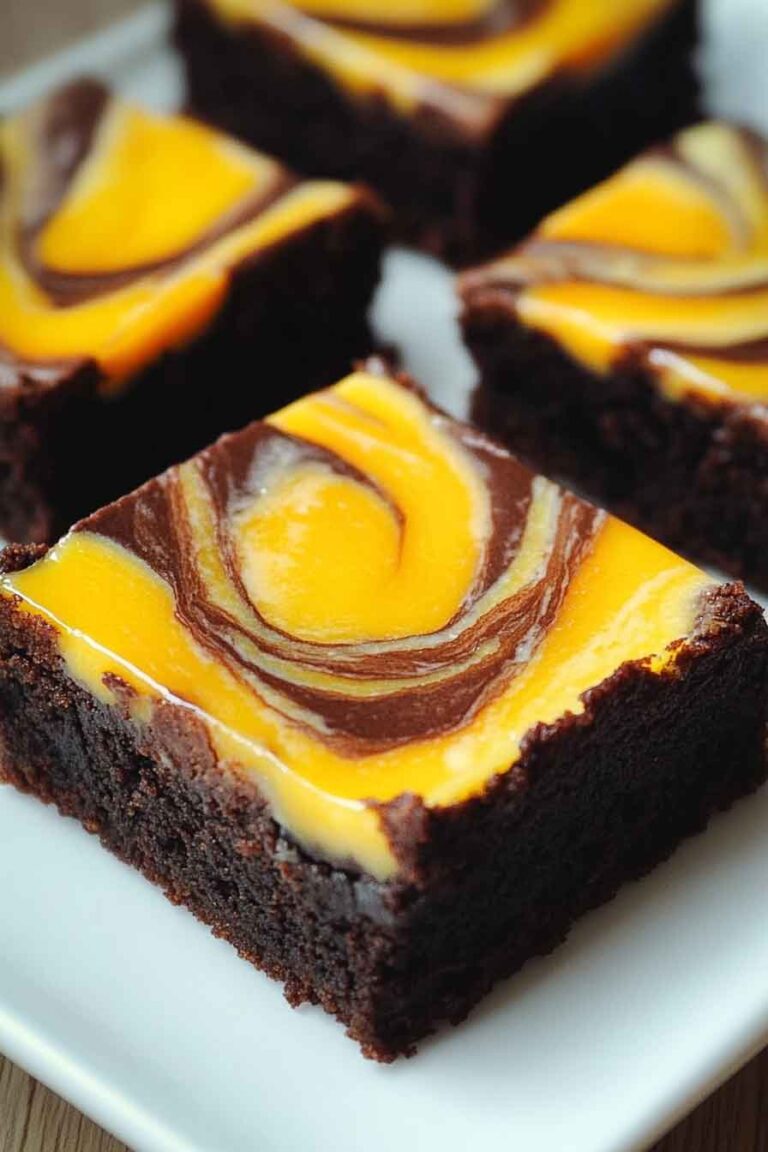
- Swirl Style: Instead of layering, drop dollops of the pumpkin mixture onto the brownie batter and use a knife to create beautiful swirls.
- Gluten-Free Option: Use a gluten-free brownie mix for a celiac-friendly version.
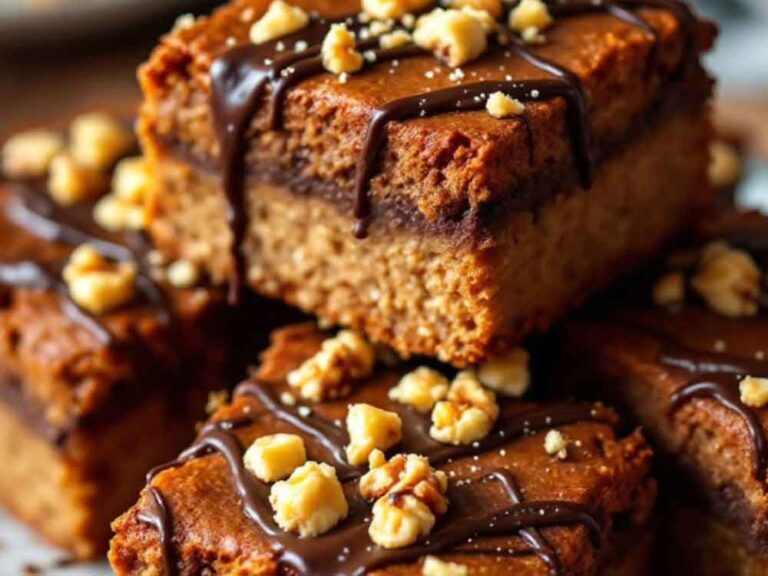
- Add Nuts: Sprinkle chopped pecans or walnuts over the pumpkin layer for extra texture and flavor.
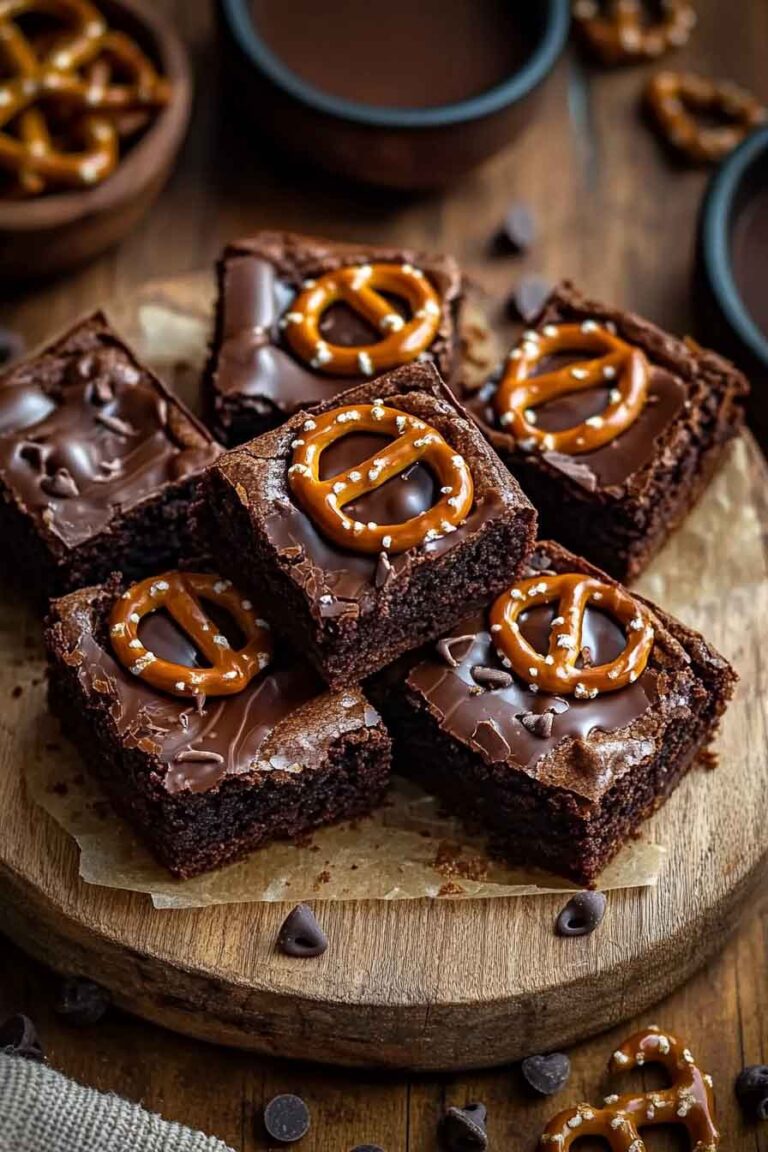
- Extra Chocolatey: Mix dark chocolate chunks into the brownie batter for more indulgence.
- Coconut Twist: Replace vegetable oil with melted coconut oil for a subtle coconut flavor.
Step-by-Step Instructions
1. Prep the Pan and Preheat the Oven
- Preheat your oven to 325°F (163°C).
- Line a 9×9-inch baking pan with parchment paper, leaving an overhang for easy removal.
2. Make the Brownie Batter
- In a mixing bowl, combine the brownie mix, water, vegetable oil, and egg. Mix until just combined, being careful not to overmix.
- Fold in the semisweet chocolate chips for bursts of chocolate in every bite.
- Pour the brownie batter into the prepared baking pan and spread it evenly.
3. Prepare the Pumpkin Layer
- In another bowl, beat the cream cheese until smooth and creamy. Use an electric mixer for best results.
- Add the pumpkin puree, granulated sugar, and pumpkin pie spice, mixing until fully incorporated and silky.
4. Assemble the Layers
- Gently spread the pumpkin mixture over the brownie batter, ensuring an even layer. Use an offset spatula for smooth results.
5. Bake the Brownies
- Bake in the preheated oven for 45-50 minutes, or until the edges are set and a toothpick inserted into the center comes out mostly clean.
- Allow the brownies to cool completely in the pan before slicing.
Serving and Decoration

How to Serve Pumpkin Brownies
- Classic Squares: Slice into even squares for neat presentation.
- With Whipped Cream: Top each piece with a dollop of whipped cream or a sprinkle of cinnamon.
- Drizzle of Chocolate: Melt some chocolate and drizzle it over the brownies for added flair.
Storing Pumpkin Brownies
- Room Temperature: Store in an airtight container for up to 2 days.
- Refrigerator: Keep in the fridge for up to a week for a chilled, firm texture.
- Freezer: Wrap individual pieces in plastic wrap, then place them in a freezer bag. Freeze for up to 3 months. Thaw overnight in the fridge before serving.
Nutrition Information (Per Serving)
| Nutrient | Amount |
|---|---|
| Calories | 280 |
| Total Fat | 14g |
| Saturated Fat | 6g |
| Cholesterol | 30mg |
| Sodium | 150mg |
| Total Carbohydrates | 36g |
| Sugars | 22g |
| Protein | 3g |
FAQs
Can I Use Homemade Pumpkin Puree?
Absolutely! Just ensure it’s thick and not watery for the best consistency.
Can I Make This Recipe Dairy-Free?
Yes, substitute the cream cheese with a dairy-free alternative and use a brownie mix that doesn’t require dairy.
How Do I Prevent Overbaking?
Start checking the brownies at the 40-minute mark. The pumpkin layer should set, but the brownie base can remain slightly fudgy.
Can I Double the Recipe?
Yes! Use a 9×13-inch pan and adjust the baking time to about 55-60 minutes.
Pumpkin Brownies
Course: Uncategorized12
brownies15
minutes30
minutes280
kcal20
minutesIngredients
- For the Brownies
1 cup unsalted butter, melted
1 ½ cups granulated sugar
1 ½ cups granulated sugar
2 large eggs
1 teaspoon vanilla extract
¾ cup all-purpose flour
¼ teaspoon salt
- For the Pumpkin Swirl
½ cup pumpkin puree
2 tablespoons brown sugar
½ teaspoon ground cinnamon
¼ teaspoon ground nutmeg
Directions
- Preheat oven to 350°F (175°C). Line an 8×8-inch baking pan with parchment paper.
- In a bowl, mix melted butter, sugar, and cocoa powder until smooth.
- Add eggs and vanilla; stir until combined.
- Fold in flour and salt gently.
- Pour half of the brownie batter into the prepared pan.
- Mix pumpkin puree with brown sugar, cinnamon, and nutmeg.
- Mix pumpkin puree with brown sugar, cinnamon, and nutmeg.
- Pour remaining brownie batter on top and swirl lightly with a knife.
- Bake for 28–30 minutes, until a toothpick comes out with moist crumbs.
- Cool completely before slicing and serving.
Conclusion
These Pumpkin Brownies combine the warmth of fall spices with the indulgence of chocolate for a dessert that feels like a big, cozy hug. They’re quick to make, versatile, and always crowd-pleasing. Whether you’re baking for a party or just treating yourself, this recipe is bound to become a seasonal favorite.
Don’t forget to leave a comment below and let me know how yours turned out!