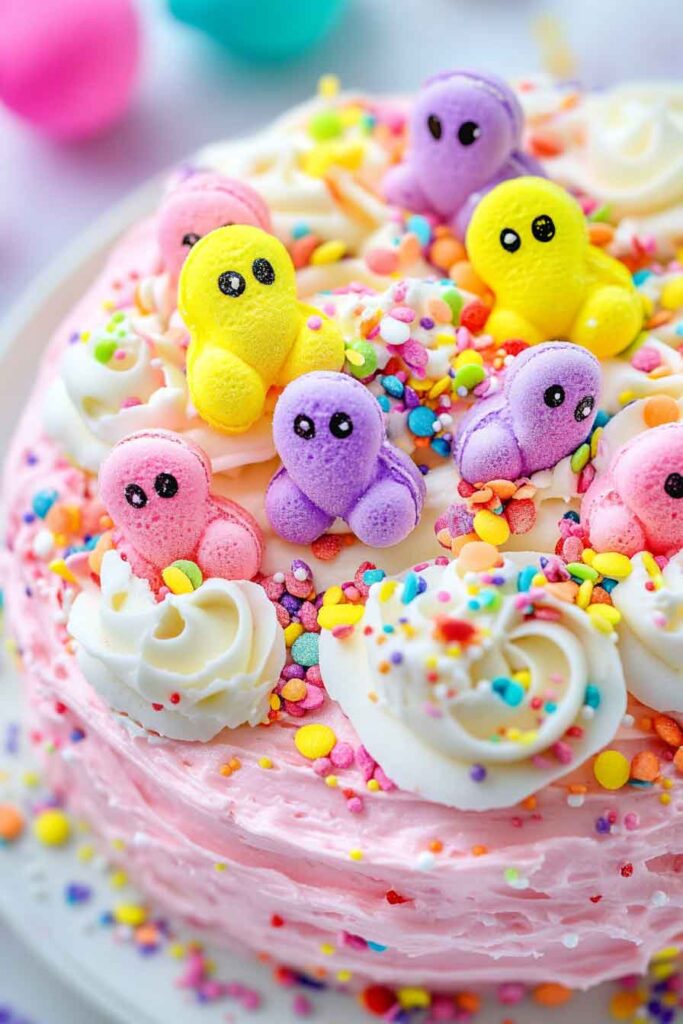
Peep Tastic Celebration Cake
Oh wow—this cake is just so fun! It’s bright, sweet, and totally packed with Peeps. I made it once for a party, and everyone smiled the second they saw it.
It’s soft and fluffy inside, with colorful frosting and those cute little marshmallow chicks all around. It feels like a party just looking at it. And honestly? It’s way easier than it looks.
If you want something cheerful and super simple, this is it. Whether it’s Easter or just for fun—this cake makes people happy. Let’s make some magic!
Why You’ll Love This Recipe
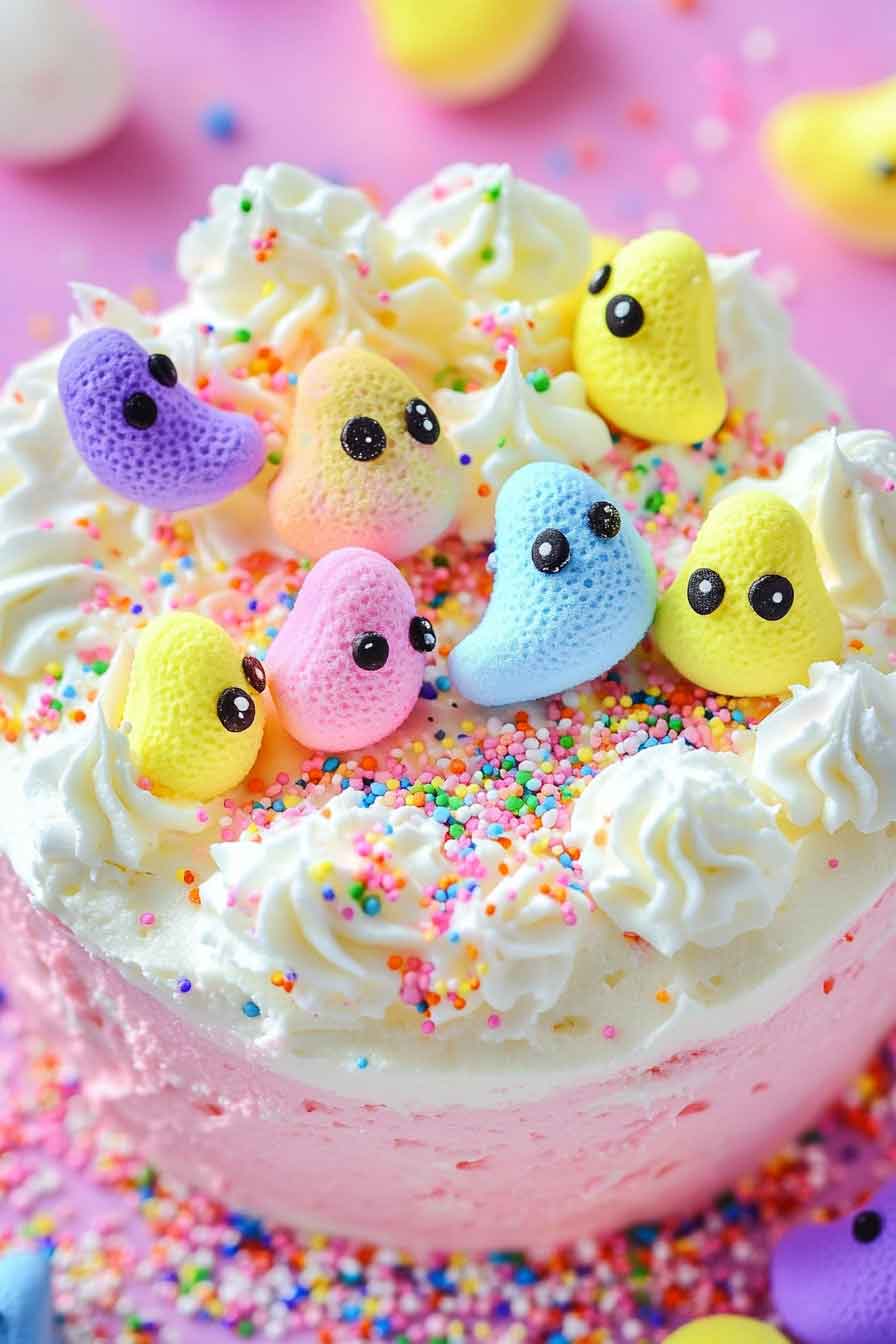
- Visually Stunning: This cake is as pretty as it is delicious. The bright colors and adorable Peeps bring fun and joy to any celebration.
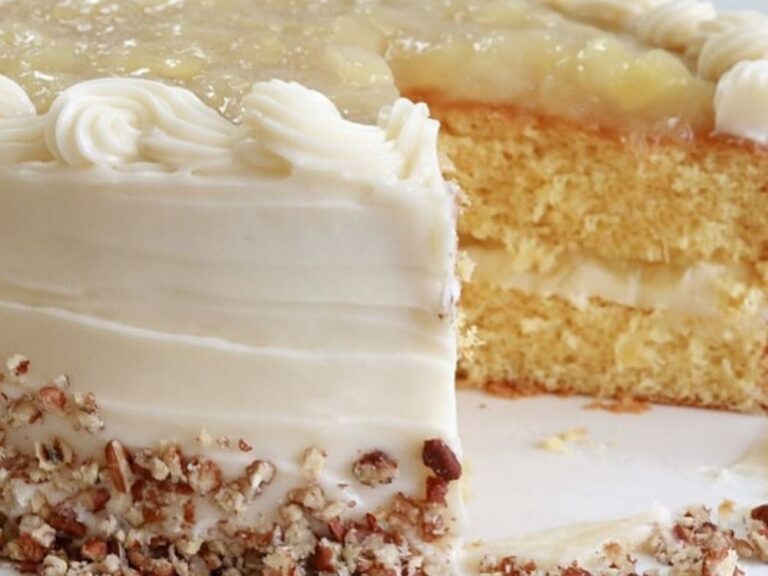
- Moist and Flavorful Cake Layers: With the perfect balance of sweetness, this cake is a crowd-pleaser that tastes as good as it looks.
- Perfect for Special Occasions: Whether it’s Easter, a birthday party, or any other celebration, this cake is the perfect showstopper.
- Customizable Decorations: Feel free to get creative with how you decorate the cake. The Peeps are just the beginning!
- Fun to Make: This cake is fun for everyone to help with, especially when it comes to decorating with those iconic marshmallow Peeps!
Required Kitchen Tools
To make this delicious Peep Tastic Celebration Cake, you’ll need:
- Two 8-inch round cake pans: These are perfect for baking the cake layers.
- Hand or stand mixer: For mixing the batter, you can use a stand mixer or a handheld electric mixer.
- Measuring cups and spoons: For accurate measurements of ingredients.
- Cooling rack: To cool the cake layers after baking.
- Cake turntable (optional): For smooth and easy decorating.
- Offset spatula: This will help you spread frosting evenly on the cake.
- Piping bags and tips: For creating beautiful, decorative frosting accents.
- Cake boards: If you plan to transport the cake or need a sturdy base.

Ingredients
To make this Peep Tastic Celebration Cake, here’s what you’ll need for the cake layers, frosting, and decoration:
For the Cake:
- Baking Powder: 2 1/2 teaspoons. This ensures the cake rises perfectly.
- Salt: 1/2 teaspoon. Balances the sweetness and enhances the cake’s flavor.
- Unsalted Butter (room temperature): 1 cup. Butter adds richness to the cake.
- Granulated Sugar: 1 3/4 cups. Adds sweetness and moisture to the cake.
- Large Eggs (room temperature): 4 eggs. They help provide structure and moisture to the cake.
- Vanilla Extract: 1 teaspoon. Adds a delicious, aromatic flavor that complements the cake.
- Whole Milk (room temperature): 1 cup. Keeps the cake batter smooth and moist.
- White Chocolate Chips, melted: 1 cup. These create a rich, indulgent flavor in the cake.
- Fresh Raspberries, mashed: 1 1/2 cups. Raspberries provide a refreshing tartness that balances the sweetness of the cake.
For the Frosting:
- Unsalted Butter (room temperature): 1 1/2 cups. The base for a smooth and creamy frosting.
- Powdered Sugar: 4 cups. Adds sweetness and structure to the frosting.
- Vanilla Extract: 2 teaspoons. To enhance the flavor of the frosting.
- Heavy Cream: 1/4 cup. Helps achieve a smooth and silky frosting consistency.
- Gel Food Coloring: Optional, but fun to make the frosting colorful!
For Decoration:
- Peeps (of your choice): These adorable marshmallow treats will be the star of your cake decoration. Use as many as you’d like to decorate the top of the cake.
- White Chocolate Chips: 1/2 cup. Use these for garnishing the cake and creating texture.
- Fresh Raspberries: A handful for decoration. Adds a fresh, vibrant touch to your cake’s look.
- Sprinkles: Optional, for a little extra fun and color.
Step-by-Step Instructions
1. Preheat the Oven and Prepare the Cake Pans
Start by preheating your oven to 350°F (177°C). Grease and flour two 8-inch round cake pans. You can also line the bottoms with parchment paper for easy removal after baking. Set the pans aside.
2. Mix the Dry Ingredients
In a medium bowl, whisk together the baking powder and salt. Set this aside for later.
3. Cream the Butter and Sugar
In a large mixing bowl, use a hand mixer or stand mixer to cream the unsalted butter and granulated sugar together on medium speed. Beat for about 3-4 minutes until the mixture is light and fluffy. This step is crucial for achieving a smooth, airy texture in your cake.
4. Add the Eggs and Vanilla
Add the eggs one at a time, beating well after each addition. Once all the eggs are incorporated, add the vanilla extract and mix until everything is combined.
5. Incorporate the Wet Ingredients
Add the whole milk and melted white chocolate chips into the wet mixture and mix well. The chocolate will add an indulgent richness to the cake that pairs beautifully with the tart raspberries.
6. Mix in the Dry Ingredients
Gradually add the dry ingredients (baking powder and salt) to the wet ingredients in batches. Mix until just combined, making sure not to overmix the batter.
7. Add the Fresh Raspberries
Gently fold the mashed fresh raspberries into the batter. Their burst of tart flavor will contrast wonderfully with the sweetness of the cake.
8. Bake the Cake Layers
Divide the batter evenly between the two prepared cake pans. Use a spatula to smooth the tops of the batter. Bake the cakes for 30-35 minutes, or until a toothpick inserted into the center comes out clean. Let the cakes cool in the pans for 10 minutes before transferring them to a wire rack to cool completely.
9. Prepare the Frosting
While the cakes are cooling, make the frosting. In a large bowl, beat the unsalted butter until creamy. Gradually add the powdered sugar, one cup at a time, beating until the mixture is smooth. Add the vanilla extract and heavy cream and continue to beat until the frosting is light and fluffy. If you want to add color to the frosting, divide the frosting into separate bowls and use food coloring to create multiple colors for a fun, vibrant look.
10. Assemble the Cake
Once the cakes have cooled, level the tops of the cakes if needed. Place one cake layer on a cake stand or plate and spread a layer of frosting over the top. Place the second cake layer on top and frost the entire cake with a smooth layer of frosting.
11. Decorate the Cake
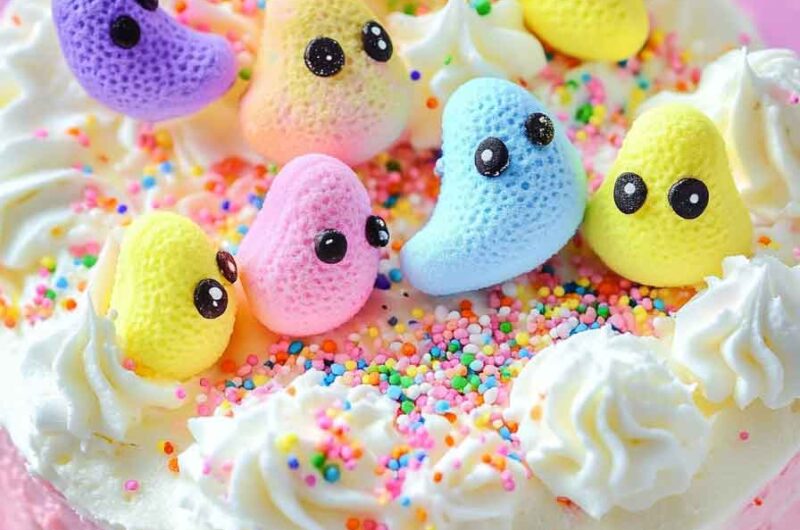
Now, it’s time to get creative with your decorations! Place Peeps on top of the cake, arranging them however you like. You can create a cute pattern or simply scatter them randomly for a fun look. Add a sprinkle of white chocolate chips, and garnish with fresh raspberries and sprinkles if desired. The vibrant colors and playful design will make your cake the center of attention!
How to Serve Peep Tastic Celebration Cake
This cake is a perfect showstopper for any occasion, and it pairs well with various beverages and sides:
- With Ice Cream: Serve slices of this Peep Tastic Celebration Cake alongside a scoop of vanilla or raspberry ice cream.
- With Fresh Fruit: Complement the cake’s flavors with a fresh fruit salad made from strawberries, blueberries, or tropical fruits.
- As a Dessert Table Highlight: This cake will look stunning on any dessert table and be a crowd favorite at parties, birthdays, or Easter celebrations.
- For a Sweet Snack: It’s so moist and flavorful, you can enjoy a slice as a midday snack or afternoon tea companion.
Storing Peep Tastic Celebration Cake
- Room Temperature: Keep the cake covered at room temperature for up to 3 days. The frosting may soften slightly but will still taste amazing.
- Refrigerator: If you prefer to keep it fresh for longer, store the cake in an airtight container in the refrigerator for up to 5 days. Let it sit at room temperature for about 15-20 minutes before serving for the best flavor and texture.
- Freezer: This cake can be frozen for up to 1 month. Wrap it tightly in plastic wrap and foil before placing it in the freezer. Let it thaw overnight in the fridge before serving.
Nutrition
Below is an approximate nutritional breakdown per slice (based on 12 slices):
| Nutrient | Amount |
|---|---|
| Calories | 350 kcal |
| Total Fat | 18g |
| Saturated Fat | 10g |
| Carbohydrates | 46g |
| Fiber | 1g |
| Sugars | 34g |
| Protein | 4g |
| Sodium | 150mg |
Conclusion
The Peep Tastic Celebration Cake is not just a treat for the tastebuds, but also a feast for the eyes! Its colorful and fun design makes it the perfect cake for birthdays, Easter, or any joyful celebration. With moist cake layers, a rich frosting, and the fun addition of Peeps, this cake is sure to become a family favorite. Whether you’re a seasoned baker or a beginner, you’ll find this recipe simple and fun to make. So, gather your ingredients, bring out the Peeps, and get ready to create a cake that will wow your guests and create lasting memories.
Peep Tastic Celebration Cake
Course: Uncategorized12
slices45
minutes30
minutes350
kcalIngredients
- For the Cake:
2 1/2 tsp baking powder
1/2 tsp salt
1 cup unsalted butter, room temperature
1 3/4 cups granulated sugar
4 large eggs, room temperature
1 tsp vanilla extract
1 cup whole milk, room temperature
1 cup white chocolate chips, melted
1 1/2 cups fresh raspberries, mashed
- For the Frosting:
1 1/2 cups unsalted butter, room temperature
4 cups powdered sugar
2 tsp vanilla extract
1/4 cup heavy cream
Gel food coloring (optional)
- For Decoration:
Peeps (your choice of colors)
1/2 cup white chocolate chips
Fresh raspberries
Sprinkles (optional)
Directions
- Prep the Cake Layers
- Preheat oven to 350°F (175°C). Grease and flour two 8-inch round cake pans.
- In a bowl, whisk together flour, baking powder, baking soda, and salt. Set aside.
- In a separate large bowl, cream together softened butter and sugar until light and fluffy (about 3 minutes).
- Beat in eggs, one at a time, then add vanilla extract.
- Alternate adding the dry ingredients and buttermilk to the wet mixture, beginning and ending with the dry.
- If you want colorful layers, divide the batter into bowls and mix in food coloring.
- Pour into pans and bake for 25–30 minutes, or until a toothpick comes out clean.
- Let the cakes cool completely before frosting.
- Make the Frosting
- In a large bowl, beat butter until creamy.
- Gradually add powdered sugar, mixing on low.
- Add vanilla and 2 tbsp of milk or cream. Beat on medium-high until fluffy.
- Add more milk for a softer texture if needed. Color the frosting if you like.
- Assemble the Cake
- Assemble the Cake
- Spread a layer of frosting on the bottom cake round, then stack the second layer on top.
- Frost the entire cake evenly.
- Decorate
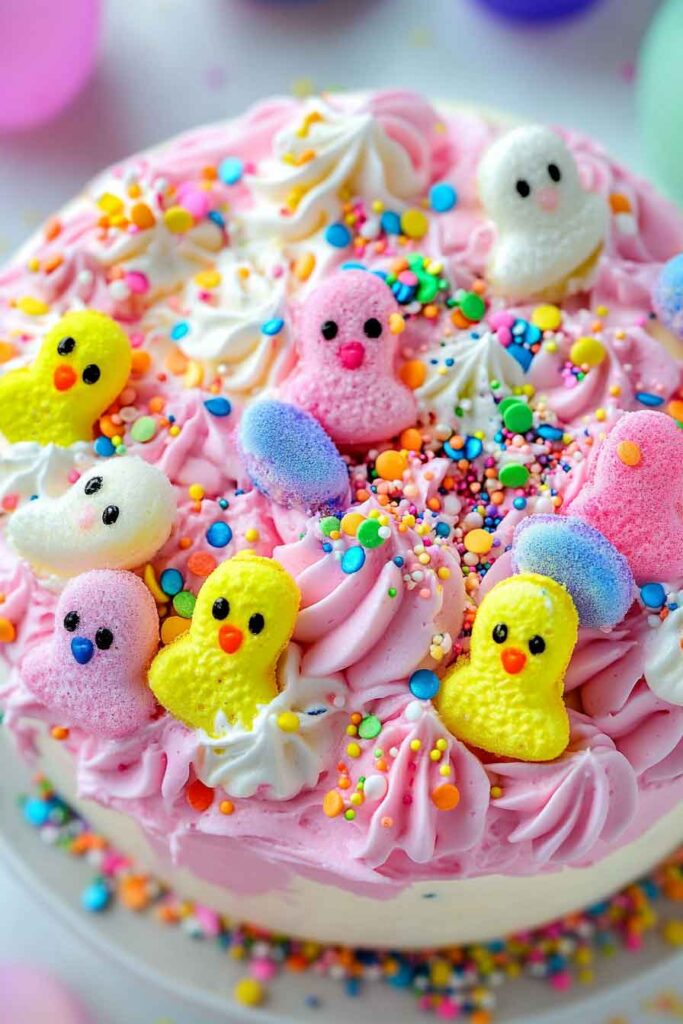
- Line the outer edge of the cake with Peeps all around, gently pressing them into the frosting to stick.
- Add sprinkles or candies to the top and in between Peeps for extra color.
- Chill slightly to set the frosting, then serve.
FAQ – Peep-Tastic Celebration Cake
Can I use a boxed cake mix instead of homemade cake?
A: Absolutely! Use your favorite boxed mix to save time. Just make sure to let the layers cool completely before decorating.
How far in advance can I make this cake?
A: You can bake and frost the cake 1 day in advance. Add the Peeps and final decorations the day you plan to serve it, so they stay fresh and fluffy.
Do Peeps melt or get sticky on the cake?
A: Not right away. If the cake is stored in a cool, dry place, the Peeps will hold their shape for a day or two. Avoid refrigerating the cake for long periods with the Peeps on it, as it can cause them to get tacky.
Can I make this cake with different cake flavors?
A: Yes! Vanilla, funfetti, chocolate, or lemon all work great. Pick what your crowd loves best.
Is this cake kid-friendly?
A: Very! The bright colors, sweet frosting, and Peeps make it a hit with kids—especially at Easter or birthday parties.