

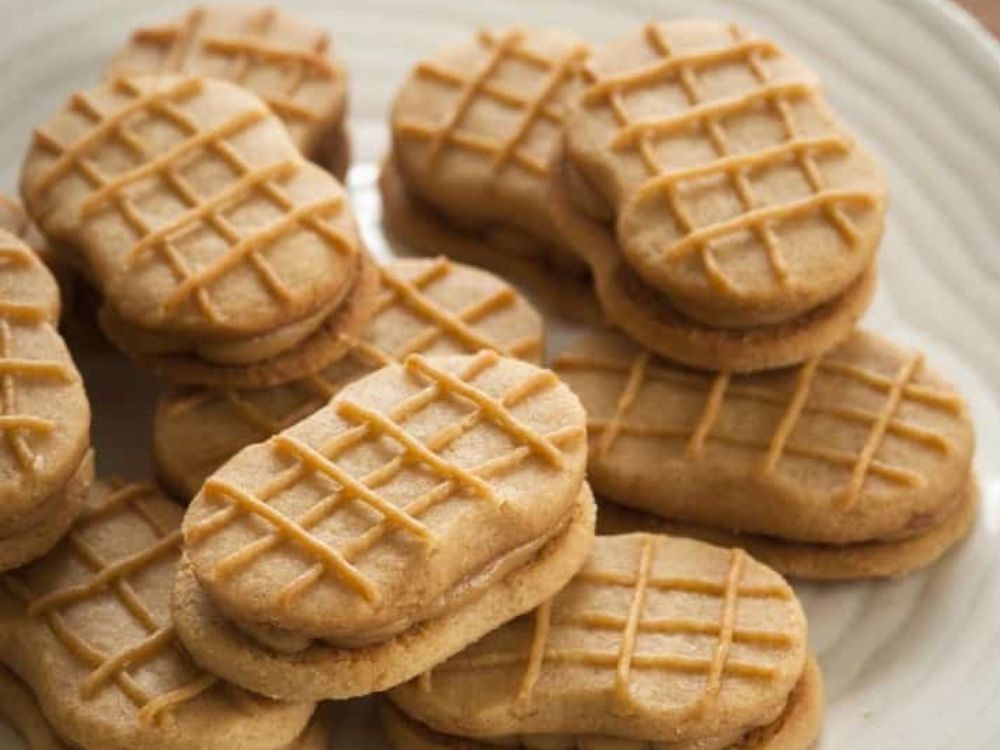
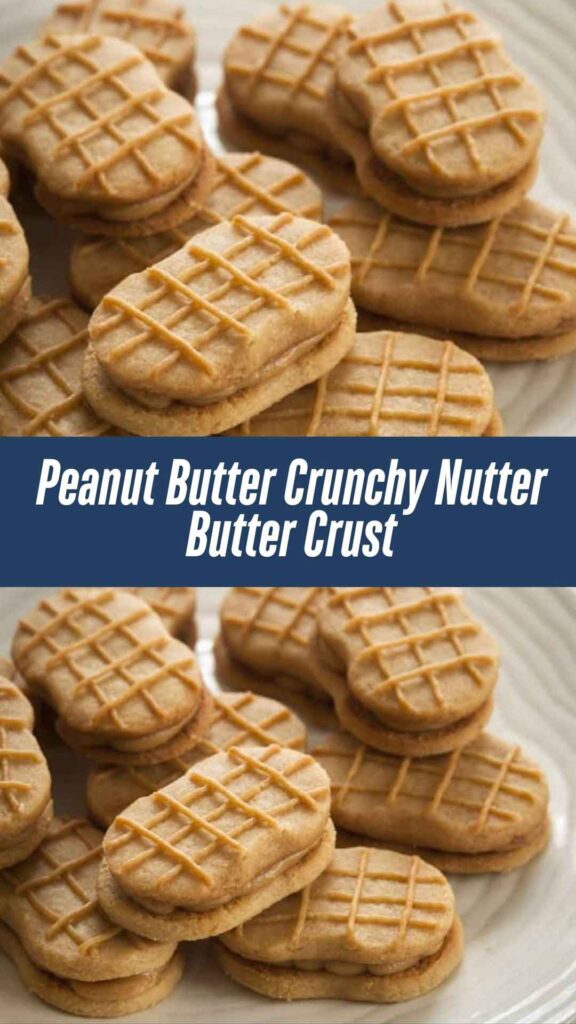
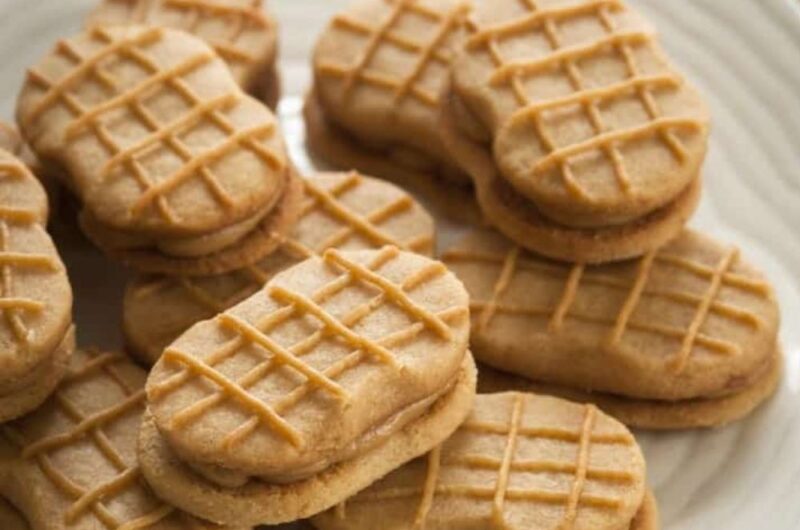
Oh boy, have you ever tasted something so peanut buttery, so crunchy, so downright irresistible? This crust is a game-changer. It’s like a hug from a jar of peanut butter—only better!
We took crunchy Nutter Butter cookies and turned them into the most perfect, nutty, buttery crust. Every bite is packed with peanutty goodness. Trust us, it makes any dessert ten times better.
Imagine this: a thick, crispy crust holding your favorite pie, cheesecake, or even just a spoonful of whipped cream. It’s sweet, salty, and oh-so-satisfying. Once you try it, there’s no going back.
So, what are you waiting for? Grab some Nutter Butters and let’s get crunching. Your taste buds will thank you!
Why You’ll Love This Recipe
- Perfectly Balanced Sweet and Savory: The combination of Nutter Butter cookies and peanut butter offers a sweet and salty contrast that is seriously addicting.
- Crunchy and Creamy Texture: The base has a perfect crunch, while the creamy peanut butter filling melts in your mouth.
- Quick and Easy to Make: With just a few simple ingredients, you can whip up this dessert in no time.
- Make-Ahead Friendly: You can prepare the crust and filling in advance, making it a perfect option for busy days or last-minute gatherings.
- Great for All Occasions: Whether it’s for a family gathering, a potluck, or just a weekend treat, this dessert will impress everyone!

Required Kitchen Tools
Here’s what you’ll need to make the Peanut Butter Crunchy Nutter Butter Crust:
- 9-inch Pie Dish or Springform Pan: To hold the crust and filling.
- Food Processor or Ziploc Bag and Rolling Pin: To crush the Nutter Butter cookies for the crust.
- Mixer (Hand or Stand Mixer): To combine the filling ingredients smoothly.
- Rubber Spatula: To scrape down the sides of the bowl while mixing.
- Measuring Cups and Spoons: To ensure accurate ingredient measurements.
- Small Microwave-Safe Bowl (optional): To melt the peanut butter or chocolate drizzle.
Ingredients for the Peanut Butter Crunchy Nutter Butter Crust
Here’s a breakdown of the ingredients you’ll need to make the crust, filling, and topping for this tasty dessert:
For the Crust:
- Nutter Butter Cookies: The base of this crust is all about the crunch. These peanut butter-filled cookies offer the perfect combination of sweet and savory flavors for the crust.
- Unsalted Butter (Melted): The butter will help bind the crushed cookies together and create a firm, flavorful base.
For the Filling:
- Cream Cheese (Softened): The cream cheese provides the creamy base of the filling and gives it a smooth texture.
- Creamy Peanut Butter: Naturally, peanut butter is the star of this dessert. It adds richness, flavor, and a nice contrast to the crunchy crust.
- Powdered Sugar: Adds sweetness and helps thicken the filling to the perfect consistency.
- Vanilla Extract: Enhances the flavors of the peanut butter and cream cheese filling.
- Whipped Topping (Thawed): Adds lightness and a bit of fluff to the filling, making it extra smooth.
For the Topping:
- Crushed Nutter Butter Cookies: To add a little extra crunch and make the dessert look extra appealing.
- Chopped Peanuts (Optional): For an added crunch and nutty flavor. You can skip this if you’re not a fan of nuts, but it adds a lovely touch.
- Drizzle of Melted Chocolate or Peanut Butter (Optional): This is completely optional, but a drizzle of melted peanut butter or chocolate adds a finishing touch that takes this dessert to the next level.
Variations for Peanut Butter Crunchy Nutter Butter Crust
Feel free to experiment with the recipe and customize it to your liking. Here are a few variations to try:
1. Nut-Free Option:
If you or your guests are allergic to nuts, you can swap the peanut butter for sunbutter (made from sunflower seeds) and use graham crackers or even oatmeal cookies for the crust.
2. Chocolate Peanut Butter Combo:
For a chocolate twist, melt some chocolate chips and swirl them into the filling or drizzle over the top. You could even add chocolate chips to the filling itself.
3. Crunchy Crust:
If you love extra crunch, add a handful of chopped peanuts to the crust mix. It will add some extra texture and a nice surprise when you take a bite.
4. No Bake Version:
Want to skip the oven altogether? This dessert is already a no-bake recipe! Just make sure to chill the pie for a few hours or overnight so the crust sets nicely and the filling firms up.
5. Mini Version:
Make individual servings by using mini tart pans or cupcake liners. This is a great idea if you need portion control or want a cute, single-serve dessert for parties.
Step-by-Step Instructions for Peanut Butter Crunchy Nutter Butter Crust
1. Crush the Nutter Butter Cookies
The first step to creating the perfect crust is to crush the Nutter Butter cookies. You can do this by using a food processor to blitz them into crumbs or place the cookies in a Ziploc bag and crush them with a rolling pin. You’ll need about 2 cups of crushed cookies for the crust.
2. Prepare the Crust
In a medium-sized bowl, combine the crushed cookies and the melted butter. Stir until the mixture resembles wet sand. The butter should coat the cookie crumbs, helping them stick together when pressed into the pan.
3. Press the Crust into the Pan
Transfer the cookie mixture into a 9-inch pie dish or a springform pan. Use the back of a spoon to press the crumbs down firmly to form an even, solid crust. Make sure to press up along the edges as well, creating a nice crust around the sides of the dish.
4. Chill the Crust
Place the crust in the fridge to chill for at least 30 minutes. This will allow the butter to set and firm up the crust. You can also freeze it for 15 minutes if you’re short on time.
Part 2: The Creamy Peanut Butter Filling – Smooth and Irresistible!
Now that your crust is chilled and ready to go, it’s time to make the creamy peanut butter filling. This part is where the magic happens! It’s rich, velvety, and packed with peanut butter flavor. You’ll love how easy it is to make the filling, and how perfectly it complements the crunchy Nutter Butter crust. Trust me, it’s the perfect combination!
Why You’ll Love the Peanut Butter Filling
- Creamy Texture: This filling is light, airy, and smooth. It’s the perfect counterpart to the crunchy crust.
- Peanut Butter Heaven: If you love peanut butter, this filling is everything you’ve ever dreamed of—sweet, creamy, and full of flavor.
- Quick and Easy: You don’t have to spend hours in the kitchen to achieve this decadent filling. It comes together in just a few minutes.
- Versatile: The filling can be used for pies, cakes, and even no-bake cheesecakes.
Step-by-Step Instructions for the Peanut Butter Filling
1. Beat the Cream Cheese
Start by softening the cream cheese to room temperature (this will help it blend more smoothly). Use a hand mixer or stand mixer to beat the cream cheese until it’s smooth and fluffy. You’ll want it to be completely free of lumps, so take your time here.
2. Add the Peanut Butter
Once the cream cheese is smooth, add in the creamy peanut butter. Beat again until the peanut butter is fully incorporated into the cream cheese. You should have a smooth, peanut-buttery mixture that’s thick but spreadable.
3. Add the Powdered Sugar and Vanilla
Next, add the powdered sugar and vanilla extract to the mixture. The powdered sugar helps thicken the filling and adds the perfect amount of sweetness. Continue to mix until everything is well combined and the filling is light and fluffy.
4. Fold in the Whipped Topping
For a fluffy texture, gently fold in the whipped topping. This lightens up the filling and gives it that creamy, airy texture that pairs perfectly with the crunchy crust. Be sure not to overmix—it’s important to keep the filling airy and smooth.
5. Taste and Adjust
At this point, give the filling a quick taste. If you want it sweeter, feel free to add a bit more powdered sugar. If you want more peanut butter flavor, you can add a spoonful more of peanut butter. Adjust to your liking!
How to Layer the Peanut Butter Filling into the Crust
Now that you’ve got your filling prepared, it’s time to assemble the pie. Here’s how you’ll do it:
1. Spread the Filling
Once your crust is ready and chilled, spoon the peanut butter filling into the crust. Use a spatula to spread the filling evenly, making sure it reaches all the edges and corners of the crust.
2. Smooth the Top
Smooth out the top of the filling, making sure it’s even and level. This will help the dessert look more polished once it’s ready to serve.
3. Chill the Pie
Once the pie is assembled, cover it with plastic wrap and place it in the refrigerator to chill for at least 2 hours. This will help the filling set properly and allow the flavors to meld together.
Variations for the Peanut Butter Filling
While this peanut butter filling is delicious as is, here are some fun variations to try:
1. Add Chocolate Chips:
For a chocolate-peanut butter combo, add mini chocolate chips to the filling. Just fold them in along with the whipped topping for an extra layer of flavor.
2. Swirl in Melted Chocolate:
Melt some chocolate chips and swirl it into the filling for a marbled effect. You can also drizzle some on top for an extra touch of chocolate goodness.
3. Crunchy Peanut Butter:
If you prefer a bit of texture in your filling, use crunchy peanut butter instead of creamy. This will give the filling a bit more bite and add extra peanut flavor.

How to Serve Peanut Butter Crunchy Nutter Butter Crust
Once the pie is chilled and ready, it’s time to serve. Here are a few ideas for serving:
1. Classic Slice:
Simply slice and serve! This pie is perfect on its own, but you can add some whipped cream or a drizzle of chocolate for extra flair.
2. Garnish with Crushed Nutter Butter Cookies:
Top the pie with more crushed Nutter Butter cookies for an added crunch and a beautiful presentation.
3. Drizzle with Peanut Butter or Chocolate:
If you love peanut butter, you can melt some peanut butter and drizzle it over the top of the pie. For a chocolate lover’s dream, melt some chocolate and drizzle it over for a decadent touch.
Part 3: Storing, Nutrition, and the Recipe Card – Everything You Need to Know!
Now that your Peanut Butter Crunchy Nutter Butter Crust dessert is all set and ready to go, let’s wrap up with some helpful tips on storage, nutrition, and the final recipe card so you can easily recreate this delicious dessert anytime!
Storing Peanut Butter Crunchy Nutter Butter Crust
Proper storage is key to keeping your dessert fresh and tasty. Here are the best ways to store it:
1. Storing Leftovers
If you happen to have any leftovers (though I doubt you will!), you can store the pie in an airtight container in the refrigerator for up to 3-4 days. Just make sure to cover the top well to prevent the filling from drying out.
2. Freezing the Pie
This dessert freezes well! To freeze it, simply cover the pie tightly with plastic wrap or aluminum foil and place it in the freezer. It will keep for up to 2 months. When you’re ready to enjoy it, let it thaw in the refrigerator overnight before serving. You might want to skip the topping if freezing, and add that just before serving for a fresh look.
3. Storing the Crust (Before Filling)
If you’re preparing the crust ahead of time, it can be stored in the fridge for up to 2 days before you add the filling. This is a great option if you want to prep the crust in advance and then add the filling the day you plan to serve it.
Nutrition Information (Per Serving)
While I always encourage enjoying dessert in moderation, here’s an approximate breakdown of the nutrition for one slice of this peanut butter pie (assuming 8 servings):
| Nutrient | Amount (per serving) |
|---|---|
| Calories | 320 |
| Total Fat | 22g |
| Saturated Fat | 7g |
| Trans Fat | 0g |
| Cholesterol | 20mg |
| Sodium | 160mg |
| Total Carbohydrates | 30g |
| Dietary Fiber | 2g |
| Sugars | 20g |
| Protein | 5g |
Please note that these values can vary depending on the specific brands of ingredients you use. For a more accurate count, feel free to use a nutrition calculator based on your exact ingredients.
Conclusion
If you’ve made it this far, you know that Peanut Butter Crunchy Nutter Butter Crust is an absolute winner. From the first bite of that crunchy, buttery crust to the last spoonful of the creamy, peanut butter-filled topping, this dessert has it all. It’s the perfect blend of textures, flavors, and a dessert that everyone will love. Whether you’re making it for a special occasion or just because, this pie will always be a hit. I can’t wait for you to try it and get hooked like I did!

Peanut Butter Crunchy Nutter Butter Crust – A Delicious Start to Your Dessert!
Course: Uncategorized8
servings20
minutes2
minutes320
kcalIngredients
- For the Crust:
2 cups Nutter Butter cookies (crushed)
1/4 cup unsalted butter (melted)
- For the Filling:
8 oz cream cheese (softened)
1 cup creamy peanut butter
1 cup powdered sugar
1 tsp vanilla extract
8 oz whipped topping (thawed)
- For the Topping:
1/4 cup crushed Nutter Butter cookies
1/4 cup chopped peanuts (optional)
Drizzle of melted chocolate or peanut butter (optional)
Directions
- Prepare the Crust: Crush the Nutter Butter cookies and mix with melted butter. Press into the bottom of a 9-inch pie dish or springform pan. Chill for at least 30 minutes.
- Make the Filling: Beat softened cream cheese until smooth. Add peanut butter, powdered sugar, and vanilla, and mix until fully combined. Gently fold in whipped topping.
- Assemble: Spread the peanut butter filling into the chilled crust. Smooth the top.
- Chill: Cover and refrigerate the pie for at least 2 hours.
- Top: Once chilled, sprinkle with crushed Nutter Butter cookies, chopped peanuts, and drizzle with melted chocolate or peanut butter if desired.
- Serve: Slice, serve, and enjoy the perfect peanut butter treat!
Peanut Butter Crunchy Nutter Butter Crust FAQs
Can I make this ahead of time?
Absolutely! You can prepare the pie up to 2 days in advance and store it in the refrigerator until you’re ready to serve.
Can I use crunchy peanut butter instead of creamy?
Yes, using crunchy peanut butter will add extra texture to the filling, which could be a nice variation if you enjoy a bit more crunch.
Can I use a different cookie for the crust?
You can substitute the Nutter Butter cookies with another crunchy cookie like Oreos or graham crackers, but the flavor will be slightly different. Nutter Butter cookies bring a unique peanut butter flavor to the crust that complements the filling perfectly.