

This cake tastes just like summer! It’s cold, creamy, and bursting with that sweet orange creamsicle flavor. Every bite feels like a sunny day.
I made it for a birthday once, and now it’s a family favorite. It’s light, refreshing, and sooo easy to put together.
If you love orange and vanilla, this one’s a must. Trust me, you’ll want seconds (and maybe thirds)!

Why You’ll Love This Recipe
- Reader Favorite: This cake is so delightful that everyone who tries it will ask for the recipe! Expect to hear “Wow, this is amazing!” from your family and friends.
- Cool and Refreshing: With the perfect citrus flavor and creamy texture, this cake is ideal for hot summer days or any time you want something cold and indulgent.
- Make-Ahead: You can prepare this cake in advance, letting it chill in the freezer until you’re ready to serve.
- Perfect for Celebrations: Whether it’s a birthday party, family reunion, or just a weekend treat, this cake is guaranteed to be the star of the show.
- Versatile Flavors: While orange is the star here, you can switch things up by adding a twist of lime or lemon if you’re feeling creative.
Required Kitchen Tools
Before we dive into the recipe, let’s check out the tools you’ll need to make this dream of a cake:
- Electric Mixer (Hand or Stand Mixer): To mix the cake batter and cream together smoothly.
- 9-inch Round Cake Pan (or springform pan): To form the base layer of the cake.
- Whisk: For mixing the JELLO and the ice cream filling.
- Spatula: For spreading the ice cream layer and smoothing out the cake batter.
- Piping Bag (Optional): For decorating with the orange gel icing.
- Refrigerator and Freezer Space: The cake needs time to chill, so make sure you have enough room for it.
Ingredients
Cake Layer
The base of this cake is soft, moist, and full of flavor. We want a cake that’s sturdy enough to hold the ice cream layers but still light and fluffy.
Here’s what you’ll need for the cake:
- All-Purpose Flour (2 cups): A classic choice for cakes that need structure but aren’t too dense.
- Sugar (1 cup): Sweetens the cake without overpowering the other flavors.
- Baking Powder (2 tsp): The leavening agent that helps the cake rise.
- Salted Butter (1/2 cup or 1 stick, softened): This adds richness and flavor to the cake.
- Egg Whites (4 large): For a fluffy texture and lightness.
- Vanilla Extract (2 tsp): For that lovely background flavor that pairs perfectly with orange.
- Sour Cream (1/2 cup): Adds moisture and tenderness to the cake.
- Milk (1/2 cup): Helps with the smooth texture and moistness of the cake.
- Hot Water (1/2 cup): This helps to make the cake batter smoother and easier to pour into the pan.
- Orange JELLO Powder (1 package, but reserve 3 tbsp for the ice cream layer): This gives the cake its orange flavor and a subtle, vibrant color.
Ice Cream Layers
Now comes the fun part! The ice cream layers are creamy, smooth, and bursting with orange goodness.
Here’s what you’ll need for the ice cream filling:
- Cream Cheese (8 oz, softened): This adds a smooth, tangy flavor and texture to the ice cream layer.
- Sugar (3/4 cup): Sweetens the ice cream filling.
- Milk (1 cup): Provides a smooth consistency.
- Cool Whip (8 oz): This gives the ice cream filling its light, airy texture.
- Orange JELLO Powder (remaining 3 tbsp from the cake mix): Enhances the flavor and gives the ice cream that signature citrus kick.
- Hot Water (1/4 cup): Helps dissolve the JELLO powder.
- Vanilla Extract (1 tsp): Just a hint of vanilla to complement the orange flavor.
Additional Ingredients
To finish off the cake, you’ll want some extra ingredients for decoration and flavor:
- Cool Whip (8 oz): You’ll use more Cool Whip to frost the top of the cake.
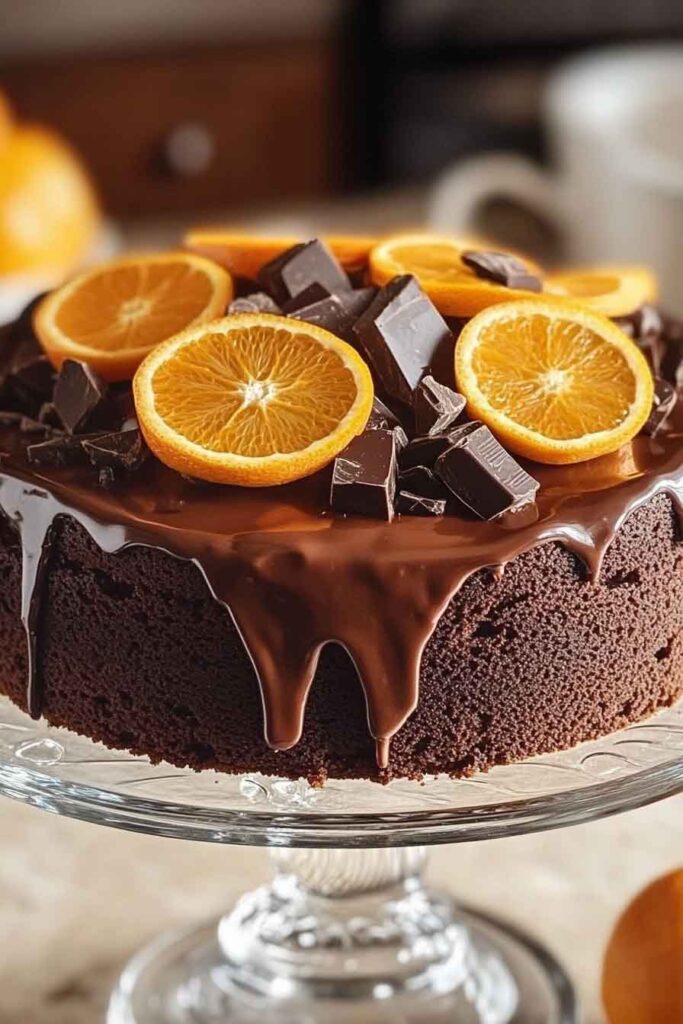
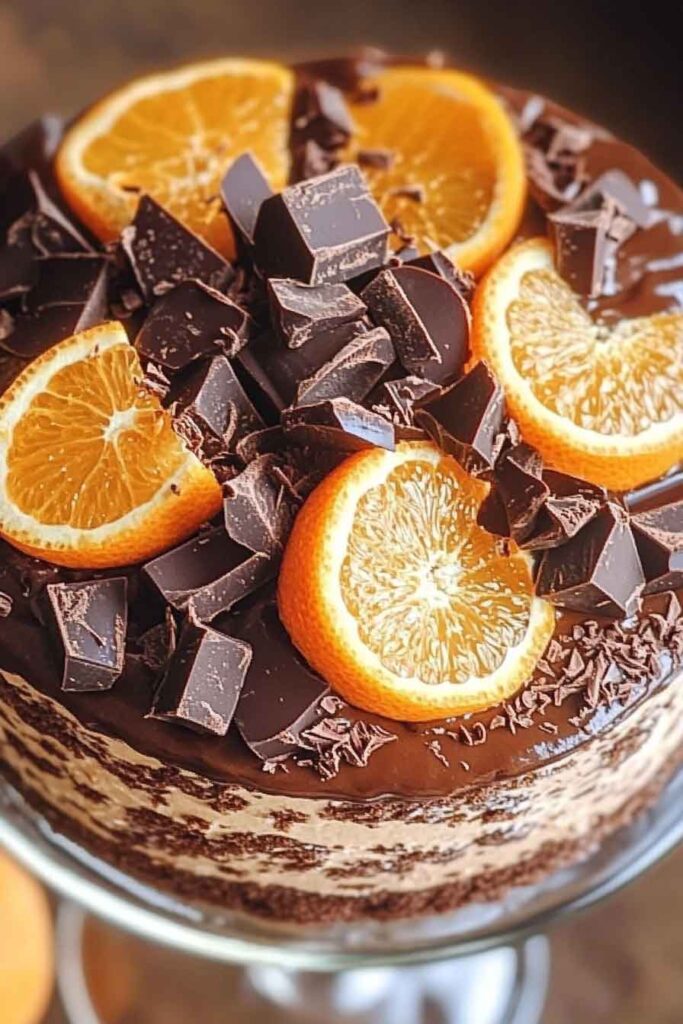
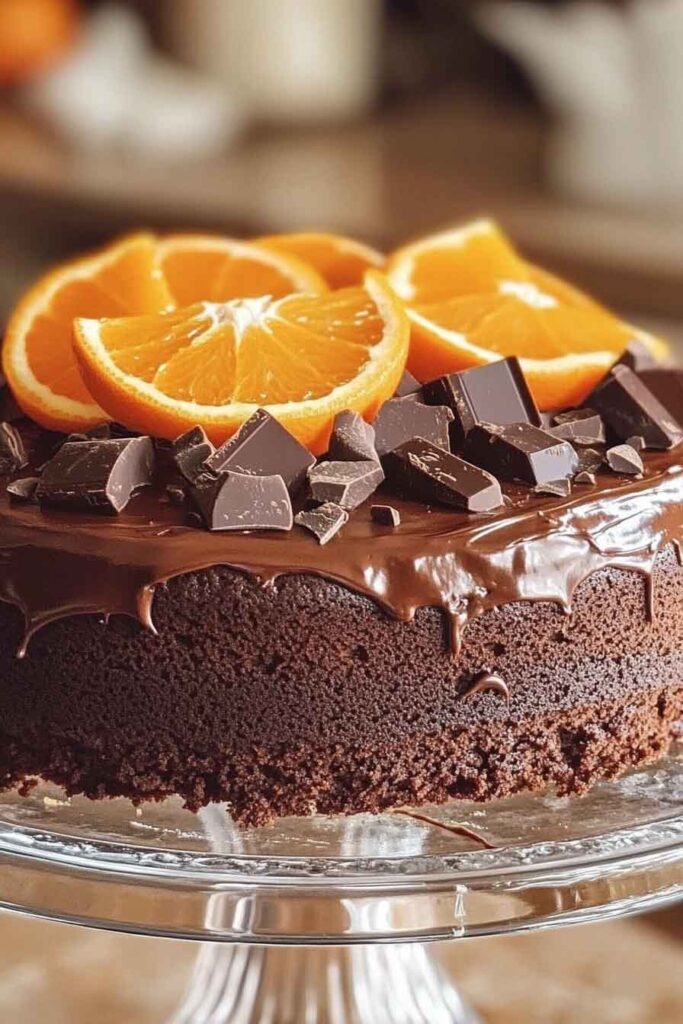
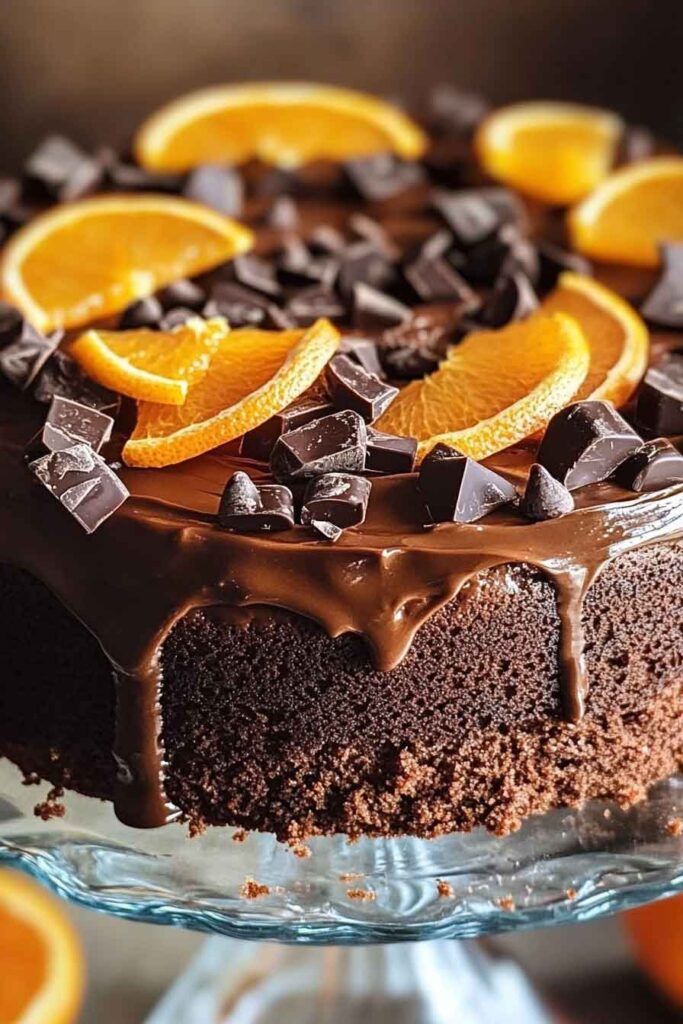
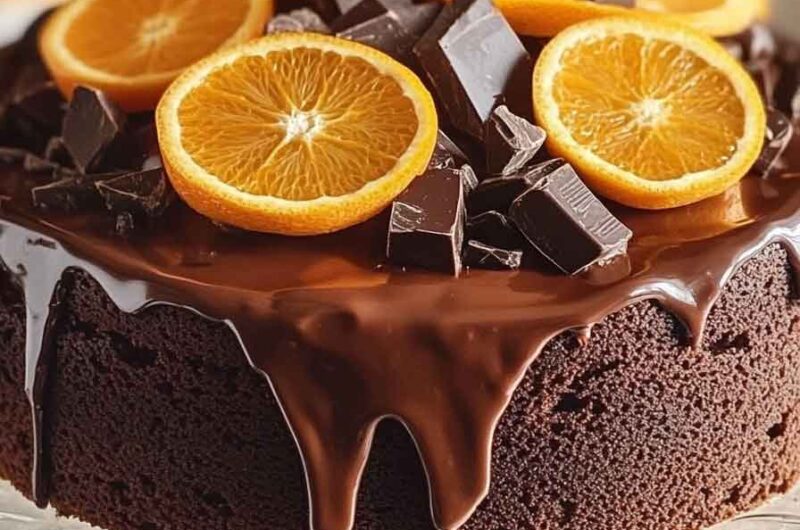
- Orange Candy Slices (optional): These make a cute and colorful decoration on top of the cake, perfect for giving it that creamsicle aesthetic.
- Orange Gel Icing Color (optional): A little dab of this can help enhance the cake’s orange hue if you want it to pop!
Variations for the Orange Creamsicle Ice Cream Cake
If you want to switch things up or cater to different tastes, here are some fun variations you can try:
- Add a Layer of Fruit: You could add chopped fresh fruit like strawberries or pineapple between the layers of ice cream to give a sweet contrast to the orange flavor.
- Make It More Citrusy: If you love a strong citrus kick, you can add a little lemon or lime zest into the ice cream filling to give it more depth of flavor.
- Swap for a Different Flavor of JELLO: While orange is classic, you could try lime JELLO or even raspberry for a twist.
- Use Different Toppings: Instead of orange candy slices, you can top the cake with crushed graham crackers, colored sprinkles, or even mini marshmallows.
Step-by-Step Instructions
Let’s walk through the process of creating this beautiful and tasty Orange Creamsicle Ice Cream Cake.
Step 1: Prepare the Cake Layer
- Preheat your oven: Start by preheating your oven to 350°F (175°C). This ensures it’s hot and ready to bake the cake as soon as the batter is ready.
- Mix the dry ingredients: In a medium bowl, whisk together the flour, sugar, baking powder, and salt. Set this aside.
- Cream the butter and egg whites: In a separate bowl, cream the butter with the sugar using your electric mixer. Add the egg whites, vanilla extract, and sour cream, and mix until smooth.
- Add the dry ingredients: Gradually add the dry ingredients to the wet mixture, alternating with the milk and hot water. Start with the dry ingredients and end with the wet. Mix until smooth.
- Add orange JELLO powder: Stir in the orange JELLO powder until it’s completely dissolved into the batter, which will give it a beautiful orange hue.
- Bake the cake: Pour the batter into a greased 9-inch round cake pan. Bake for about 30-35 minutes or until a toothpick inserted into the center comes out clean. Let the cake cool completely before proceeding to the next step.
Step 2: Prepare the Ice Cream Layers
- Mix the cream cheese and sugar: In a large mixing bowl, beat together the softened cream cheese and sugar until smooth and creamy.
- Dissolve the JELLO powder: In a small bowl, mix the remaining 3 tbsp of orange JELLO powder with the hot water until dissolved.
- Add milk and vanilla: Stir in the milk and vanilla extract into the cream cheese mixture. Mix until well combined.
- Fold in Cool Whip: Gently fold in the Cool Whip to create the fluffy ice cream texture.
Step 3: Assemble the Cake
- Layer the cake and ice cream: Once the cake is cooled, slice it in half horizontally to create two layers. Place the bottom layer in a cake pan, and spread a generous amount of the ice cream mixture over it. Top with the second layer of cake.
- Freeze the cake: Cover the cake with plastic wrap and place it in the freezer for at least 4-6 hours or overnight. The cake should be firm before serving.
Step 4: Decorate the Cake
- Frost the cake: Once the cake is frozen and firm, spread the remaining Cool Whip on top. You can use a spatula or piping bag for a more decorative finish.
- Add the finishing touches: Decorate the top with orange candy slices and a little orange gel icing color to create a fun, festive look.
How to Serve Orange Creamsicle Ice Cream Cake
Now that you’ve created this incredible cake, it’s time to serve it! This dessert is both visually stunning and absolutely delicious, making it a crowd-pleaser for any occasion. Here are a few ideas on how to serve and enjoy it:
1. Serve Chilled
- Since this is an ice cream cake, it’s best served cold straight from the freezer. The creamy ice cream layers should be firm but soft enough to slice. For the best texture, let the cake sit at room temperature for about 5-10 minutes before cutting. This will make it easier to slice and serve without the ice cream layers becoming too hard.
2. Garnish with Extra Orange Slices
- For an extra burst of color and flavor, add more orange candy slices or fresh orange zest on top just before serving. This will give your cake a gorgeous citrusy pop, and the zest will add a fresh aroma that perfectly complements the flavors of the cake.
3. Pair with Fresh Fruit
- To balance the sweetness of the cake, serve it with a side of fresh fruit like berries, sliced strawberries, or even pineapple. The light, fruity flavors will bring a refreshing contrast to the rich and creamy cake.
4. Serve as a Party Cake
- This cake is large enough to serve a crowd, so it’s perfect for parties, picnics, or family gatherings. It’s sure to be the centerpiece of your dessert table and will likely disappear fast!
5. Make Mini Cakes
- If you’re hosting a smaller gathering or want to give each guest their own individual treat, you can make mini versions of this cake by using a muffin tin or small springform pans. Simply layer the cake and ice cream as you would in the larger pan, but use smaller portions.
Storing Orange Creamsicle Ice Cream Cake
This cake is the kind of dessert that’s just as good (if not better) the next day, so you’ll want to know how to store it properly to maintain its delicious flavors and texture.
1. In the Freezer
- The best way to store Orange Creamsicle Ice Cream Cake is in the freezer. After serving, wrap any leftover portions tightly in plastic wrap or aluminum foil and place it back in an airtight container. This will prevent freezer burn and keep the cake tasting fresh.
- Freezer Life: The cake will keep well in the freezer for up to 1-2 weeks, though it’s best when eaten within the first few days after making it.
2. Make-Ahead Storage
- This cake is a great make-ahead dessert! You can prepare the entire cake up to 2 days before serving. Just make sure to wrap it well with plastic wrap or foil, and store it in the freezer until you’re ready to serve.
3. Avoid Storing in the Fridge
- Since the cake has ice cream layers, storing it in the fridge can cause it to melt and lose its structure. Always keep it in the freezer to preserve the creamy texture and the layers of cake and ice cream.
Nutrition Information
This Orange Creamsicle Ice Cream Cake is a treat, so it’s best enjoyed in moderation. However, it’s so tasty that you might not want to stop at one slice! Here’s a general breakdown of the nutrition for one slice of this cake (assuming 12 servings per cake):
| Nutrient | Amount per Serving |
|---|---|
| Calories | 330 |
| Total Fat | 18g |
| Saturated Fat | 10g |
| Cholesterol | 50mg |
| Sodium | 180mg |
| Total Carbohydrates | 42g |
| Dietary Fiber | 1g |
| Sugars | 28g |
| Protein | 3g |
| Vitamin A | 8% of the Daily Value |
| Vitamin C | 12% of the Daily Value |
| Calcium | 4% of the Daily Value |
| Iron | 2% of the Daily Value |
Tips for Reducing Calories and Fat:
- Use Light Cool Whip: If you’re trying to reduce the fat content, consider using a lighter version of Cool Whip or swapping it with a homemade whipped topping made from heavy cream.
- Opt for Reduced-Fat Cream Cheese: You can reduce the fat in the ice cream layers by using reduced-fat cream cheese.
- Less Sugar: If you’re looking for a less sweet cake, you can cut down the sugar in both the cake and the ice cream layers by about 1/4 cup.
Though this cake may not be a “diet” food, it’s still a refreshing and indulgent treat to enjoy occasionally.

Orange Creamsicle Ice Cream Cake
Course: Uncategorized12
servings30
minutes330
kcal4-6
hoursIngredients
- Cake Layer
All-purpose flour: 2 cups
Sugar: 1 cup
Baking powder: 2 tsp
Salted butter, softened: 1/2 cup
Egg whites: 4 large
Vanilla extract: 2 tsp
Sour cream: 1/2 cup
Milk: 1/2 cup
Hot water: 1/2 cup
Orange JELLO powder: 1 package (reserve 3 tbsp for the ice cream layer)
- Ice Cream Layers
Cream cheese, softened: 8 oz
Sugar: 3/4 cup
Milk: 1 cup
Cool Whip: 8 oz
Orange JELLO powder: 3 tbsp
Hot water: 1/4 cup
Vanilla extract: 1 tsp
- Additional Ingredients:
Cool Whip: 8 oz (for frosting)
Orange candy slices (optional)
Orange gel icing color (optional)
Directions
- Prepare the cake: Preheat the oven to 350°F (175°C). Mix the dry ingredients and cream the butter, sugar, egg whites, and vanilla. Gradually add wet ingredients and JELLO powder. Bake for 30-35 minutes. Cool.
- Make the ice cream layers: Beat the cream cheese and sugar. Dissolve JELLO powder in hot water, add milk and vanilla. Fold in Cool Whip.
- Assemble the cake: Slice the cake in half and layer with ice cream mixture. Freeze for 4-6 hours or overnight.
- Decorate: Frost with Cool Whip and garnish with orange candy slices and orange gel icing color.
Orange Creamsicle Ice Cream Cake FAQs
1. Can I Make This Cake in Advance?
Absolutely! One of the best things about this Orange Creamsicle Ice Cream Cake is that it can be made ahead of time. You can prepare the entire cake up to 1-2 days before serving. Once assembled, wrap it tightly in plastic wrap or aluminum foil and store it in the freezer. When you’re ready to serve, let it sit at room temperature for 5-10 minutes to soften slightly before slicing.
2. Can I Use a Different Flavor of JELLO?
Yes, you can experiment with different JELLO flavors to create unique variations of this cake. If you prefer a different citrus flavor, try lemon or lime JELLO for a twist. Strawberry JELLO can also be a fun option for a fruity, creamy combination. Just keep in mind that the flavor will change based on the JELLO you use, but the basic structure and creamy ice cream layers will still work beautifully.
3. Can I Make the Cake Without the Cool Whip?
If you’d prefer not to use Cool Whip, you can make your own whipped cream instead. To do this, simply whip heavy cream with a little sugar and vanilla extract until stiff peaks form. This will give you a fresher taste and allow you to control the sweetness. Keep in mind that using whipped cream will make the texture a bit different but still delicious!
4. Can I Make a Gluten-Free Version of This Cake?
Yes, you can easily make this cake gluten-free. Just substitute the all-purpose flour with a gluten-free flour blend that can be used as a 1:1 replacement. Make sure the JELLO and Cool Whip you use are also gluten-free, although most brands are.
5. Can I Add Other Toppings?
Yes, feel free to get creative with the toppings! Here are some ideas to elevate your cake:
- Shaved Chocolate or White Chocolate Chips: These will add a rich and creamy contrast to the citrusy layers.
- Fresh Orange Slices: For a fresh and vibrant look, add thinly sliced fresh oranges on top.
- Sprinkles: If you’re serving the cake for a birthday or celebration, colorful sprinkles can add a fun touch!
- Crushed Graham Crackers: Add some texture and flavor by sprinkling crushed graham crackers around the edges or on top.
Tips for Success
Creating the perfect Orange Creamsicle Ice Cream Cake may seem intimidating, but with a few key tips, you can ensure that your cake turns out beautifully:
1. Don’t Rush the Freezing Process
The freezing time is crucial to achieving the right consistency. Make sure to give the cake enough time to set properly in the freezer, preferably overnight. If you try to cut it too soon, the ice cream layers may be too soft, making it harder to slice neatly.
2. Use Room Temperature Ingredients for the Ice Cream Layers
To avoid lumps in your ice cream layers, be sure to bring your cream cheese to room temperature before mixing. This will help create a smooth and creamy texture when combining it with the other ingredients.
3. Layer the Cake and Ice Cream Neatly
When assembling the cake, be sure to layer the cake and ice cream mixture evenly to get that perfect cross-section when you slice into the cake. You can also slightly press down the ice cream layers to ensure they are compact and well-formed.
4. Let the Cake Rest Before Serving
After removing the cake from the freezer, let it sit at room temperature for 5-10 minutes to soften slightly before serving. This ensures that the texture of the ice cream is just right and the slices will come out easily.
5. Use a Sharp Knife to Slice
Since the cake contains ice cream, it can be a bit tricky to cut. Use a sharp, serrated knife, and dip it into warm water before cutting. This will help slice through the layers smoothly without the ice cream sticking to the knife.
Final Thoughts
The Orange Creamsicle Ice Cream Cake is a fantastic dessert that is sure to impress your family, friends, or guests. Its creamy, fruity, and refreshing flavors are a nod to the nostalgic creamsicle treat we all know and love, but in the form of an indulgent cake that’s perfect for special occasions or casual gatherings.
Whether you’re celebrating a birthday, hosting a summer barbecue, or just in the mood for something sweet, this cake is guaranteed to be a hit. It’s simple to make, looks impressive, and is a delightful treat that combines the flavors of orange and vanilla in a perfectly balanced way.