Old-Fashioned Fudge: A Sweet Classic You’ll Treasure Forever
Oh wow… this Old-Fashioned Fudge takes me straight back. Like, grandma’s kitchen kind of back. Just the smell brings all those sweet, cozy memories flooding in.
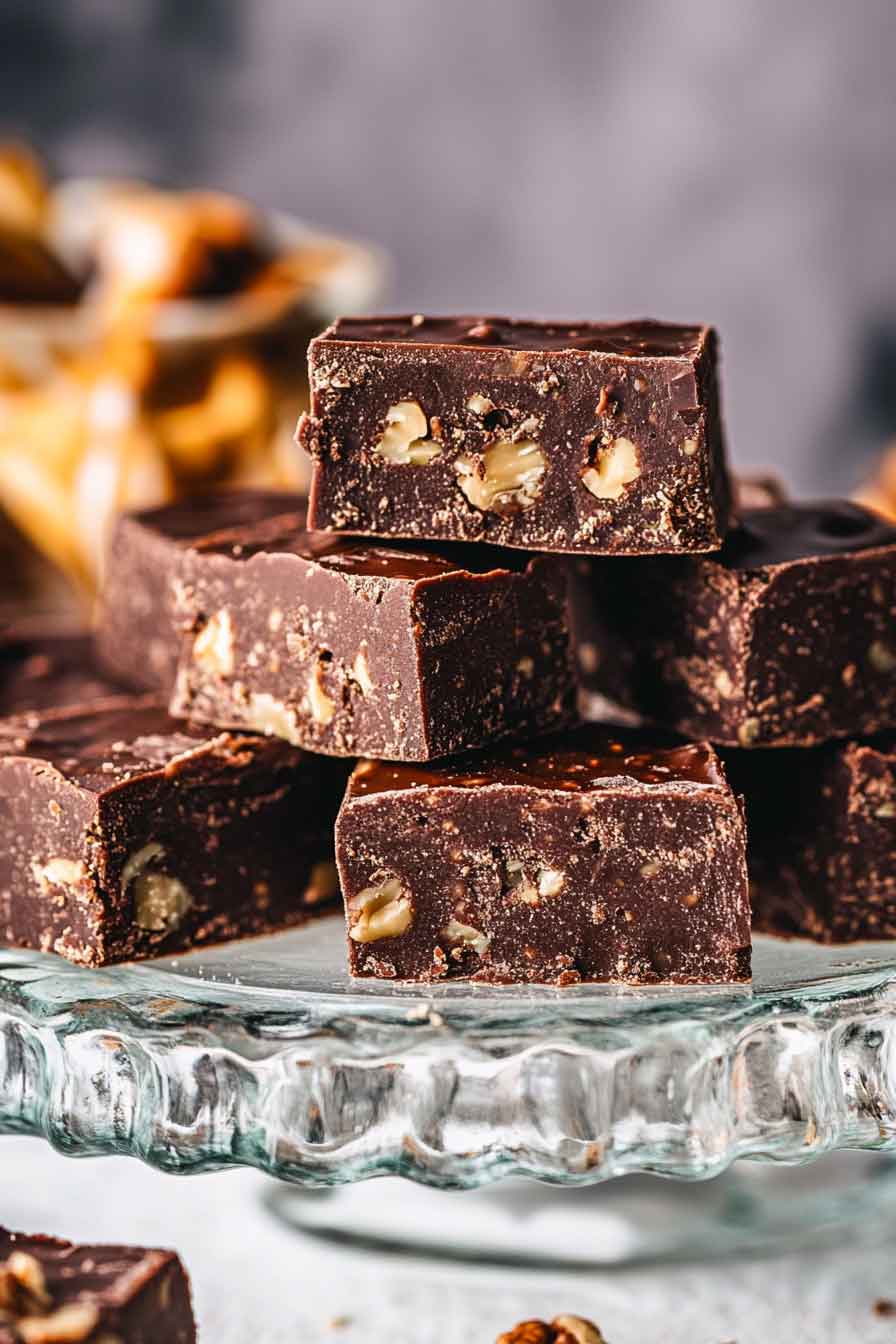
It’s creamy. It’s rich. And honestly, it melts on your tongue like a dream. No fancy stuff—just simple, classic fudge the way it should be.
Trust me, once you try this, you’ll keep coming back to it. It’s the kind of treat that makes you smile after just one bite. So yeah… let’s make some fudge magic together.

Why You’ll Love This Recipe
✔ Authentic Old-Fashioned Flavor – No shortcuts, just classic ingredients that give fudge its rich, traditional taste.
✔ Only a Few Ingredients – You probably have everything you need in your pantry!
✔ No Candy Thermometer Needed – While some fudge recipes require one, this simple method ensures perfect results.
✔ Perfect for Gifting – Wrap these up in a pretty tin, and you’ve got an easy homemade gift.
✔ Customizable – Add nuts, swirl in peanut butter, or try different extracts for a unique twist.
Required Kitchen Tools
To make the perfect old-fashioned fudge, here’s what you’ll need:
- Heavy-bottomed saucepan – Prevents burning and allows for even heating.
- Wooden spoon or silicone spatula – Essential for stirring the fudge while cooking.
- 8×8-inch or 9×9-inch baking pan – To shape and cool your fudge.
- Parchment paper – Makes removal easy.
- Sharp knife – For clean, even slices.

Ingredients
Here’s what you’ll need to make this rich and creamy chocolate fudge:
- Sugar – The base of the fudge, giving it structure and sweetness.
- Hershey’s cocoa – Adds deep, chocolatey richness.
- Salted butter – Provides a smooth, velvety texture.
- Carnation evaporated milk – Creates a creamy consistency without needing heavy cream.
- Vanilla extract – Enhances the chocolate flavor.
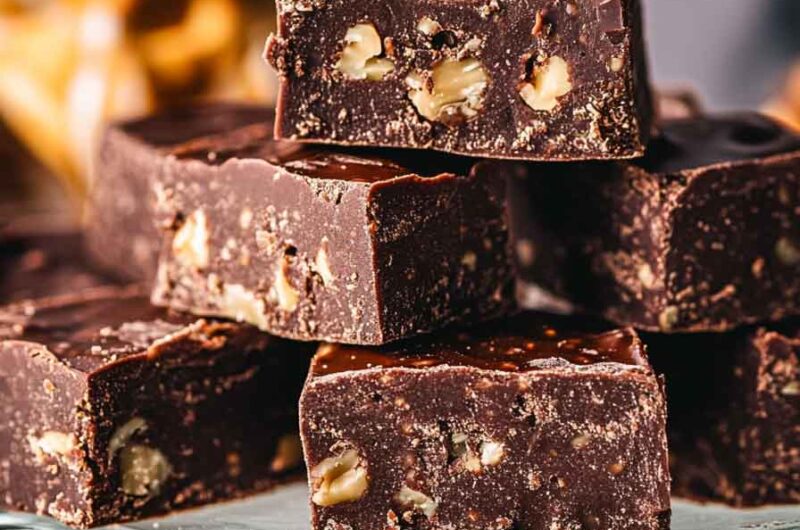
- Optional: Chopped nuts – Walnuts or pecans add crunch and nutty depth.
Variations and Add-Ins
Want to mix things up? Here are some fun ways to customize your fudge:
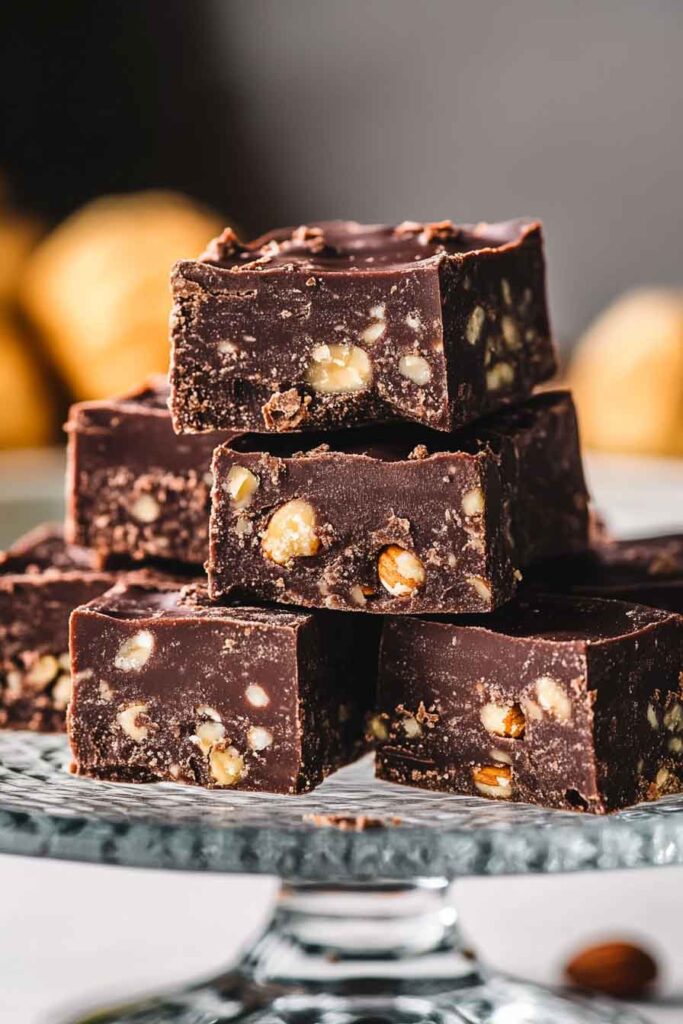
- Nutty Delight: Stir in chopped walnuts, pecans, or almonds for added crunch.
- Peanut Butter Swirl: Swirl in melted peanut butter before setting for a chocolate-peanut butter twist.
- Marshmallow Cream Fudge: Fold in mini marshmallows for extra sweetness.
- Salted Caramel Fudge: Drizzle homemade caramel sauce over the top and sprinkle with flaky sea salt.
- Espresso Kick: Add a teaspoon of instant espresso powder to enhance the chocolate flavor.
Step-by-Step Instructions
1. Prepare Your Baking Dish
- Line an 8×8-inch or 9×9-inch baking pan with parchment paper.
- Lightly butter the parchment or spray it with non-stick spray to prevent sticking.
- Set it aside while you prepare the fudge mixture.
2. Combine the Dry Ingredients
- In a heavy-bottomed saucepan, whisk together:
- 2 cups granulated sugar
- ½ cup Hershey’s cocoa powder
- This helps distribute the cocoa evenly and prevents clumps.
3. Add the Wet Ingredients
- Pour in ¾ cup Carnation evaporated milk and stir to combine.
- Add ½ cup (1 stick) salted butter, cut into small pieces for even melting.
4. Cook the Fudge Mixture
- Place the saucepan over medium heat and stir constantly with a wooden spoon.
- As the mixture melts and thickens, it will start bubbling—keep stirring!
- Once the mixture comes to a full rolling boil, continue stirring for 3-5 minutes.
- You’ll know it’s ready when the mixture pulls away slightly from the pan and has a glossy sheen.
5. Add the Vanilla and (Optional) Nuts
- Remove from heat and stir in 1 teaspoon vanilla extract.
- If adding nuts, fold in ½ cup chopped walnuts or pecans now.
6. Pour and Set the Fudge
- Immediately pour the hot fudge into your prepared pan and spread evenly.
- Let it cool at room temperature for 2-3 hours or until firm.
- For faster results, you can place it in the refrigerator for 1 hour.
7. Slice and Serve
- Once set, lift the fudge out using the parchment paper.
- Use a sharp knife to cut into clean squares.
- Store in an airtight container at room temperature for up to 1 week, or refrigerate for longer storage.
Serving and Presentation
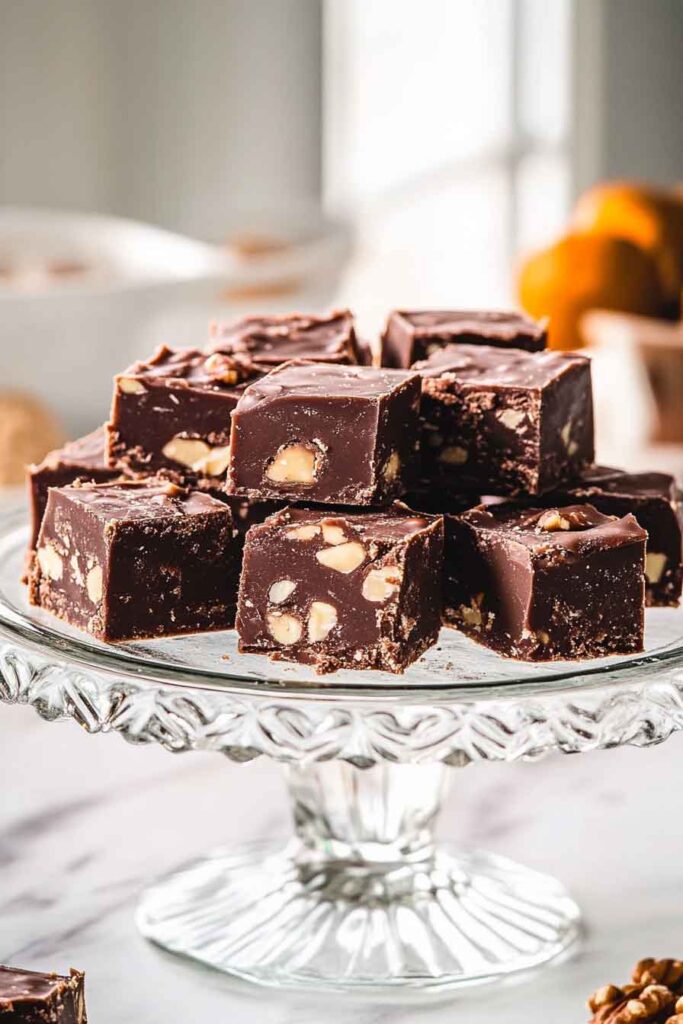
- Classic Style: Serve the fudge in neat squares on a dessert platter.
- Holiday Treat: Wrap pieces in decorative boxes for gifting.
- Drizzle It: Melt some white or dark chocolate and drizzle over the fudge for a gourmet touch.
- Sprinkle Fun: Add flaky sea salt, crushed peppermint, or sprinkles before it sets.
How to Store Old-Fashioned Fudge
Room Temperature (Best for Freshness)
- Store the fudge in an airtight container at room temperature.
- It stays fresh for up to 1 week.
- Place parchment paper between layers to prevent sticking.
Refrigerator (For Longer Storage)
- If you need to keep it longer, store it in the fridge for up to 3 weeks.
- Wrap it tightly in plastic wrap to prevent it from absorbing fridge odors.
Freezer (For Up to 3 Months)
- Want to make a big batch ahead of time?
- Wrap each piece individually in wax paper, then store in a sealed freezer bag.
- Thaw at room temperature for 1 hour before serving.
Nutrition Information
| Serving Size | Calories | Fat | Carbs | Sugar | Protein |
|---|---|---|---|---|---|
| 1 piece (about 1-inch square) | ~120 | 6g | 18g | 16g | 1g |
Note: Nutrition varies based on add-ins like nuts or peanut butter.
Pro Tips for the Best Fudge
🔹 Avoid Grainy Fudge: Stir constantly while cooking to dissolve all the sugar evenly.
🔹 Check for the Right Texture: Drop a small spoonful of fudge mixture into cold water—if it forms a soft ball, it’s ready!
🔹 Use a Heavy-Bottomed Pan: This prevents scorching and uneven cooking.
🔹 Don’t Overcook! If overcooked, fudge can become dry and crumbly.
🔹 Add a Swirl of Fun: Before the fudge sets, swirl in caramel, peanut butter, or white chocolate for a gourmet touch.
Old-Fashioned Fudge: A Sweet Classic You’ll Treasure Forever
Course: Uncategorized25-30
squares10
minutes10
minutes~120
kcal2-3
hoursIngredients
2 cups granulated sugar
½ cup Hershey’s cocoa powder
¾ cup Carnation evaporated milk
½ cup (1 stick) salted butter, cut into pieces
1 teaspoon vanilla extract
½ cup chopped walnuts or pecans (optional)
Directions
- Prep Your Pan
- Line an 8×8-inch baking dish with parchment paper and lightly grease it.
- Mix Dry Ingredients
- In a heavy-bottomed saucepan, whisk together sugar and cocoa powder until combined.
- Add Wet Ingredients & Cook
- Add evaporated milk and butter to the dry mixture.
- Heat over medium, stirring constantly.
- Once the mixture reaches a rolling boil, continue stirring for 3-5 minutes until thick and glossy.
- Stir in Vanilla & Nuts
- Remove from heat and mix in vanilla extract (and nuts if using).
- Pour & Set
- Pour the fudge into the prepared pan and spread evenly.
- Let cool at room temperature for 2-3 hours or refrigerate for 1 hour until firm.
- Slice & Serve
- Once set, cut into small squares and enjoy!
- Storage Tips
- Room Temp: 1 week in an airtight container.
- Fridge: Up to 3 weeks, wrapped in plastic.
- Freezer: 3 months in freezer-safe bags.
Old-Fashioned Fudge FAQs
1. Why is my fudge grainy?
It likely crystallized due to undissolved sugar. Stir continuously and don’t overheat.
2. Can I use sweetened condensed milk instead?
No—this recipe requires evaporated milk for the right consistency.
3. How do I make softer fudge?
Cook it for less time or add 1 tablespoon of corn syrup to the mixture.
Conclusion
Old-fashioned fudge isn’t just a dessert—it’s a nostalgic, homemade treat that brings back memories of family gatherings, holiday traditions, and cozy kitchen moments. With its rich, chocolatey flavor and smooth, melt-in-your-mouth texture, this timeless recipe is one you’ll treasure forever.
Whether you’re making it for a holiday gift, a special occasion, or just because you’re craving something sweet, this foolproof fudge recipe is sure to satisfy. Plus, with easy storage options, you can always have a batch on hand for whenever the chocolate craving strikes!