Nutter Butter Bars Recipe
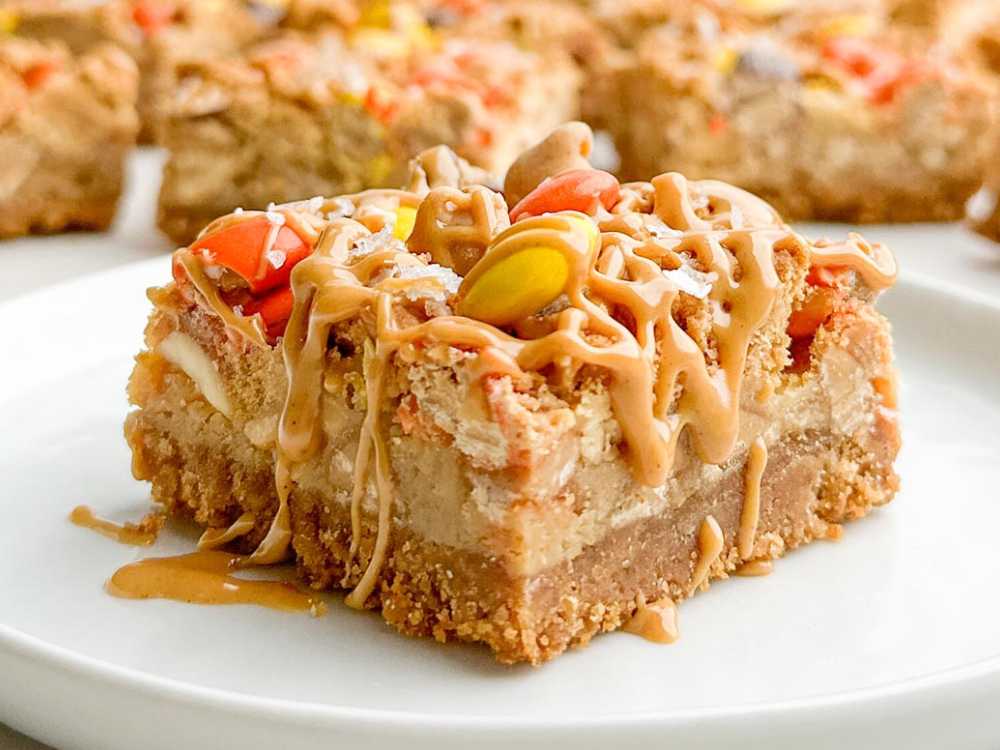
Who doesn’t love the irresistible combination of peanut butter and cookies? If you’re craving a sweet treat that’s packed with nutty goodness, this Nutter Butter Bars recipe is the answer. With just a few simple ingredients, you can create these delicious bars that are perfect for any occasion.
Imagine biting into a chewy, peanut butter-filled bar that melts in your mouth! These Nutter Butter Bars are a delightful twist on a classic snack, making them a fun and tasty option for family gatherings or a quick dessert. Plus, they’re super easy to whip up.
Ready to bring a little peanut butter magic into your kitchen? Let’s dive into this recipe and see how you can create these crowd-pleasing bars in no time.
Why You’ll Love These Nutter Butter Bars
- Rich peanut butter flavor: These bars are loaded with peanut butter and Nutter Butter cookies, creating a truly indulgent experience for peanut butter fans.
- Easy preparation: No mixer needed—just one bowl! You’ll save time and minimize cleanup, making this a perfect go-to dessert.
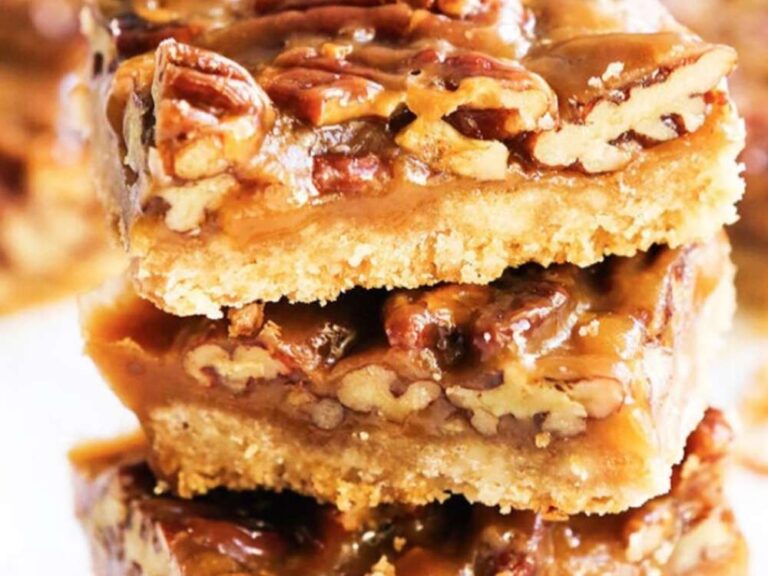
- Gooey, brownie-like texture: Soft and chewy, these bars have a brownie-like consistency that’s melt-in-your-mouth delicious.
- Customizable: You can tweak the recipe by adding chocolate chips, drizzling peanut butter or chocolate on top, or even experimenting with different cookie add-ins.
Ingredients
Here’s a detailed breakdown of the ingredients you’ll need for these bars, ensuring a perfect blend of flavors:
| Ingredient | Quantity | Notes |
|---|---|---|
| Nutter Butter Cookies | 16 cookies | 8 chopped for the batter, 8 pressed on top |
| Unsalted Butter | ½ cup (113g) | Melted, adds richness and moisture |
| Creamy Peanut Butter | ½ cup (120g) | Use commercial brands like Jif or Skippy for best results |
| Brown Sugar | ½ cup (100g) | Dark or light brown sugar for added moisture |
| Granulated Sugar | ⅓ cup (67g) | Adds sweetness and enhances chewiness |
| Kosher Salt | ½ teaspoon | Balances the flavors |
| Egg | 1 large | Helps bind the ingredients |
| Vanilla Extract | 2 teaspoons | Pure vanilla extract for extra depth of flavor |
| All-purpose Flour | 1 cup (125g) | Be sure to measure correctly for the right texture |
Step-by-Step Instructions
This recipe is super simple, requiring only one bowl and minimal effort. Let’s break it down into easy-to-follow steps.
1. Preheat and Prepare the Baking Pan
- Preheat your oven to 350°F (175°C).
- Line an 8×8-inch baking pan with parchment paper or aluminum foil, leaving some overhang for easy removal of the bars later. This makes cleanup easier and ensures the bars won’t stick.
2. Chop the Nutter Butter Cookies
- Take 8 of the Nutter Butter cookies and chop them into small pieces. These will be folded into the batter for extra texture and flavor.
3. Combine the Wet Ingredients
- In a large mixing bowl, whisk together the melted butter and peanut butter until smooth and fully combined. This ensures the rich, creamy consistency needed for gooey bars.
- Add the brown sugar, granulated sugar, and kosher salt to the butter mixture, and whisk until everything is well combined.
4. Add the Egg and Vanilla
- Crack the egg into the mixture and add the vanilla extract. Whisk until the batter becomes smooth and thick. The egg acts as a binder, while the vanilla enhances the sweetness and depth of flavor.
5. Incorporate the Dry Ingredients
- Gently fold in the flour using a spatula. You want to mix until most of the flour is incorporated, but it’s okay if some streaks of flour remain at this stage. Overmixing can result in tougher bars, so handle the batter lightly.
6. Fold in the Chopped Cookies
- Add the chopped Nutter Butter cookies to the batter and fold until everything is evenly distributed. The batter will be thick, but that’s exactly what you want for dense, chewy bars.
7. Spread and Press the Dough
- Spread the batter evenly into the prepared pan using a spatula. Make sure to press the remaining 8 whole Nutter Butter cookies gently on top. These will create a visually appealing, crunchy topping.
8. Bake the Bars
- Place the pan in the preheated oven and bake for 20–25 minutes, or until the edges are set and a toothpick inserted into the center comes out with just a few moist crumbs. Be careful not to overbake, as this will cause the bars to become dry.
9. Cool and Cut
- Once baked, let the bars cool completely in the pan on a wire rack. This could take 1–2 hours, but you can speed up the process by placing the pan in the refrigerator once it’s cool enough to handle.
- Use the parchment or foil overhang to lift the bars from the pan, and cut them into squares or rectangles of your desired size.
Tips for Perfect Nutter Butter Bars
1. Don’t Overbake
- The key to chewy and gooey bars is not overbaking. Keep an eye on the bars and remove them from the oven when the edges are set, but the center still looks slightly underdone. The residual heat will continue to cook the bars as they cool.
2. Use Parchment Paper
- Parchment paper makes removing the bars from the pan much easier, ensuring clean, neat cuts. It also helps prevent sticking.
3. Room Temperature Egg
- To ensure your ingredients combine smoothly, it’s a good idea to use a room-temperature egg. If you’re short on time, you can quickly bring a cold egg to room temperature by placing it in a bowl of warm water for 5–10 minutes.
4. Use Processed Peanut Butter
- For best results, stick with commercial brands of peanut butter like Jif or Skippy. These brands have a smooth, emulsified consistency, which helps achieve the perfect texture in the bars. Natural peanut butter tends to separate and may not provide the right structure.
Flavor Variations
There are plenty of ways to add your own twist to this recipe! Here are a few ideas to elevate your Nutter Butter Bars:
1. Triple Peanut Butter Bars
- For a peanut butter overload, add ½ cup of peanut butter chips or Reese’s Pieces to the batter. The extra peanut butter flavor and texture will make these bars even more irresistible.
2. Chocolate Peanut Butter Bars
- Love the combination of chocolate and peanut butter? Stir in ½ to 1 cup of chocolate chips or drizzle melted chocolate over the cooled bars for an extra layer of indulgence.
3. Nutter Butter Bars with Oats
- For a heartier version, substitute ½ cup of the flour with rolled oats. This will give the bars a chewier, more substantial texture, perfect for those who enjoy a little extra bite.
Frequently Asked Questions
Can I Use Chunky Peanut Butter?
- Yes! If you prefer a bit of crunch in your bars, feel free to use chunky peanut butter instead of creamy. The chopped peanuts will add a delightful texture.
Can I Add Other Mix-ins?
- Absolutely! Aside from chocolate chips and peanut butter chips, you can experiment with chopped nuts (like pecans or walnuts) or even swirl in some Nutella or marshmallow cream for a fun variation.
How Should I Store Nutter Butter Bars?
- These bars can be stored in an airtight container at room temperature for 3–4 days. If you want to extend their shelf life, store them in the refrigerator for up to one week. You can also freeze them for up to 3 months. Just be sure to let them thaw before serving.
Can I Bake These Bars in a Larger Pan?
- If you don’t have an 8×8 pan, you can use a 9×9 pan. The bars will be slightly thinner, and you’ll need to adjust the baking time accordingly (check them at around 18 minutes).
Summary
Nutter Butter Bars are the ultimate peanut butter treat. They’re quick and easy to make, requiring only one bowl and simple ingredients. With their chewy texture, gooey center, and delightful crunch from the Nutter Butter cookies, these bars are bound to become a favorite in your household. Whether you enjoy them plain, drizzled with chocolate, or loaded with peanut butter chips, they’re sure to hit the spot.
These versatile bars can be tailored to your preferences, and they store beautifully for future snacking. So, whether you’re a novice baker or a seasoned pro, whip up a batch of these Nutter Butter Bars for a deliciously satisfying treat.
Happy baking!

