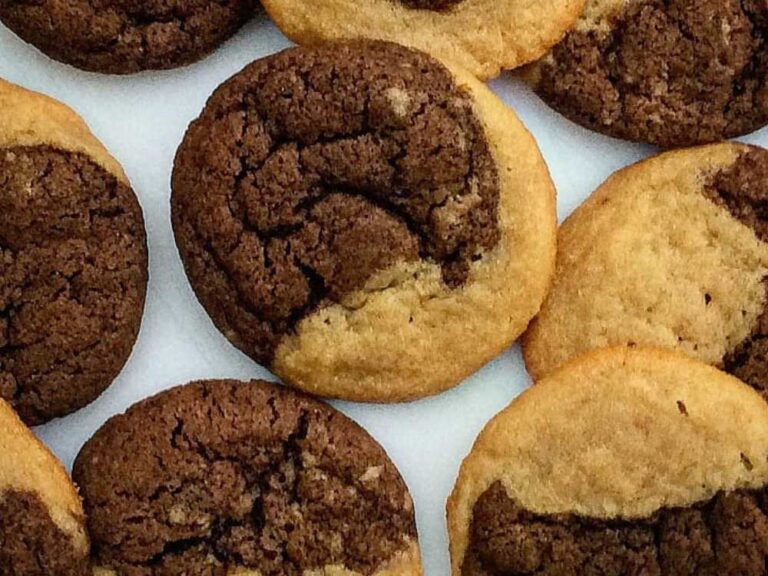
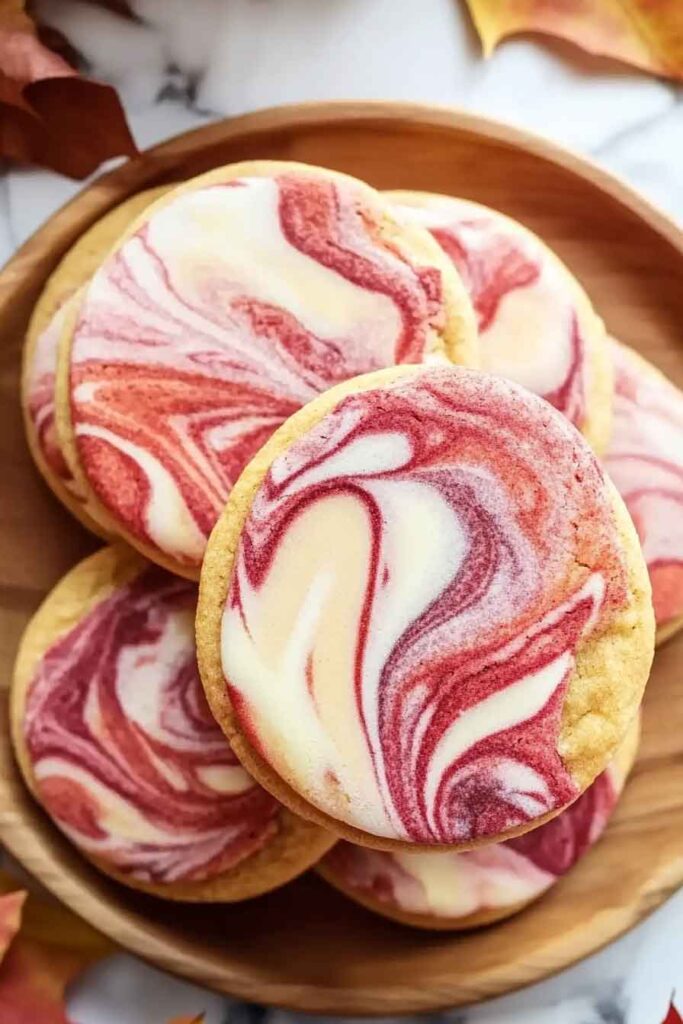
Marbled Autumn Cookies
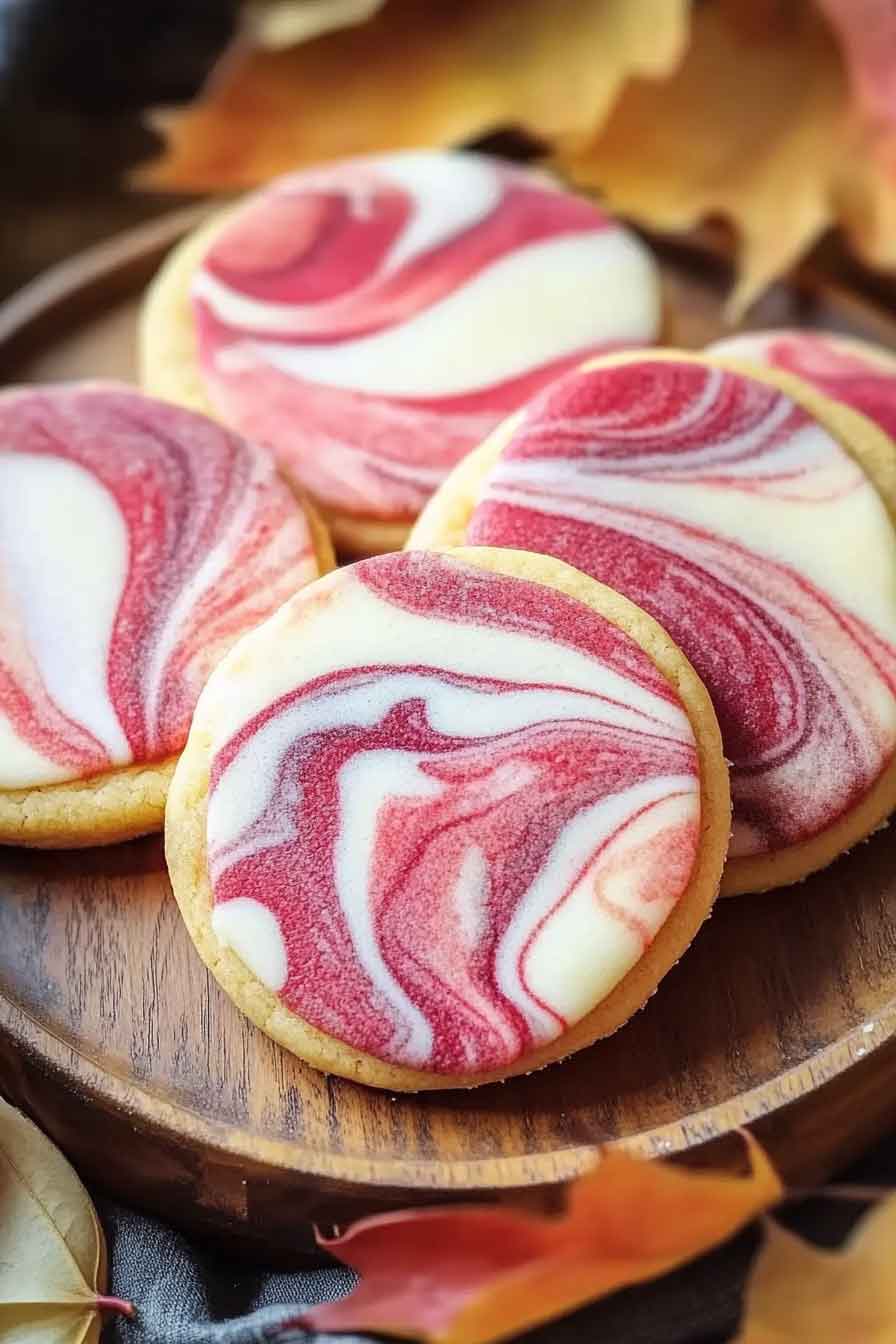
These marbled autumn cookies look like little pieces of fall. The colors swirl together so pretty. I couldn’t stop staring at them.
The taste is sweet and cozy. Each cookie is soft, with flavors that remind me of crisp autumn days. They feel like comfort in every bite.
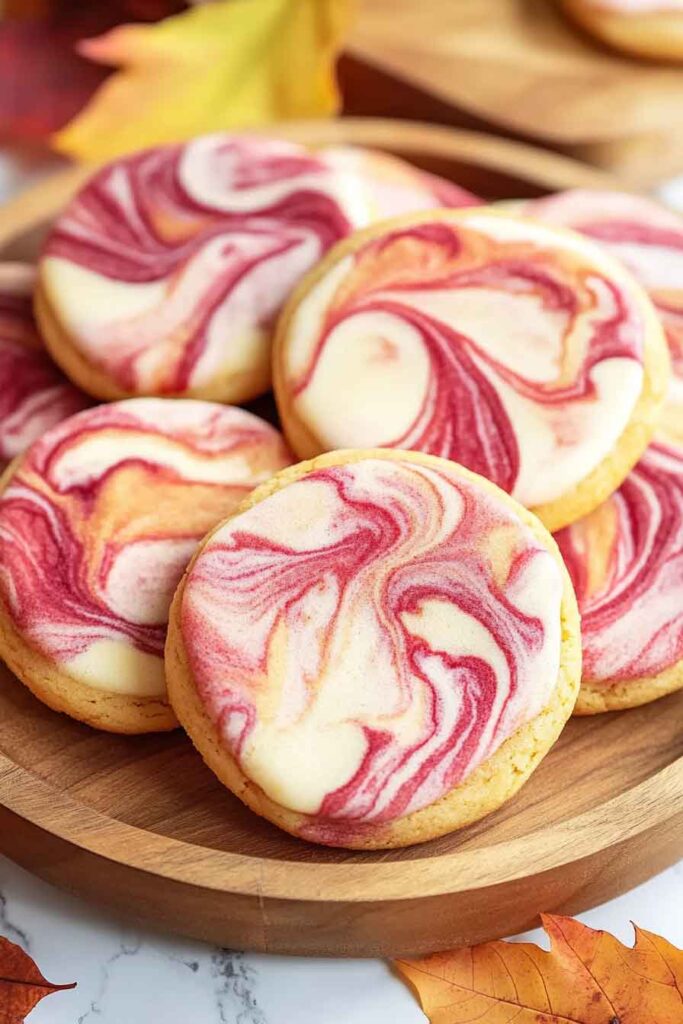
I wanted to keep reaching for more. The marbled look makes them fun, and the flavor makes them unforgettable. They’re the kind of cookies I’d bake again and again.
You should try making them too. Bake a batch, enjoy the colors, and taste the cozy sweetness of fall in every bite.

Why You’ll Love This Recipe
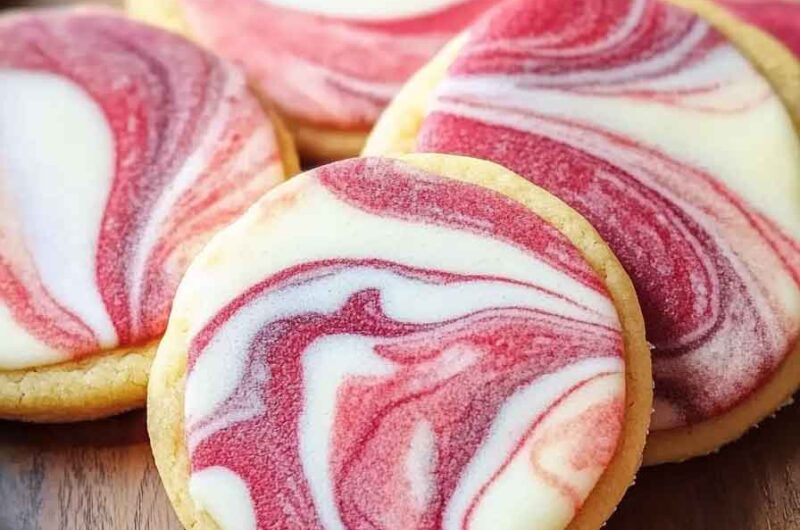
- Festive and Fun: The marbled effect makes these cookies a visual treat.
- Soft and Chewy: The perfect texture for cookie lovers.
- Easy to Customize: Use different colors or flavors to match any occasion.
- No Special Skills Required: You don’t have to be an artist to create these beautiful cookies.
- Kid-Friendly: A fun baking activity for the whole family.
Required Kitchen Tools
- Mixing Bowls: For combining ingredients.
- Whisk: To mix dry ingredients evenly.
- Hand Mixer or Stand Mixer: For creaming butter and sugar.
- Baking Sheets: To bake your cookies evenly.
- Parchment Paper: Prevents sticking and makes cleanup easy.
- Wire Rack: Allows cookies to cool evenly.
Ingredients
Here’s what you’ll need to make these beautifully swirled cookies:
- 2 1/2 cups all-purpose flour (unsifted)
- 1/2 teaspoon baking soda
- 1/2 teaspoon baking powder
- 1/4 teaspoon salt
- 3/4 cup unsalted butter (softened)
- 1 cup granulated sugar
- 1 large egg
- 1 1/2 teaspoons vanilla extract
- Red, orange, and yellow gel food coloring
Step-by-Step Instructions
1. Whisk the Dry Ingredients
In a medium bowl, whisk together the flour, baking soda, baking powder, and salt. Set aside.
2. Cream the Butter and Sugar
In a large bowl, beat the softened butter and sugar together using a hand mixer or stand mixer on medium speed until light and fluffy (about 2-3 minutes).
3. Add the Egg and Vanilla
Mix in the egg and vanilla extract until fully combined.
4. Incorporate the Dry Ingredients
Gradually add the dry ingredients to the wet mixture, mixing on low speed until just combined. Be careful not to overmix!
5. Divide and Color the Dough
Split the dough evenly into three separate bowls. Add a few drops of red food coloring to one, orange to the second, and yellow to the third. Mix each color thoroughly until vibrant.
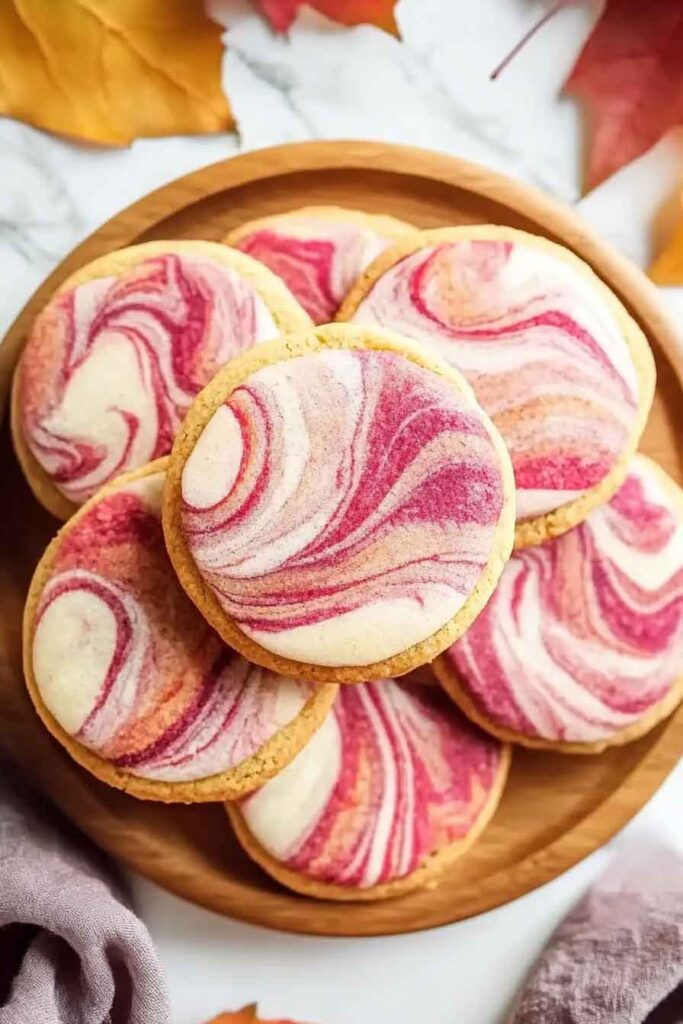
6. Create the Marbled Effect
Tear small chunks of each colored dough and press them together randomly. Roll the mixed dough into a log, then twist it a few times to create swirls. Gently roll again into a log and refrigerate for 30 minutes.
7. Shape the Cookies
Once chilled, scoop 1.5-2 tablespoon portions of dough and roll them into balls. Lightly press down on each ball for a flatter cookie.
8. Bake the Cookies
Preheat oven to 350°F (177°C). Line baking sheets with parchment paper. Bake the cookies for 10-12 minutes or until the edges are lightly golden. The centers may appear soft but will set as they cool.
9. Cool and Enjoy
Allow cookies to rest on the baking sheet for 5 minutes before transferring them to a wire rack to cool completely.
Variations for Marbled Autumn Cookies
- Pumpkin Spice Flavor: Add 1 teaspoon of pumpkin spice to the dry ingredients.
- Chocolate Twist: Mix in white or dark chocolate chips for extra indulgence.
- Cinnamon Sugar Coating: Roll the cookie dough balls in cinnamon sugar before baking for a snickerdoodle-like variation.
- Gluten-Free: Use a 1:1 gluten-free flour blend in place of regular flour.
- Darker Marbling: Add a few drops of brown food coloring for a deeper fall look.
Serving and Decoration Ideas
- Dust with Powdered Sugar: For a delicate, snowy effect.
- Drizzle with White Chocolate: Adds elegance and extra sweetness.
- Top with Sprinkles: Use autumn-themed sprinkles for a festive touch.
- Pair with Hot Drinks: These cookies go wonderfully with spiced cider, hot chocolate, or pumpkin spice lattes.
Storing Marbled Autumn Cookies
- At Room Temperature: Store in an airtight container for up to 5 days.
- In the Refrigerator: Extend freshness up to 2 weeks.
- In the Freezer: Freeze dough balls for up to 3 months. Bake straight from frozen, adding 2 extra minutes to the bake time.
Nutrition Information (Per Cookie)
| Calories | Carbs | Fat | Protein | Sugar |
|---|---|---|---|---|
| 140 | 18g | 6g | 2g | 9g |
Marbled Autumn Cookies
Course: Uncategorized24
cookies15
minutes10
minutes140
kcal30
minutesIngredients
2 1/2 cups all-purpose flour
1/2 teaspoon baking soda
1/2 teaspoon baking powder
1/4 teaspoon salt
3/4 cup unsalted butter (softened)
1 cup granulated sugar
1 large egg
1 1/2 teaspoons vanilla extract
Red, orange, and yellow gel food coloring
Directions
- Whisk dry ingredients together.
- Cream butter and sugar until fluffy.
- Add egg and vanilla.
- Mix in dry ingredients until just combined.
- Divide and color the dough.
- Marble the dough and refrigerate.
- Scoop, shape, and bake at 350°F (177°C) for 10-12 minutes.
- Cool and enjoy!
Frequently Asked Questions (FAQs)
Can I use liquid food coloring instead of gel?
Gel food coloring is preferred because it provides vibrant colors without altering the dough’s texture. Liquid food coloring may make the dough too sticky.
How do I get the best marbled effect?
Avoid overmixing when combining the colored doughs. Lightly pressing and twisting them together works best.
Can I make these cookies ahead of time?
Yes! You can make the dough up to 2 days in advance and refrigerate it before baking.
Do I need to chill the dough?
Yes, chilling helps prevent the cookies from spreading too much while baking.