

You know that moment when you can’t decide between chocolate or vanilla? That’s exactly why I love this Marble Madness Cake. It’s the best of both worlds in one soft, swirly bite.
I still remember the first time I sliced into it and saw those pretty chocolate and vanilla ribbons inside. It felt like cutting into a little masterpiece. And honestly, it smells like a dream while baking.
The texture is so light and fluffy, and the flavor balance is just right—not too sweet, not too heavy. Every bite feels special, like a mix of comfort and fun. It’s become one of my go-to cakes for family nights.
So grab your whisk and let’s swirl some magic together. This Marble Madness Cake is super easy to make, and it always turns out beautiful. Let’s get baking!

Why You’ll Love This Recipe
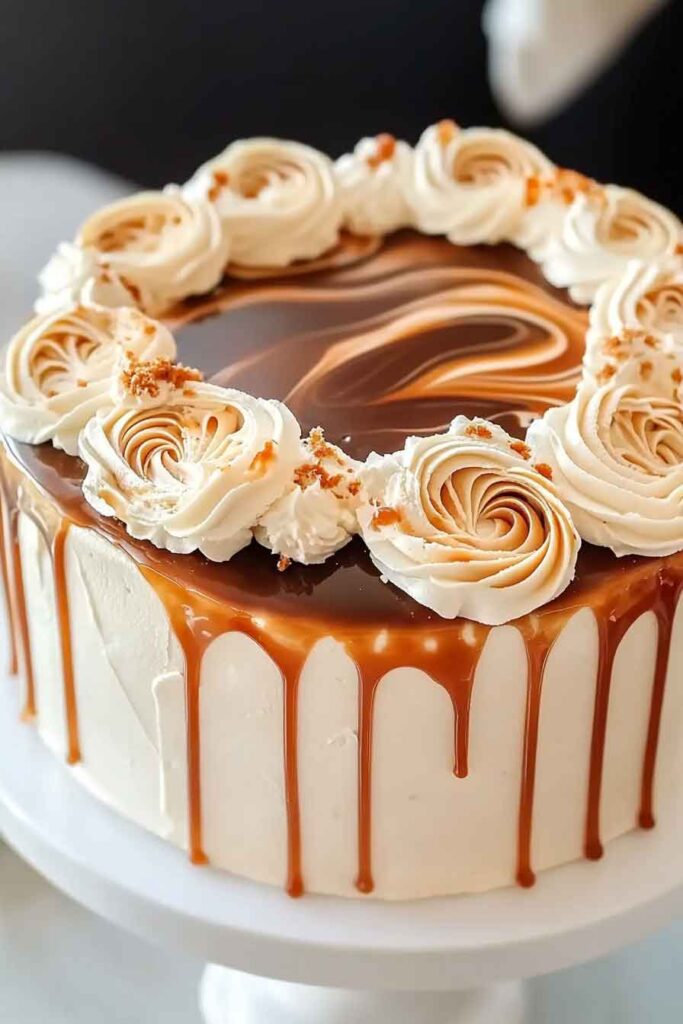
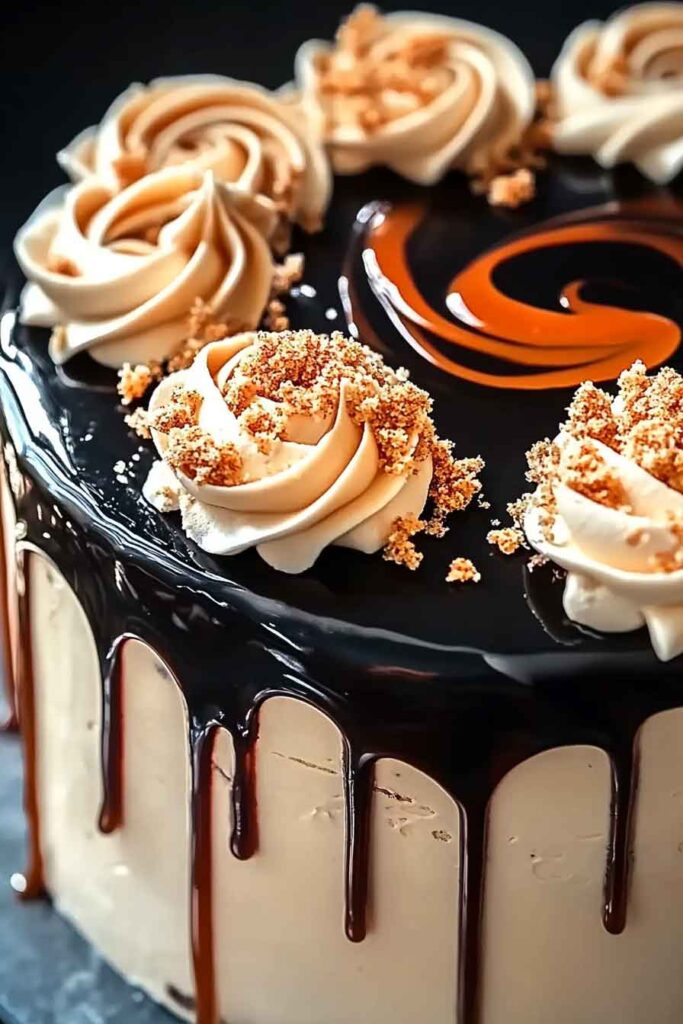
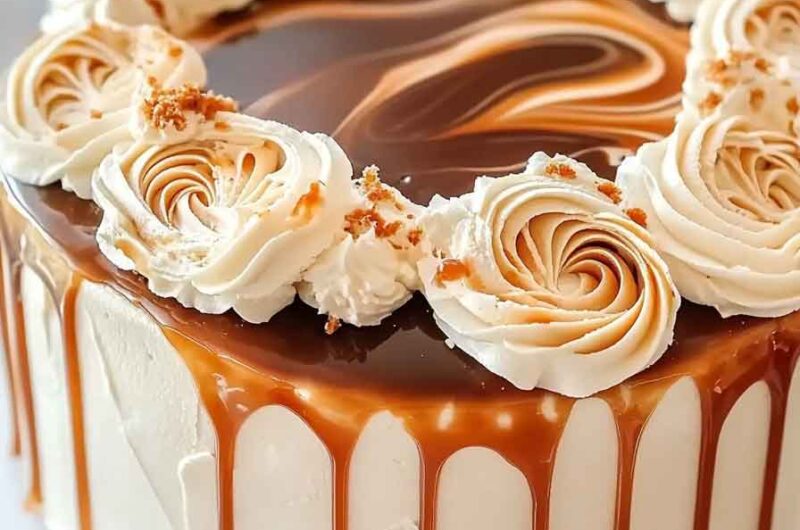
- Visually Stunning: The marble effect creates a beautiful design that makes this cake not only delicious but a work of art.
- Perfect Balance of Flavors: A classic vanilla cake with rich chocolate swirls provides a perfect balance of sweetness and depth.
- Fun to Make: The swirling technique is fun and allows you to get creative with the patterns.
- Impressive to Serve: Whether you’re serving it for a special occasion or just a family gathering, this cake will definitely impress your guests.
- Make-Ahead Friendly: The cake can be baked ahead of time, and the buttercream can be prepared and stored, making it a convenient dessert for parties or gatherings.
Required Kitchen Tools
To make the Marble Madness Cake, you’ll need the following tools:
- Two 9-inch round cake pans – To bake the cake layers evenly.
- Mixing bowls – For mixing the cake batter and buttercream.
- Hand or stand mixer – To beat the cake batter and buttercream to the perfect consistency.
- Measuring cups and spoons – To measure your ingredients accurately.
- Wire rack – To cool the cake layers completely before frosting.
- Toothpick or skewer – For swirling the cake batter.
- Knife for swirling – To create the beautiful marbled effect.
Ingredients
Here’s what you’ll need to make this decadent marble cake:
For the Cake:
- 2 1/2 cups all-purpose flour – The base of your cake batter.
- 2 1/2 tsp baking powder – To help the cake rise and become light and fluffy.
- 1/2 tsp salt – To enhance the flavors in the cake.
- 1 cup unsalted butter (room temperature) – Provides richness and moisture to the cake.
- 1 3/4 cups granulated sugar – Sweetens the cake perfectly.
- 4 large eggs – For structure and binding the ingredients together.
- 1 tbsp vanilla extract – Adds a lovely vanilla flavor.
- 1 cup whole milk – Helps to achieve a moist and tender cake.
- Orange gel food color – For the vibrant orange swirl (or any color of your choice).
- Black gel food color – For the dark swirl that contrasts with the orange.
For the Vanilla Buttercream:
- 1 cup unsalted butter (room temperature) – The base for your smooth buttercream.
- 3-4 cups powdered sugar – Sweetens and thickens the buttercream to the perfect consistency.
- 1 tsp vanilla extract – Enhances the flavor of the buttercream.
- 2-4 tbsp heavy cream or milk – To achieve the desired consistency.
- Pinch of salt – To balance the sweetness.
Step-by-Step Instructions
1. Preheat the Oven and Prepare Cake Pans
Start by preheating your oven to 350°F (177°C). Grease and flour two 9-inch round cake pans or line them with parchment paper for easy removal of the cakes once baked.
2. Prepare the Dry Ingredients
In a medium-sized bowl, whisk together 2 1/2 cups all-purpose flour, 2 1/2 tsp baking powder, and 1/2 tsp salt. This will ensure your dry ingredients are well combined and ready to be added to the wet ingredients.
3. Cream the Butter and Sugar
Using a hand or stand mixer, beat together 1 cup unsalted butter and 1 3/4 cups granulated sugar on medium-high speed until light and fluffy. This should take about 3-4 minutes. The more air you incorporate, the fluffier the cake will be!
4. Add the Eggs and Vanilla
Once the butter and sugar mixture is light and fluffy, add in 4 large eggs, one at a time, making sure each egg is fully incorporated before adding the next. Add 1 tbsp vanilla extract and mix until combined.
5. Alternate Adding the Dry Ingredients and Milk
Add the dry ingredients to the butter mixture in three parts, alternating with 1 cup whole milk in two parts. Start by adding a third of the dry ingredients, followed by half the milk. Mix on low speed to avoid splashing, then repeat until all the ingredients are combined.
6. Divide the Batter and Add Food Coloring
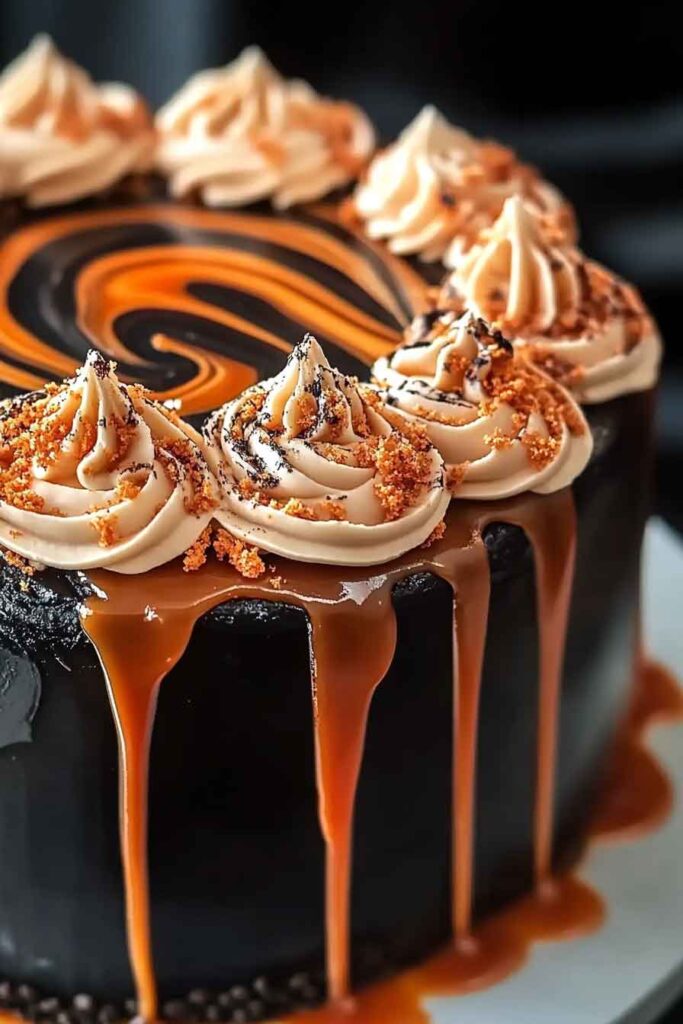
Once your cake batter is smooth and fully combined, divide the batter evenly between two bowls. To one bowl, add a few drops of orange gel food color and mix until the batter is a bright orange. To the other bowl, add a few drops of black gel food color and stir until the batter is a rich, dark color.
7. Swirl the Batters
Now, it’s time to create the marble effect. Start by alternating spoonfuls of the orange and black batters into the center of each prepared cake pan. Once both pans are filled, use a toothpick or a knife to swirl the batters together. Be sure not to over-mix; you want a beautiful marble effect that will stand out when the cake is baked.
8. Bake the Cakes
Bake the cakes in the preheated oven for 25-30 minutes, or until a toothpick inserted into the center comes out clean. Depending on your oven, this time may vary slightly, so keep an eye on your cakes as they bake.
9. Cool the Cakes
Allow the cakes to cool in the pans for about 10 minutes before transferring them to a wire rack to cool completely. It’s important that the cakes are fully cooled before frosting to avoid any melting or sliding.
Making the Vanilla Buttercream
1. Beat the Butter
To make the buttercream, beat 1 cup unsalted butter in a stand mixer or with a hand mixer on medium-high speed for about 3-4 minutes until light and fluffy.
2. Add Powdered Sugar
Slowly add 3-4 cups powdered sugar, one cup at a time, beating after each addition until the mixture is smooth and fluffy.
3. Add Vanilla and Cream
Add 1 tsp vanilla extract, pinch of salt, and 2-4 tbsp heavy cream or milk to reach your desired consistency. If you like your buttercream a little thicker, use less cream; if you prefer a smoother, more spreadable frosting, add more cream.
4. Beat Until Smooth
Continue to beat the buttercream on high for about 2-3 minutes until it’s light, fluffy, and perfectly smooth.
Assembling the Marble Madness Cake
1. Frost the First Layer
Place one of the cooled cake layers on a cake stand or platter. Using an offset spatula, spread an even layer of vanilla buttercream over the top of the first cake layer.
2. Add the Second Layer
Carefully place the second cake layer on top of the frosted first layer. Press down gently to ensure the layers are evenly stacked.
3. Frost the Entire Cake
Cover the entire cake with a thin crumb coat of buttercream and refrigerate for 15-20 minutes to set the crumbs in place. After that, apply a thick layer of buttercream all over the cake, smoothing it out with an offset spatula or bench scraper for a clean finish.
4. Decorate and Serve
For added visual impact, use any leftover orange or black batter to drizzle some more swirls on top, or pipe decorative patterns around the edge. You can also garnish with sprinkles or edible glitter for extra flair.
Storing Marble Madness Cake
- At Room Temperature: Store your cake in an airtight container at room temperature for up to 3 days.
- In the Refrigerator: If you want to keep it fresh longer, you can refrigerate the cake for up to 1 week. Make sure it’s in an airtight container to prevent the frosting from drying out.
- Freezing: To freeze, wrap the cake layers in plastic wrap and foil, then place in a freezer-safe container. It can be stored for up to 3 months. Allow to thaw in the fridge before frosting or serving.
Marble Madness Cake Nutrition (per serving)
| Nutrient | Amount per Serving |
|---|---|
| Calories | 350 |
| Total Fat | 18g |
| Saturated Fat | 12g |
| Cholesterol | 70mg |
| Sodium | 180mg |
| Total Carbohydrates | 48g |
| Fiber | 1g |
| Sugars | 38g |
| Protein | 3g |
Conclusion
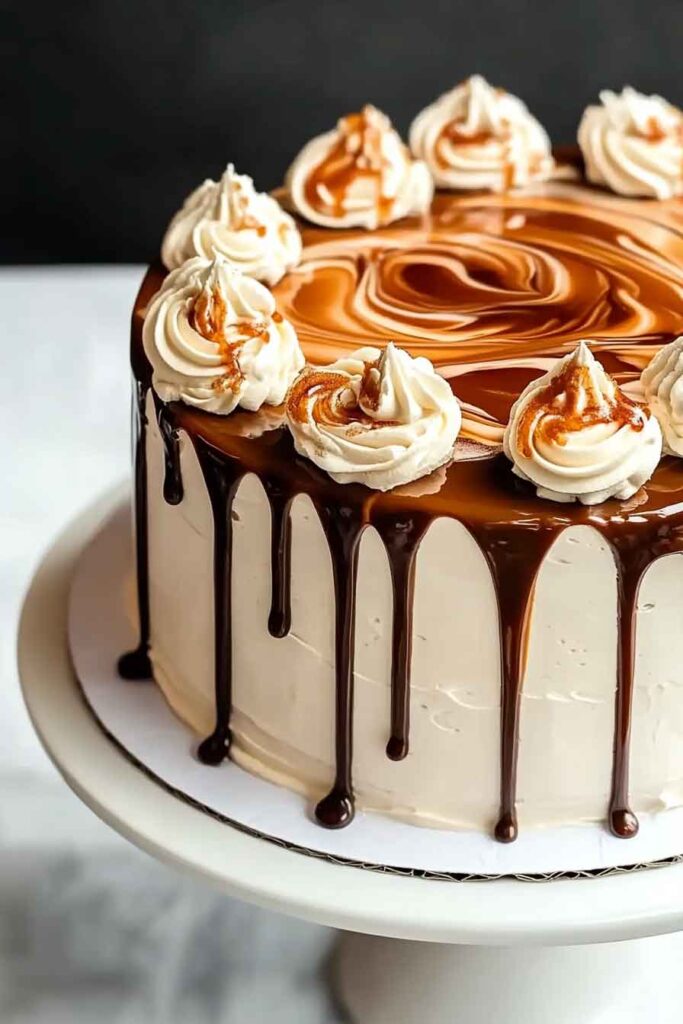
The Marble Madness Cake is a fun, vibrant dessert that combines the simplicity of vanilla cake with the allure of swirled chocolate. It’s perfect for any occasion, whether it’s a birthday, holiday, or just a fun weekend baking project. The bright swirls make it visually stunning, and the rich flavors make it irresistible.
If you’re looking for a show-stopping cake that’s easy to make yet full of flavor, this is the one for you. With just a little time and love, you’ll create a masterpiece that will leave everyone in awe. Happy baking!

Marble Madness Cake Recipe
Course: Uncategorized10-12
slices25
minutes40
minutes350
kcal30
minutesIngredients
- For the Cake:
2 ½ cups all-purpose flour
2 ½ teaspoons baking powder
½ teaspoon salt
1 cup unsalted butter, softened
1 ¾ cups granulated sugar
4 large eggs, room temperature
2 teaspoons vanilla extract
1 cup whole milk, room temperature
¼ cup cocoa powder
3 tablespoons boiling water
- For the Chocolate Glaze (optional):
½ cup heavy cream
1 cup semi-sweet chocolate chips
1 tablespoon butter
Directions
- Preheat Oven:
Set oven to 350°F (175°C). Grease and flour a 9-inch bundt pan or round cake pan. - Mix Dry Ingredients:
In a bowl, whisk flour, baking powder, and salt. Set aside. - Cream Butter and Sugar:
In another large bowl, beat butter and sugar until fluffy. Add eggs one at a time, mixing after each. Stir in vanilla. - Combine Wet and Dry:
Alternate adding dry ingredients and milk to the butter mixture. Start and end with the dry ingredients. Mix just until combined. - Make Chocolate Batter:
In a small bowl, stir cocoa powder with boiling water until smooth. Take 1 cup of the vanilla batter and mix it with the cocoa mixture to create chocolate batter. - Marble the Batter:
Spoon the vanilla and chocolate batters alternately into the pan. Use a butter knife to gently swirl the batters together — don’t overmix. - Bake:
Bake for 40–45 minutes or until a toothpick inserted in the center comes out clean. Let cool for 15 minutes, then remove from the pan and cool completely. - Make the Glaze (optional):
Heat cream in a small saucepan until warm (not boiling). Pour over chocolate chips and butter, let sit for 2 minutes, then stir until smooth. Drizzle over cooled cake.