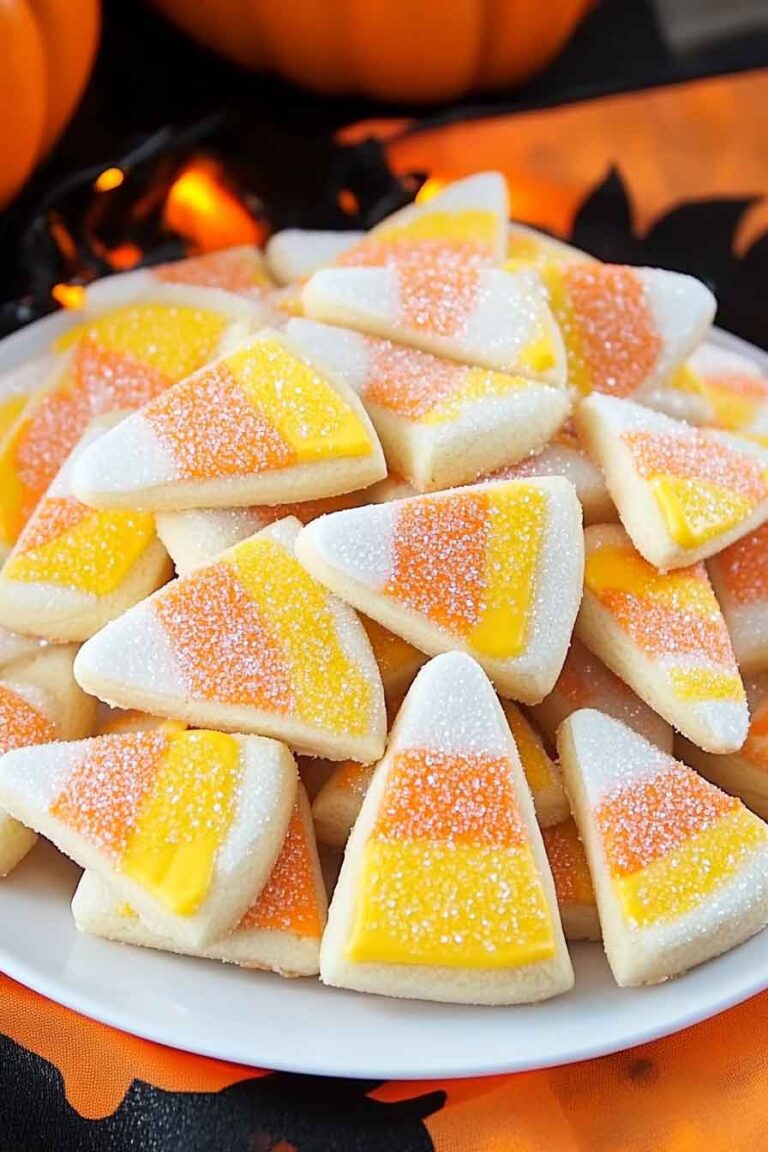
Lemon Dream Cookies Recipe – Part 1

Oh wow, have you ever tried Lemon Dream Cookies? They’re the perfect balance of sweet and tangy, and they melt in your mouth! Trust me, once you taste them, you’ll be hooked.
I’ve baked these cookies so many times, and each time, they bring a little bit of sunshine. The fresh lemon flavor is bright, and the softness is out of this world. It’s like a little treat of joy in every bite.
If you love lemon, then you NEED to try these cookies. They’re super easy to make and perfect for any occasion. Honestly, you’ll want to share them, but they’re so good, you might want to keep them all for yourself!
Go ahead, grab some lemons and get baking! You’ll be amazed at how simple it is to make these dreamy, lemony delights. Trust me—you won’t regret it!
Why You’ll Love This Recipe:
- Bright and Citrusy Flavor: With fresh lemon juice and zest, these cookies are bursting with tangy lemon goodness in every bite.
- Perfect Texture: Soft, chewy, and slightly crispy on the edges — just the way a cookie should be.
- Quick and Easy: From mixing the ingredients to baking them in just 15 minutes, these cookies come together in no time.
- Glaze Option: Take these cookies to the next level with a tangy lemon glaze, making them extra special.
- Great for Any Occasion: Whether you’re hosting a party or craving something sweet, these cookies are perfect for any event!
Key Ingredients (With Short Descriptions if Needed):
Here’s what you’ll need to create these Lemon Dream Cookies (exact measurements are in the recipe card below):
- Unsalted Butter (softened): The key to getting that melt-in-your-mouth texture that makes these cookies so irresistible.
- Granulated Sugar: For that classic cookie sweetness with a subtle crunch on the edges.
- Large Egg: Helps bind the ingredients together and gives the cookies a nice chewy texture.
- Fresh Lemon Juice: The star of this recipe! Freshly squeezed lemon juice provides the zingy, refreshing flavor.
- Lemon Zest: Adds extra lemony fragrance and flavor to your cookies. It’s a must for that citrus kick.
- Vanilla Extract: Enhances the overall flavor profile with its warm, sweet notes that pair perfectly with lemon.
- Lemon Extract (optional): If you’re craving a more intense lemon flavor, a touch of lemon extract will do the trick!
- All-Purpose Flour: The base of the cookie dough. It provides structure and helps hold everything together.
- Baking Powder & Baking Soda: These leavening agents help the cookies rise and become light and fluffy.
- Salt: Enhances all the other flavors and balances the sweetness.
Required Kitchen Tools:
Before you start, here’s a list of the kitchen tools you’ll need to make your Lemon Dream Cookies:
- Mixing Bowls: A couple of medium-sized bowls will work perfectly for mixing the dry and wet ingredients.
- Hand Mixer or Stand Mixer: To make your life easier, use a mixer to beat the butter and sugar. If you don’t have a mixer, a whisk will work too — just be prepared for a little arm workout!
- Measuring Cups and Spoons: Accurate measurements are key to getting the perfect cookie texture.
- Baking Sheet: Line your baking sheet with parchment paper or silicone baking mats to ensure the cookies don’t stick.
- Cookie Scoop: This will help you portion out your dough into perfectly round cookies. A tablespoon will work in a pinch, but a scoop is more efficient.
- Cooling Rack: Let your cookies cool completely on a rack to ensure they don’t get soggy.
Step-by-Step Instructions
1. Prepare the Cookie Dough
Start by preheating your oven to 350°F (177°C). Line your baking sheets with parchment paper or a silicone baking mat to ensure the cookies don’t stick.
In a large mixing bowl, use a hand mixer or stand mixer to cream together softened butter and granulated sugar until light and fluffy. This should take about 2-3 minutes. The butter should look pale and the sugar should have dissolved, creating a smooth and fluffy mixture.
2. Add the Wet Ingredients
Once the butter and sugar are creamed together, add the egg, fresh lemon juice, lemon zest, and vanilla extract (and lemon extract, if using). Mix everything until combined.
The fresh lemon juice and zest should give your dough a beautiful citrusy fragrance, so don’t skip this step! It’s the key to that irresistible lemon flavor.
3. Combine the Dry Ingredients
In a separate bowl, whisk together the all-purpose flour, baking powder, baking soda, and salt. These dry ingredients will ensure your cookies have just the right texture and rise.
Slowly add the dry ingredients to the wet mixture, mixing until everything is just combined. You don’t want to overmix the dough, or you’ll end up with tough cookies.
Step-by-Step Instructions (Continued)
4. Chill the Dough (Optional, but Recommended)
While not mandatory, I highly recommend chilling your dough for 30 minutes before baking. Chilling helps the dough firm up, preventing the cookies from spreading too much while baking. This will result in a thicker, chewier cookie.
If you’re short on time, you can skip this step, but the dough will be a little stickier to work with. If you do chill the dough, be sure to cover it with plastic wrap or place it in an airtight container to prevent it from drying out.
5. Scoop and Shape the Cookies
Once the dough has chilled (or if you skipped that step), it’s time to scoop out the cookies. Using a cookie scoop or a tablespoon, portion out the dough into 1.5-inch balls. Place them on your prepared baking sheets about 2 inches apart, as they will spread slightly during baking.
If you like your cookies with slightly rounded tops, you can gently roll the dough into balls. For a more rustic look, you can leave them slightly irregular.
6. Bake the Cookies
Pop your cookies into the oven and bake for 10-12 minutes. Keep a close eye on them — they’re done when the edges are lightly golden and the centers are set. Don’t worry if they’re slightly soft in the middle; they’ll firm up as they cool.
Remember, every oven is different, so your baking time might vary by a minute or two. If you’re unsure, take one cookie out and let it cool for a minute. If it holds its shape, you’re good to go!
7. Cool the Cookies
Once baked, allow the cookies to rest on the baking sheet for about 5 minutes. This gives them time to firm up before transferring them to a wire rack. After that, move the cookies to the wire rack to cool completely.
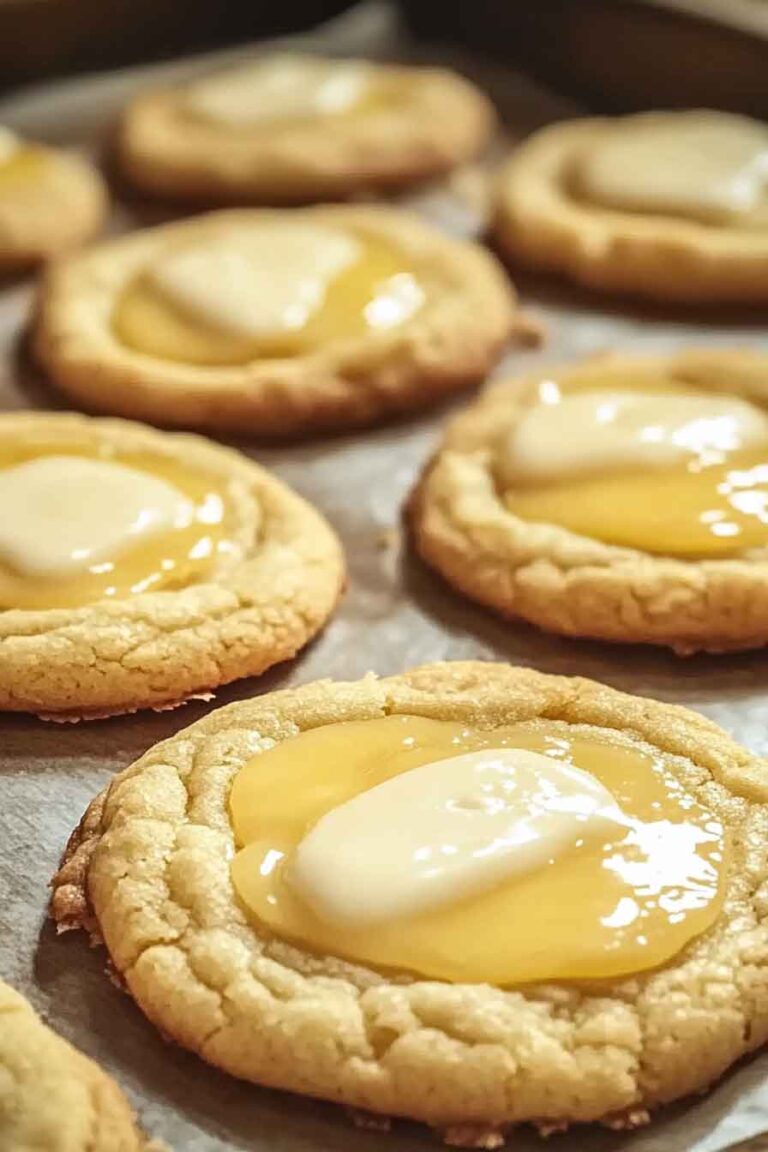
Lemon Glaze (Optional, but Highly Recommended!)
To make these cookies even more irresistible, try adding a lemon glaze. This optional glaze adds an extra layer of tangy sweetness that makes these cookies truly shine.
Here’s what you’ll need for the glaze:
- Powdered Sugar
- Fresh Lemon Juice
- Lemon Zest
In a small bowl, whisk together powdered sugar, fresh lemon juice, and a little lemon zest. Adjust the amount of lemon juice depending on how thick or runny you want your glaze. Drizzle the glaze over the cooled cookies, or dip the tops of the cookies into the glaze for a fun finish.

How to Serve Lemon Dream Cookies
These cookies are perfect for any occasion. Here are some ideas for serving them:
- With Tea or Coffee: These cookies pair beautifully with a hot cup of tea or coffee. The refreshing lemon flavor complements the richness of your favorite brew.
- For Parties and Gatherings: Serve these cookies at your next event — they’ll be the hit of the party! They’re perfect for baby showers, birthdays, or even holiday get-togethers.
- As a Gift: Pack a dozen or two of these cookies in a cute gift box for a homemade, thoughtful gift. You could even include the lemon glaze in a small jar for a sweet touch.
- For an Afternoon Snack: Treat yourself to a little afternoon pick-me-up. These cookies are the perfect balance of sweet and citrusy, making them a satisfying snack.
Storage and Meal Prep Tips
- How to Store: Once the cookies have cooled, store them in an airtight container at room temperature. They will stay fresh for up to 5 days.
- Freezing: If you want to make a big batch ahead of time, you can freeze the cookie dough. Portion the dough into balls, place them on a baking sheet, and freeze until solid. Once frozen, transfer the dough balls to a ziplock bag and store them in the freezer for up to 3 months. When you’re ready to bake, just bake the frozen dough balls for an extra minute or two.
- Glaze Storage: If you’ve made the lemon glaze, store any leftovers in the fridge for up to 1 week. Simply drizzle it on fresh cookies when you’re ready to serve.
Variations for Lemon Dream Cookies
While these cookies are perfect as they are, you can easily customize them to your liking:
- Add Blueberries: Mix in some fresh or dried blueberries for a refreshing twist on the classic lemon-blueberry flavor combo.
- Lemon Poppy Seed Cookies: Add 1-2 tablespoons of poppy seeds into the dough for a delightful crunch and a more classic lemon poppy seed flavor.
- Lemon Coconut Cookies: Toss in a handful of shredded coconut for a tropical twist. The coconut adds a nice texture and flavor that pairs wonderfully with the lemon.
Nutrition Information (Optional)
Here’s an approximate breakdown for one Lemon Dream Cookie (without glaze):
- Calories: 140
- Total Fat: 6g
- Saturated Fat: 4g
- Cholesterol: 25mg
- Sodium: 50mg
- Carbohydrates: 20g
- Fiber: 0g
- Sugar: 12g
- Protein: 1g
Conclusion
These Lemon Dream Cookies are more than just a dessert — they’re a burst of sunshine on a plate. With the perfect balance of sweet, tangy, and citrusy flavors, these cookies are sure to brighten your day, no matter the occasion. Whether you’re baking for yourself, sharing with friends, or gifting them to someone special, they’re guaranteed to bring smiles all around.
Don’t forget the optional lemon glaze — it’s a delightful finishing touch that adds even more citrus goodness to every bite. And if you want to make a big batch, the dough freezes beautifully, so you can have a stash of these delicious cookies ready to bake whenever the craving hits!

Lemon Dream Cookies Recipe – Part 1
Course: Uncategorized24
cookies15
minutes10
minutes140
kcalIngredients
Unsalted Butter: 1/2 cup, softened
Granulated Sugar: 1/2 cup
Large Egg: 1
Fresh Lemon Juice: 1-2 lemons
Lemon Zest: 1 tablespoon
Vanilla Extract: 1 teaspoon
Lemon Extract (optional): 1/2 teaspoon
All-Purpose Flour: 2 cups
Baking Powder: 1 teaspoon
Baking Soda: 1/2 teaspoon
Salt: 1/2 teaspoon
- For the Lemon Glaze (Optional but recommended!):
Powdered Sugar: 1 cup
Fresh Lemon Juice: 2 tablespoons
Lemon Zest: 1 teaspoon
Directions
- Prepare the Cookie Dough
- Cream together softened butter and granulated sugar until light and fluffy. Add the egg, lemon juice, lemon zest, vanilla extract, and lemon extract (if using). Mix until combined.
- Combine the Dry Ingredients
- In a separate bowl, whisk together the flour, baking powder, baking soda, and salt. Gradually add the dry ingredients to the wet mixture, mixing until just combined.
- Chill the Dough
- Optional: Cover the dough and refrigerate for at least 30 minutes to prevent spreading during baking.
- Scoop and Shape the Cookies
- Use a cookie scoop or tablespoon to form 1.5-inch dough balls. Place them about 2 inches apart on a lined baking sheet.
- Bake the Cookies
- Preheat the oven to 350°F (177°C) and bake the cookies for 10-12 minutes or until the edges are lightly golden and the centers are set.
- Cool the Cookies
- Let the cookies rest on the baking sheet for 5 minutes before transferring to a wire rack to cool completely.
- Prepare the Lemon Glaze
- Mix powdered sugar, lemon juice, and lemon zest in a small bowl. Drizzle over cooled cookies.
- Related FAQ
- Can I make these cookies gluten-free?
- Yes, you can substitute the all-purpose flour with a gluten-free flour blend. Just make sure to check for a gluten-free baking powder and baking soda.
- Can I use bottled lemon juice?
- While fresh lemon juice provides the best flavor, you can use bottled lemon juice if needed. Freshly squeezed juice will yield the brightest flavor.
- How can I make these cookies ahead of time?
- You can freeze the dough (before baking) for up to 3 months. When you’re ready to bake, just scoop the dough and bake directly from the freezer, adding a minute or two to the bake time.