

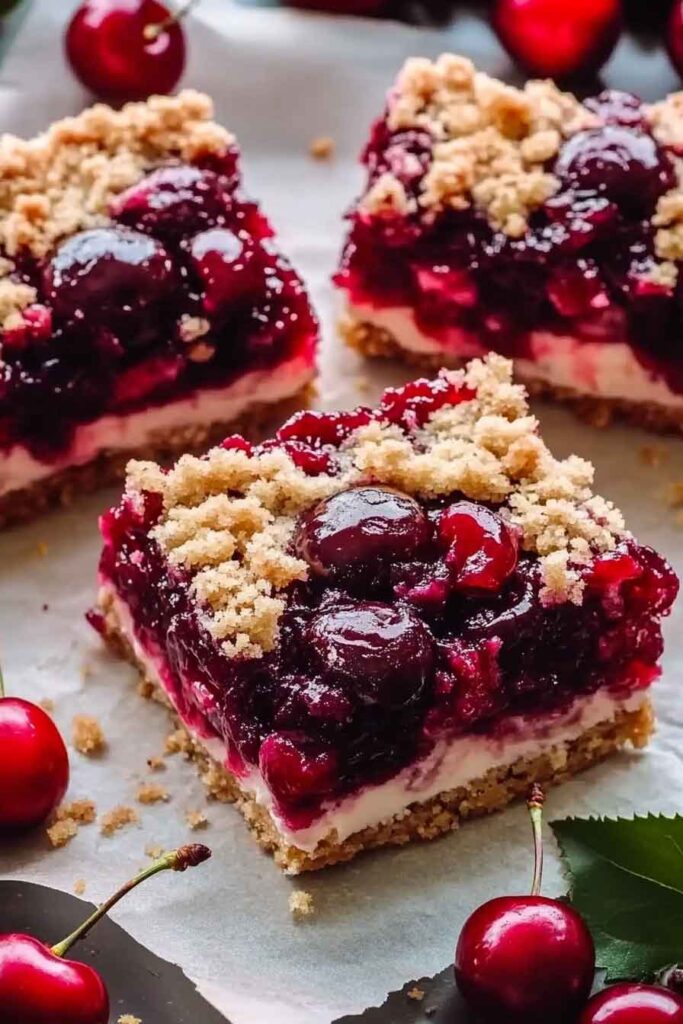
Oh wow, these Festive Christmas Cherry Bars are pure holiday magic. They’re bright, sweet, and just so pretty on the table. Honestly, they taste like Christmas in every bite.
I love how soft and buttery the base is, with that sweet cherry filling on top. It’s the kind of treat that makes the whole house smell amazing. And the best part? They’re super easy to make.
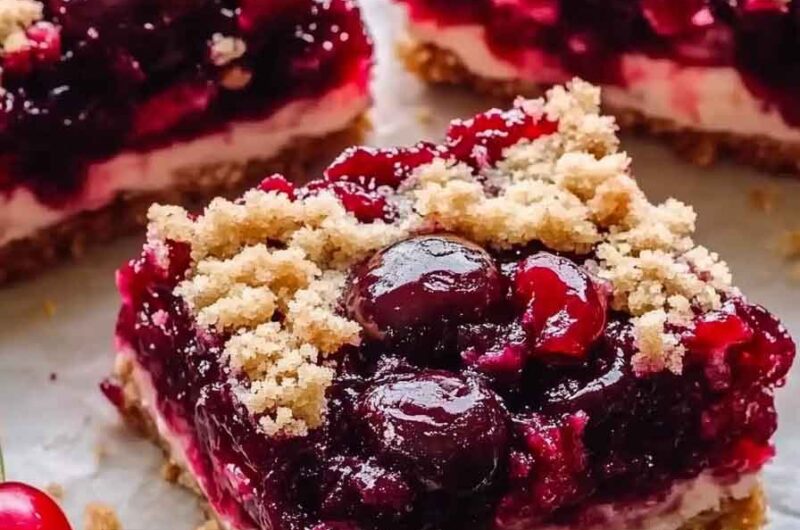
Every slice has that perfect mix of buttery crust and fruity cherry goodness. They look so festive that they’re perfect for parties or gifting. Trust me, everyone will be asking for the recipe.
So, grab your baking dish and those bright cherries. Let’s make a holiday treat that’s as beautiful as it is delicious. This one’s going to be a new Christmas favorite.

Why You’ll Love This Recipe
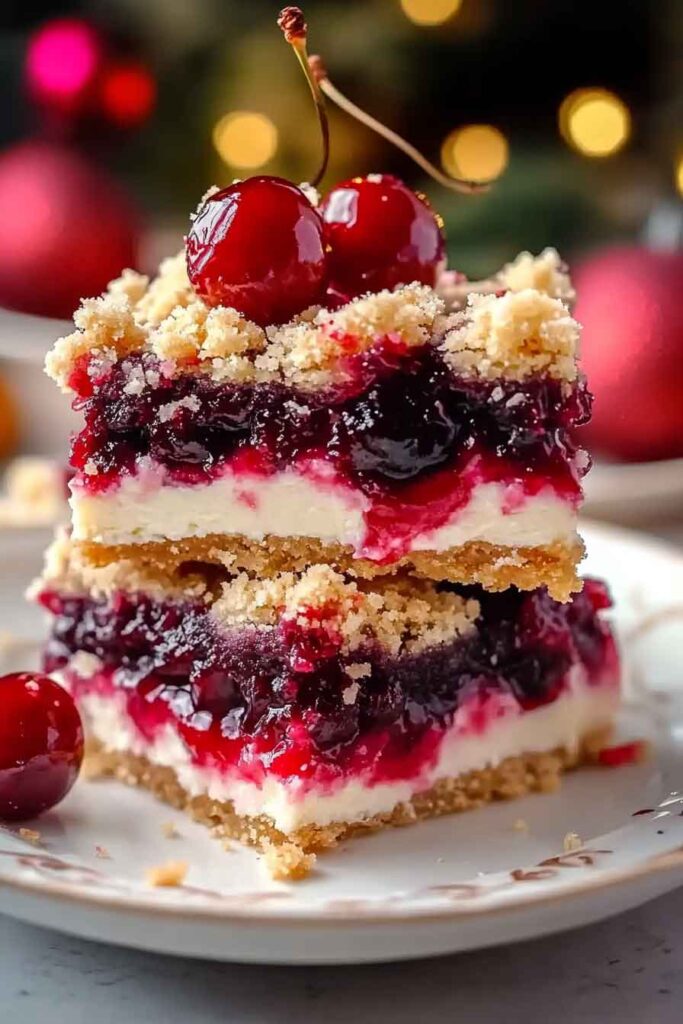
- Festive & Beautiful: The vibrant red cherries make these bars a showstopper on any dessert table.
- Quick & Easy: Simple ingredients and straightforward steps make this a hassle-free holiday dessert.
- Soft & Buttery: The base is rich, tender, and perfectly complements the juicy cherry topping.
- Make-Ahead Friendly: These bars stay fresh for days, making them a great prep-ahead option.
- Perfect for Sharing: This recipe makes a large batch, ideal for holiday gatherings and gifting.
Required Kitchen Tools
- Large mixing bowl
- Hand or stand mixer
- 9×13-inch baking dish
- Spatula
- Measuring cups and spoons
- Whisk
- Cooling rack
Ingredients
For the Bars:
- 1 cup (2 sticks) butter, softened – Provides a rich, buttery texture.
- 2 cups granulated sugar – Sweetens the base.
- 4 large eggs – Adds structure and moisture.
- 1 teaspoon vanilla extract – Enhances the flavor.
- 3 cups all-purpose flour – Forms the base of the bars.
- 1 teaspoon salt – Balances the sweetness.
- 1 can (21 ounces) cherry pie filling – The star ingredient for a festive look and taste.
For the Glaze (Optional but Recommended):
- 1 cup powdered sugar – Adds sweetness and a smooth finish.
- 2 tablespoons milk – Creates the perfect drizzling consistency.
- 1/2 teaspoon vanilla extract – Complements the cherries beautifully.
Variations for Cherry Bars
- Use Different Pie Fillings: Swap cherry pie filling for blueberry, raspberry, or apple for variety.
- Add Almond Extract: A dash of almond extract enhances the cherry flavor.
- Make It Chocolatey: Drizzle melted dark chocolate over the top for a decadent twist.
- Add Nuts: Sprinkle chopped pecans or almonds on top for a crunchy texture.
- Make Them Lemon-Infused: Add lemon zest to the dough for a citrusy balance to the cherries.
Step-by-Step Instructions
1. Preheat and Prepare
Preheat your oven to 350°F (175°C). Grease and lightly flour a 9×13-inch baking dish or line it with parchment paper for easy removal.
2. Cream the Butter and Sugar
In a large bowl, cream the butter and sugar together using a hand or stand mixer until light and fluffy (about 2-3 minutes).
3. Add the Eggs and Vanilla
Beat in eggs, one at a time, ensuring each is fully incorporated before adding the next. Stir in the vanilla extract.
4. Mix the Dry Ingredients
In a separate bowl, whisk together flour and salt. Gradually add to the wet ingredients, mixing until just combined. Do not overmix.
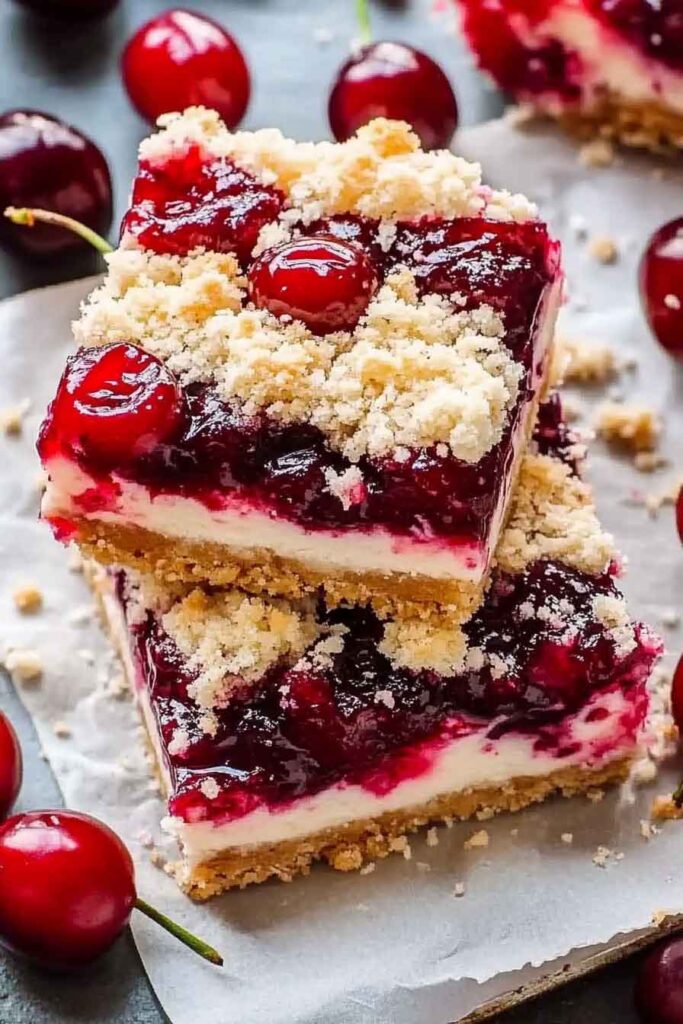
5. Assemble the Bars
Spread two-thirds of the batter evenly into the prepared baking dish. Spoon the cherry pie filling over the batter, spreading it evenly. Drop the remaining batter in small spoonfuls over the cherry layer.
6. Bake to Perfection
Bake in the preheated oven for 35-40 minutes, or until the top is lightly golden brown and a toothpick inserted comes out clean.
7. Prepare the Glaze
While the bars are cooling, whisk together the powdered sugar, milk, and vanilla extract until smooth. If it’s too thick, add more milk, a teaspoon at a time.
8. Drizzle and Serve
Once the bars have cooled completely, drizzle the glaze over the top. Allow the glaze to set before slicing into squares or bars.
Serving and Decoration
How to Serve Festive Christmas Cherry Bars
- Classic Style: Serve as-is for a simple yet delicious treat.
- With Ice Cream: Pair with a scoop of vanilla or cinnamon ice cream for extra indulgence.
- Dust with Powdered Sugar: A light dusting adds an elegant, snowy finish.
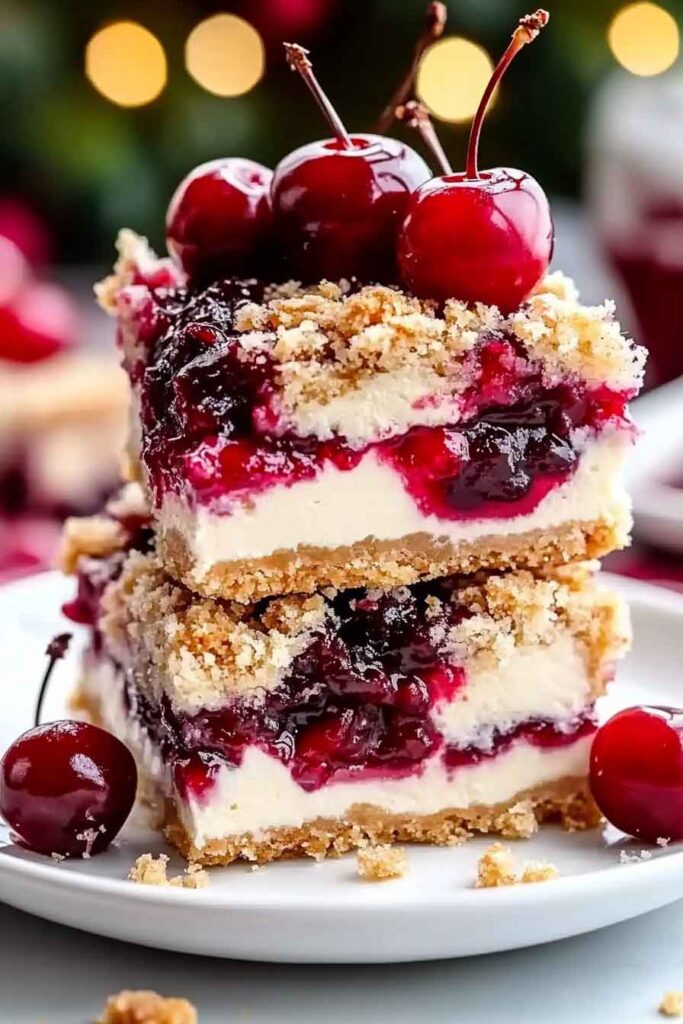
- Garnish with Fresh Cherries: Top with fresh cherries or mint leaves for a decorative touch.
Storing Festive Christmas Cherry Bars
- Room Temperature: Store in an airtight container for up to 3 days.
- Refrigerator: Keep refrigerated for up to 1 week.
- Freezing: Wrap bars individually and freeze for up to 3 months. Thaw at room temperature before serving.
Nutrition Information (Per Serving)
| Nutrient | Amount |
|---|---|
| Calories | 220 |
| Carbohydrates | 32g |
| Protein | 2g |
| Fat | 10g |
| Sugar | 18g |
| Fiber | 1g |

Festive Christmas Cherry Bars Recipe
Course: Uncategorized24
bars15
minutes35
minutes220
kcalIngredients
1 cup (2 sticks) butter, softened
2 cups sugar
4 eggs
1 teaspoon vanilla extract
3 cups all-purpose flour
1 teaspoon salt
1 can (21 ounces) cherry pie filling
- For the Glaze:
1 cup powdered sugar
2 tablespoons milk
1/2 teaspoon vanilla extract
Directions
- Preheat oven to 350°F (175°C) and grease a 9×13-inch baking dish.
- Cream butter and sugar together until light and fluffy.
- Add eggs one at a time, then mix in vanilla extract.
- In a separate bowl, whisk flour and salt, then add to wet ingredients.
- Spread 2/3 of the batter in the pan, layer with cherry pie filling, then drop remaining batter over the top.
- Bake for 35-40 minutes, until golden brown. Let cool.
- Mix powdered sugar, milk, and vanilla to make the glaze.
- Drizzle glaze over the bars, let set, and slice into squares.
Festive Christmas Cherry Bars FAQs
Can I use homemade cherry pie filling?
Yes! If you prefer homemade, cook fresh cherries with sugar, cornstarch, and lemon juice until thickened.
Can I make these gluten-free?
Yes! Substitute all-purpose flour with a gluten-free 1:1 baking blend.
Can I freeze these bars?
Absolutely! Wrap them individually and freeze for up to 3 months.
Can I make them ahead of time?
Yes! These bars stay fresh for several days, making them a perfect make-ahead dessert.
Can I use a different fruit filling?
Of course! Try apple, blueberry, or raspberry pie filling for variety.