Danish Butter Cookies Recipe

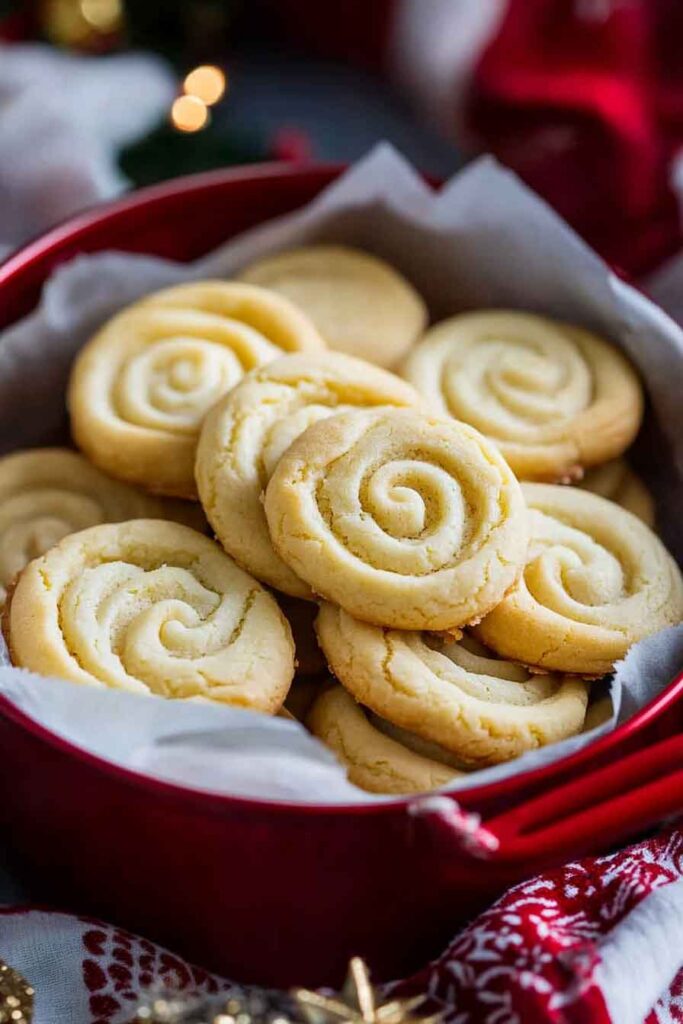
The smell of buttery cookies baking makes me so happy. They’re crisp, light, and melt right in my mouth. Each bite feels simple but special.
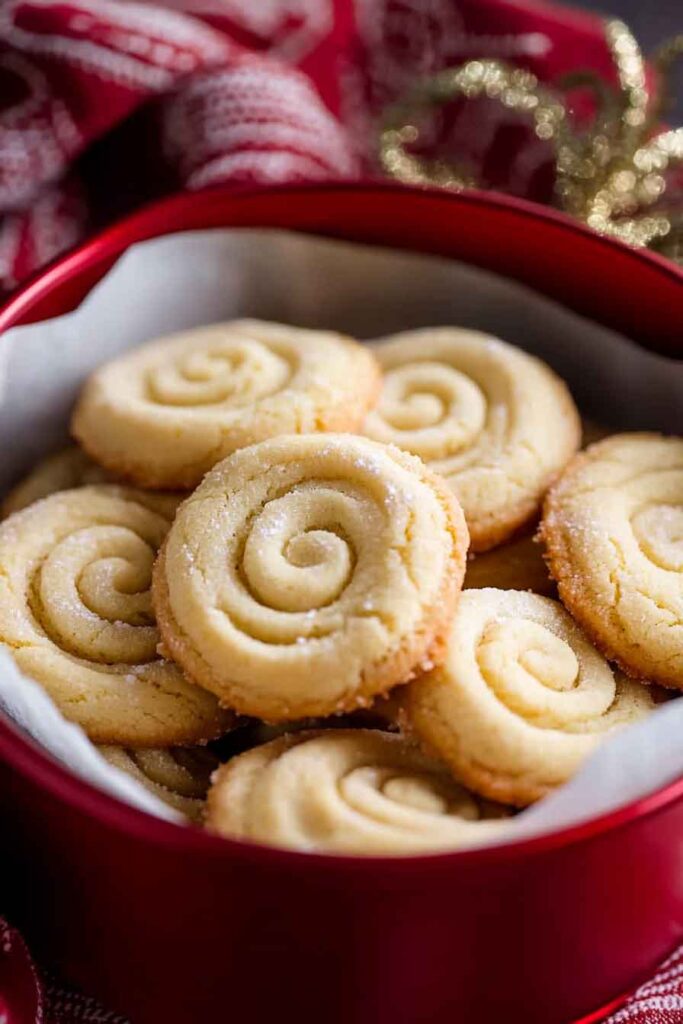
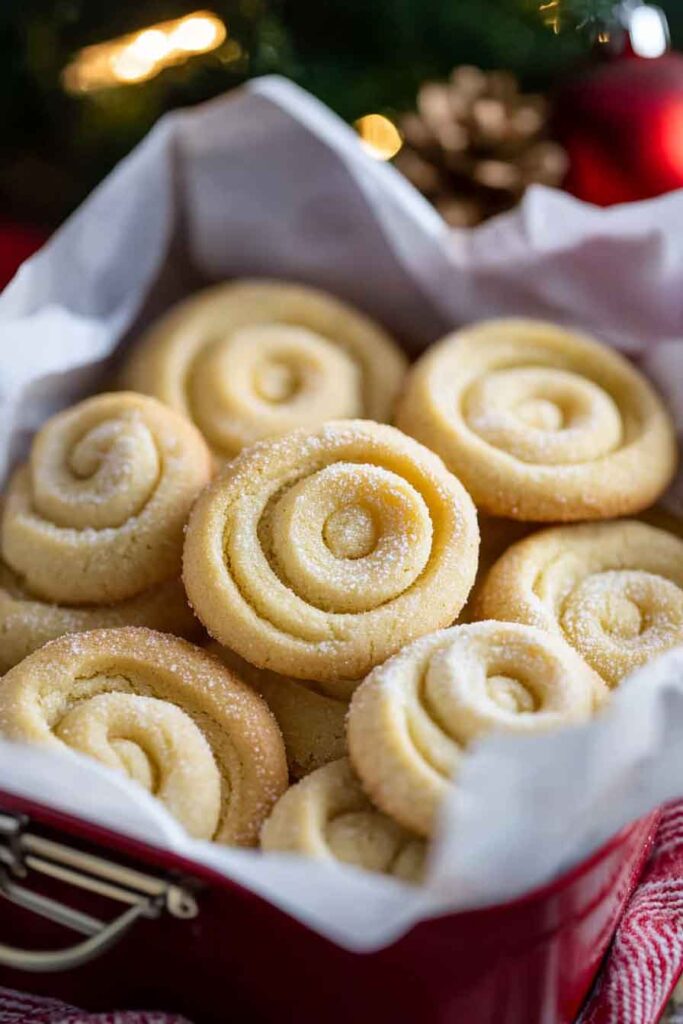
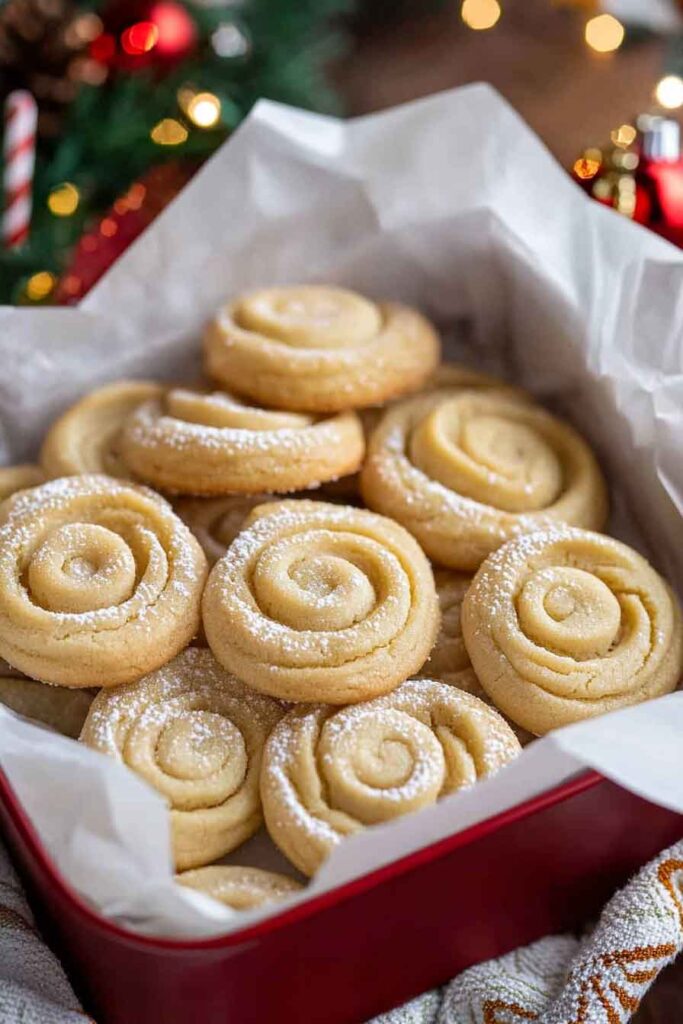
I remember making these cookies for the holidays. The pretty shapes and golden edges made everyone smile. They tasted just like the ones from the blue tin.
That’s why I love sharing this recipe. It’s easy, fun, and perfect for any time. Let’s bake these Danish Butter Cookies together.
Why You’ll Love This Recipe
- Reader Favorite: Many people have shared how this recipe is a “family tradition” and a “must-make for every holiday season.”
- Buttery Perfection: These cookies melt in your mouth, leaving behind a delicious buttery aftertaste.
- Simple Ingredients: With just a handful of ingredients, you can create these gourmet cookies.
- Quick and Easy: The recipe comes together quickly, and the dough can be made in advance for convenience.
- Perfect for Gifting: The cookies are elegant and make for a great homemade gift during the holidays or any special occasion.
Required Kitchen Tools
Before we get started, here’s what you’ll need to make these delicious Danish Butter Cookies:
- Mixing Bowls: A couple of medium-sized bowls to mix the dough.
- Electric Mixer or Hand Whisk: For creaming the butter and sugar.
- Measuring Cups & Spoons: For accuracy when measuring ingredients.
- Baking Sheets: To bake the cookies.
- Parchment Paper: To line the baking sheets for easy cookie removal and even baking.
- Cookie Cutter (Optional): If you want to shape your cookies in fun patterns.
- Wire Cooling Rack: To allow the cookies to cool down after baking.
Danish Butter Cookies
Here’s what you’ll need to make this irresistible batch of Danish Butter Cookies (exact measurements are listed in the recipe card below):
- Unsalted Butter (1 cup or 227g): The base of these cookies, giving them that melt-in-your-mouth texture.
- Granulated Sugar (½ cup or 100g): To sweeten the dough just the right amount without overwhelming the buttery flavor.
- Salt (¼ teaspoon): A small pinch of salt to enhance the flavor and balance out the sweetness.
- Vanilla Extract (1 ½ teaspoons): Adds a fragrant, warm sweetness to the cookies.
- Egg (1 large): The egg helps bind the dough and gives it a soft yet firm texture.
- All-purpose Flour (2 cups or 284g): The foundation of the dough, providing structure and texture.
- Granulated Sugar (for sprinkling): A final touch for that sweet, sparkly finish on the cookies.
Step-by-Step Instructions
1. Cream the Butter and Sugar
Start by creaming the unsalted butter and granulated sugar together in a large mixing bowl. You can do this using an electric mixer or a hand whisk. Beat the mixture for about 3 minutes until it’s light and fluffy. This step is crucial because it helps create the tender, airy texture that Danish Butter Cookies are known for.
2. Add the Egg and Vanilla Extract
Once your butter and sugar mixture is smooth and creamy, add the egg and vanilla extract. Beat until well combined. The vanilla adds a lovely fragrance, and the egg ensures the dough holds together well when you shape it into cookies.
3. Mix in the Flour and Salt
Now, gradually add the all-purpose flour and salt into the butter mixture. I recommend sifting the flour to ensure it’s light and free of lumps. Mix on low speed (if using an electric mixer) or stir gently with a spatula until the dough comes together. You’ll know the dough is ready when it forms a smooth, soft ball.
4. Chill the Dough
Once the dough is ready, wrap it in plastic wrap and refrigerate it for at least 30 minutes. Chilling the dough will make it easier to roll out and cut into shapes, ensuring your cookies keep their perfect form while baking.
5. Preheat the Oven
Preheat your oven to 350°F (175°C), and line your baking sheets with parchment paper to prevent the cookies from sticking and to ensure even baking.
6. Shape the Cookies
Take the dough out of the fridge, and roll it out onto a lightly floured surface. Roll the dough to about ¼-inch thickness. If you have cookie cutters, you can use them to create your desired shapes. If you prefer a more traditional approach, simply use a spoon to drop spoonfuls of dough onto the baking sheet, spacing them about 2 inches apart.
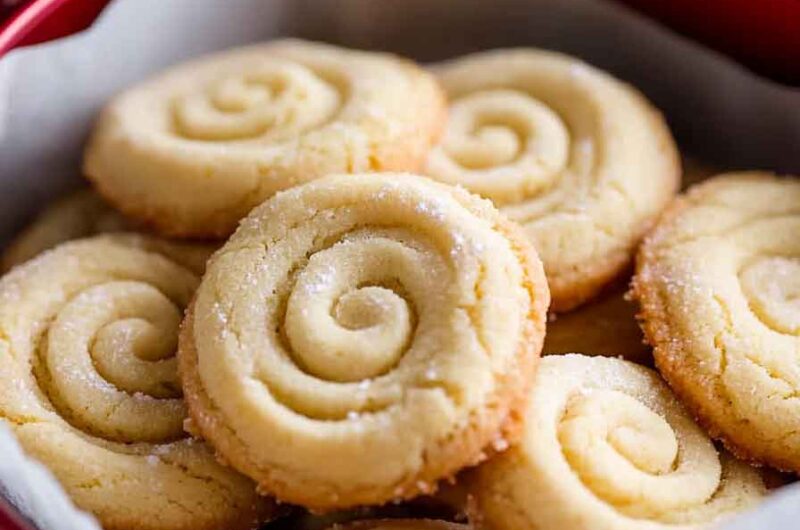
If you’d like to add a decorative touch, sprinkle a little granulated sugar over the tops of each cookie before baking. This step gives the cookies a beautiful, sweet crunch on top.
7. Bake the Cookies
Place your baking sheets in the preheated oven and bake for 10-12 minutes, or until the edges of the cookies are lightly golden. Keep an eye on them, as baking times can vary slightly depending on the size of your cookies and your oven.
8. Cool the Cookies
Allow the cookies to rest on the baking sheet for about 5 minutes before transferring them to a wire rack to cool completely. The cookies will continue to firm up as they cool, so don’t worry if they seem a little soft right after baking.
How to Serve Danish Butter Cookies
Danish Butter Cookies are versatile and can be enjoyed in many different ways. Here are some ideas for serving them:
- With Tea or Coffee: These buttery cookies are a perfect companion to a warm cup of tea or coffee. The crisp texture pairs beautifully with hot beverages.
- For Gifting: These cookies are elegant and make an ideal homemade gift during the holidays or for any special occasion. Place them in a decorative tin or box for a thoughtful present.
- As a Dessert: Serve Danish Butter Cookies alongside a scoop of vanilla ice cream for a simple but delightful dessert.
- On a Cookie Platter: These cookies are a great addition to a cookie platter at family gatherings, holidays, or any occasion where you want to impress your guests.
Storing Danish Butter Cookies
- Unbaked Dough: If you don’t want to bake all of the dough at once, you can store it in the fridge for up to 2-3 days. Alternatively, wrap the dough in plastic wrap and freeze it for up to 3 months. When ready to bake, let it thaw in the fridge overnight before rolling and shaping.
- Baked Cookies: Keep leftover cookies in an airtight container at room temperature for up to 1 week. These cookies stay fresh and delicious for several days, thanks to their rich butter content.
- Freezing Baked Cookies: You can freeze the baked cookies in a single layer, then transfer them to a freezer bag or container. They’ll stay good for up to 3 months. Thaw them at room temperature before serving.
Nutrition Facts
Per Serving (1 cookie)
- Calories: 60
- Protein: 1g
- Carbohydrates: 6g
- Fat: 4g
- Saturated Fat: 2.5g
- Fiber: 0g
- Sugar: 2g
- Sodium: 40mg
- Calcium: 5mg
- Iron: 0.2mg
Nutritional values are approximate and may vary based on exact ingredients and portion size.
FAQ: Common Questions About Danish Butter Cookies
Can I make these cookies without an electric mixer?
Yes, you can! If you don’t have an electric mixer, simply use a hand whisk or a stand mixer. You can also cream the butter and sugar by hand using a wooden spoon, though it may take a little more effort.
Why are my cookies not as crisp as I want them to be?
The crispiness of these cookies comes from the combination of butter, flour, and the way they are baked. Make sure you’re using the correct amount of butter and flour and not overmixing the dough. Also, be sure to bake them until the edges are lightly golden, but not over-bake them.
Can I add other flavorings to the dough?
Absolutely! You can experiment with adding lemon zest, almond extract, or even a little cinnamon for a unique twist on the classic butter flavor. You could also add chopped nuts like almonds or walnuts for added texture.
Can I make these cookies gluten-free?
Yes, you can make a gluten-free version of these cookies by substituting the all-purpose flour with a 1:1 gluten-free flour blend. Make sure to check the ingredients of the flour blend, as some may already contain additional binding agents.
Danish Butter Cookies Recipe
Course: Uncategorized24-30
cookies20
minutes10
minutes60
kcal30
minutesIngredients
1 cup (227 g) unsalted butter, room temperature
½ cup (100 g) granulated sugar
¼ teaspoon salt
1 ½ teaspoons vanilla extract
1 large egg
2 cups (284 g) all-purpose flour
Granulated sugar, for sprinkling
Directions
- Cream butter and sugar in a large bowl until light and fluffy.
- Add the egg and vanilla, mixing until well combined.
- Gradually add flour and salt to form dough.
- Chill the dough for at least 30 minutes.
- Preheat oven to 350°F (175°C) and line baking sheets with parchment paper.
- Roll out the dough, cut into shapes, and sprinkle with granulated sugar.
- Bake for 10-12 minutes, or until the edges are golden.
- Cool on a wire rack before serving.
Conclusion:
Danish Butter Cookies are truly the epitome of simple, classic baking. They’re buttery, melt-in-your-mouth delicious, and surprisingly easy to make with just a handful of ingredients. Whether you’re baking for a special occasion or just treating yourself to a homemade dessert, this recipe will never disappoint.
So, what are you waiting for? Gather your ingredients, follow this easy recipe, and enjoy the rich, buttery goodness of homemade Danish Butter Cookies today!