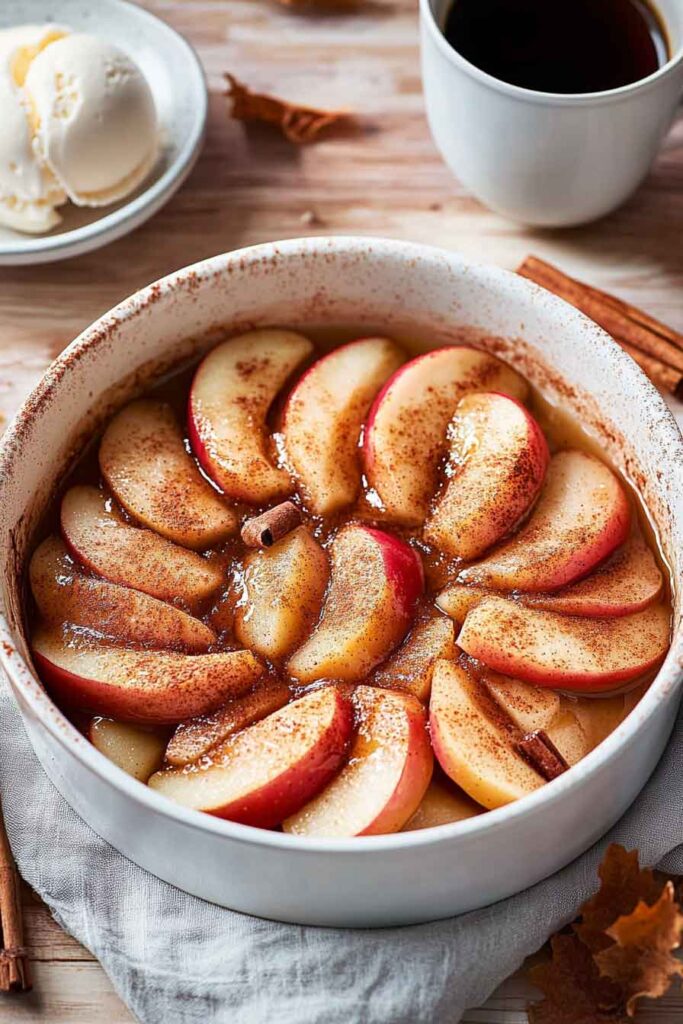
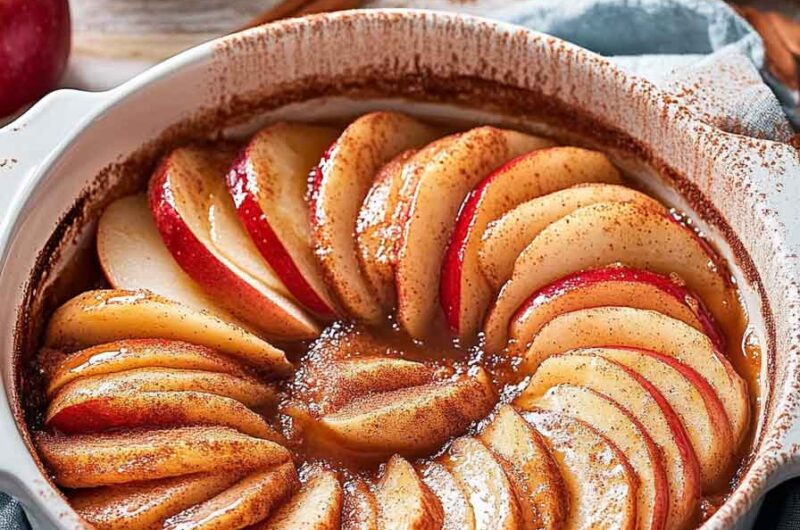
Cinnamon Maple Baked Apples – A Cozy Fall Dessert
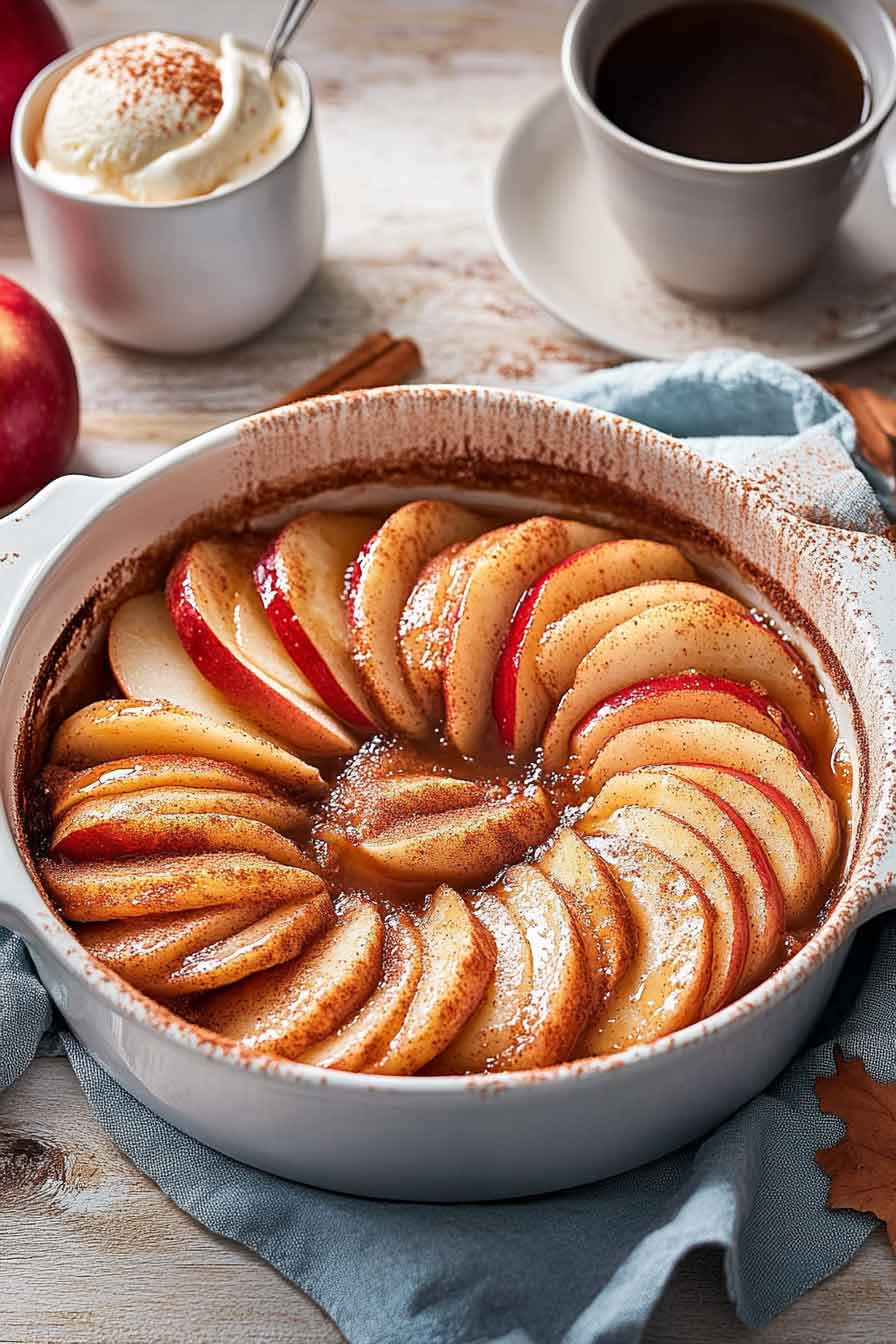
Okay, hear me out—these cinnamon maple baked apples are like little warm hugs in a bowl. I made them on a chilly evening, and wow, the smell alone had me drooling. It’s cozy, sweet, and so, so easy.
You don’t need much—just some apples, maple syrup, and a sprinkle of cinnamon magic. The way the apples get all soft and sticky? Totally dreamy. I love how they feel fancy, but take no time at all.
These are great for dessert or, um, breakfast (yep, I said it). Add a scoop of vanilla ice cream, and boom—heaven. You’ll want to make them again and again.
So, if you’re craving something sweet but simple, try this. Seriously. Let’s get to baking these little apple gems together.

Why You’ll Love This Recipe
- Easy & Delicious: No rolling, no dough—just simple, wholesome ingredients baked to perfection.
- Warm & Comforting: Perfect for cozy fall nights when you crave something sweet.
- Naturally Sweetened: Uses maple syrup instead of refined sugar for a rich, caramel-like flavor.
- Customizable: Add nuts, raisins, or even a drizzle of caramel for extra indulgence.
- Great for Meal Prep: Bake a batch and enjoy throughout the week with breakfast or dessert.
Key Ingredients
Here’s what makes these Cinnamon Maple Baked Apples absolutely irresistible:
- Large Apples (Honeycrisp or Fuji): These hold their shape well and have the perfect balance of tart and sweet flavors.
- Rolled Oats: Adds texture to the filling, making it slightly chewy and hearty.
- Chopped Walnuts: Brings crunch and a nutty depth of flavor. You can swap in pecans or almonds!
- Unsalted Butter: Softened butter adds richness and helps create a golden-brown topping.
- Brown Sugar: Enhances the caramelization process and adds a deep molasses flavor.
- Maple Syrup: The star of this dessert! It naturally sweetens the apples while infusing them with warm autumn flavors.
- Ground Cinnamon & Nutmeg: These cozy spices elevate the apples to fall dessert perfection.
- Pinch of Salt: A little salt balances the sweetness and enhances the flavors.
- Vanilla Ice Cream or Whipped Cream (Optional): For the ultimate indulgence, serve these apples with a scoop of vanilla ice cream or a dollop of whipped cream.
Required Kitchen Tools
- Apple Corer or Paring Knife: To remove the core while keeping the apple intact.
- Mixing Bowl: For combining the filling ingredients.
- Baking Dish: A small to medium-sized dish that fits the apples snugly.
- Pastry Brush (Optional): Helps evenly coat the apples with melted butter or maple syrup.
- Foil or Baking Sheet: To catch any drips and make cleanup easy.
Variations & Customizations
Want to make these baked apples even more exciting? Here are some ideas:
- Nut-Free: Skip the nuts and use sunflower seeds or shredded coconut for crunch.
- Extra Decadence: Drizzle with caramel sauce or top with crushed graham crackers.
- Spiced Kick: Add a dash of cloves or allspice for a more festive flavor.
- Boozy Version: Splash a little bourbon into the maple syrup before baking for a sophisticated twist.
- Stuffed with Goodness: Mix in chopped dates, raisins, or even dark chocolate chips to the filling.
How to Pick the Best Apples for Baking
Not all apples are created equal when it comes to baking. You need firm apples that will hold their shape and not turn mushy. The best choices include:
- Honeycrisp: Sweet, juicy, and crisp—ideal for baking.
- Fuji: Naturally sweet with a firm texture that holds up well.
- Granny Smith: Tart and firm, creating a perfect balance when paired with sweet toppings.
- Jonagold: A mix of sweet and tart flavors with a soft yet structured texture.
Avoid using Red Delicious or McIntosh apples, as they tend to become too soft and mealy when baked.
Step-by-Step Instructions
Follow these simple steps to create a warm, cozy, and flavorful fall dessert.
1️⃣ Preheat & Prepare
Preheat your oven to 350°F (175°C). Lightly grease a baking dish that fits the apples snugly to prevent them from tipping over while baking.
2️⃣ Core the Apples
Using an apple corer or a paring knife, carefully remove the cores from the apples, leaving the bottom intact. You want to create a hollow center about ¾ of the way down, leaving a small base to hold the filling. If necessary, use a spoon to scoop out any extra seeds.
Pro Tip: If the apples don’t sit upright, trim a small slice off the bottom to level them.
3️⃣ Make the Oat & Walnut Filling
In a medium mixing bowl, combine:
- ½ cup rolled oats
- ¼ cup chopped walnuts
- 2 tablespoons unsalted butter, softened
- 2 tablespoons brown sugar
- 1 tablespoon maple syrup
- ½ teaspoon ground cinnamon
- ¼ teaspoon ground nutmeg
- Pinch of salt
Use a fork or your fingers to mix the ingredients until they resemble a slightly crumbly, moist texture.
4️⃣ Stuff the Apples
Spoon the oat-walnut mixture evenly into each apple, pressing it down gently. If there’s extra filling, mound it on top.
5️⃣ Drizzle with Maple Syrup & Butter
For extra caramelized goodness, drizzle 1 tablespoon of maple syrup over the stuffed apples. Then, melt 1 tablespoon of butter and brush it over the tops to help with browning.
6️⃣ Bake Until Tender
Place the apples in the prepared baking dish and pour ¼ cup of water into the bottom. Cover the dish loosely with aluminum foil and bake for 25 minutes.
After 25 minutes, remove the foil and continue baking for another 10-15 minutes, or until the apples are soft and slightly wrinkled, and the filling is golden brown.
How to Know They’re Done:
- The apples should be fork-tender but not mushy.
- The filling should be slightly crisp on top and caramelized.
- You’ll smell the delicious aroma of maple, cinnamon, and baked apples!
7️⃣ Let Them Rest
Remove the apples from the oven and let them cool for 5 minutes before serving. The filling will be very hot, so letting them sit ensures you don’t burn your mouth!
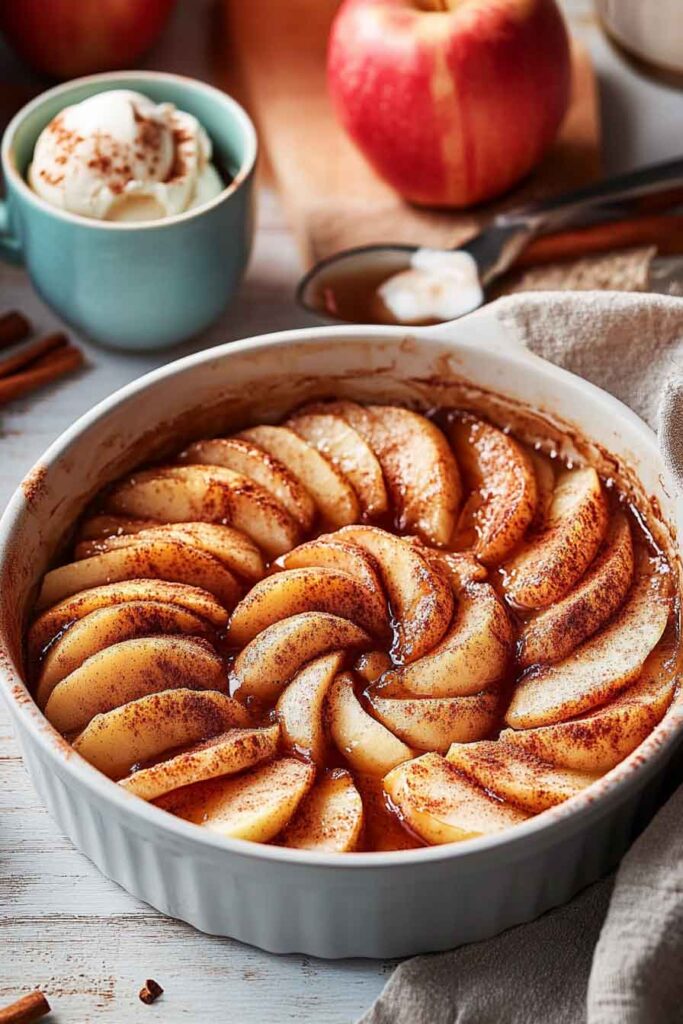
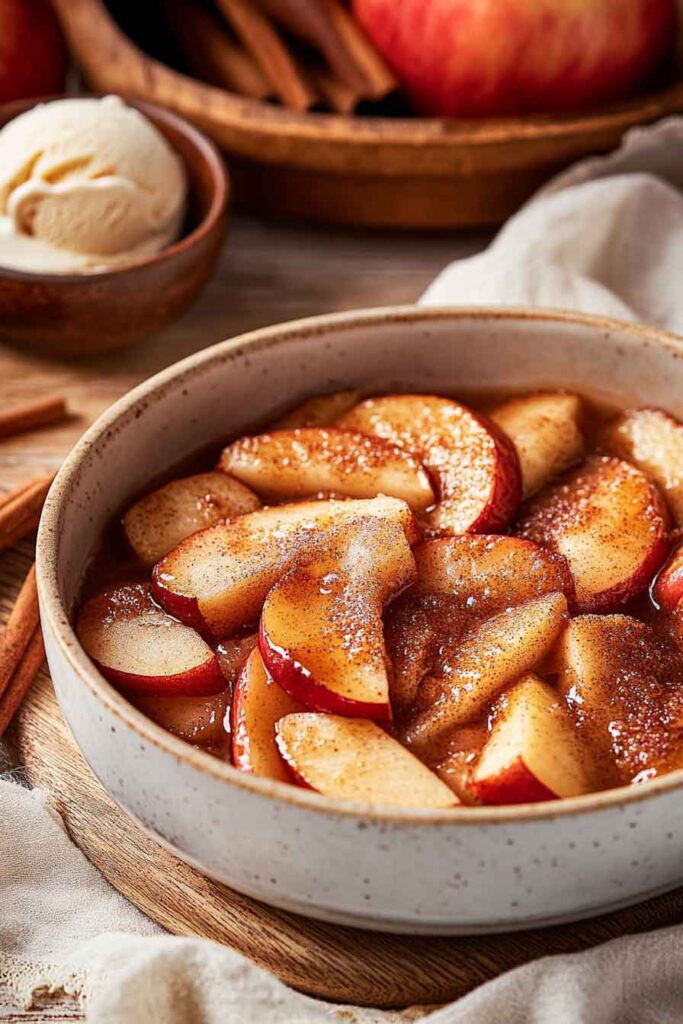
How to Serve Cinnamon Maple Baked Apples
These warm, spiced apples are delicious on their own, but here are some ways to make them even more irresistible:
With Ice Cream
Top each baked apple with a scoop of vanilla ice cream and drizzle extra maple syrup for a classic, comforting dessert.
With Whipped Cream
A dollop of homemade whipped cream adds a light, creamy contrast to the warm filling.
With Yogurt & Honey
For a breakfast-friendly version, serve with Greek yogurt and a drizzle of honey or maple syrup.
Over Pancakes or Waffles
Chop up the baked apples and use them as a topping for pancakes, waffles, or oatmeal.
With Nut Butter
Drizzle some almond butter, peanut butter, or pecan butter for a rich and nutty twist.
With Granola & Caramel
For extra crunch, sprinkle some granola on top and drizzle with caramel sauce.
Storage & Meal Prep Tips
How to Store Leftovers
- Refrigerator: Store baked apples in an airtight container for up to 4 days.
- Freezer: Wrap each baked apple individually in plastic wrap, place in a freezer-safe container, and freeze for up to 3 months.
How to Reheat
- Microwave: Heat in 30-second intervals until warm.
- Oven: Cover with foil and reheat at 325°F (163°C) for about 10 minutes.
Pro Tip: If the filling seems dry after reheating, drizzle a little extra maple syrup or melted butter over the top before serving.
Creative Variations
Want to change things up? Here are some fun variations:
Nut-Free Option
Replace walnuts with pumpkin seeds, sunflower seeds, or shredded coconut.
Chocolate Lovers
Mix in mini chocolate chips or a drizzle of melted dark chocolate for a decadent twist.
Boozy Baked Apples
Add a splash of bourbon or spiced rum to the maple syrup before baking for a more grown-up dessert.
Citrus Twist
Add orange zest or a squeeze of fresh orange juice to the filling for a bright, citrusy flavor.
Cinnamon Maple Baked Apples – A Cozy Fall Dessert
Course: Uncategorized4
servings10
minutes35
minutes220
kcalIngredients
- For the Baked Apples:
4 large apples (Honeycrisp, Fuji, or Granny Smith)
½ cup rolled oats
¼ cup chopped walnuts (or pecans)
2 tbsp unsalted butter, softened
2 tbsp brown sugar
1 tbsp maple syrup
½ tsp ground cinnamon
¼ tsp ground nutmeg
Pinch of salt
¼ cup water (for baking dish)
- For Serving (Optional):
Vanilla ice cream or whipped cream
Extra maple syrup for drizzling
Directions
- Preheat the Oven
- Preheat your oven to 350°F (175°C). Grease a small baking dish.
- Core the Apples
- Using an apple corer or paring knife, remove the cores from each apple, leaving the bottom intact to hold the filling.
- Make the Filling
- In a bowl, mix together the oats, chopped walnuts, butter, brown sugar, maple syrup, cinnamon, nutmeg, and a pinch of salt until well combined.
- Fill the Apples
- Stuff each apple with the oat mixture, pressing gently to pack it in.
- Drizzle & Bake
- Place apples in the baking dish. Pour ¼ cup of water into the bottom of the dish. Drizzle additional maple syrup over the apples and brush with melted butter.
- Cover loosely with foil and bake for 25 minutes. Remove foil and bake uncovered for another 10-15 minutes, or until apples are tender.
- Cool & Serve
- Let the apples cool for 5 minutes before serving. Enjoy warm with ice cream, whipped cream, or extra maple syrup.
Nutrition Information (Per Apple)
| Nutrient | Amount |
|---|---|
| Calories | 220 |
| Carbs | 36g |
| Sugar | 22g |
| Fat | 9g |
| Protein | 3g |
| Fiber | 5g |
Cinnamon Maple Baked Apples FAQs
❓ Can I make these apples ahead of time?
Yes! You can prep the apples and store them uncooked in the fridge for up to 24 hours. When ready, bake as directed.
❓ What are the best apples for baking?
Honeycrisp, Fuji, Granny Smith, and Jonagold hold their shape well when baked. Avoid Red Delicious or McIntosh, as they get too soft.
❓ Can I make this recipe dairy-free?
Absolutely! Swap the butter for coconut oil or vegan butter.
❓ Can I freeze baked apples?
Yes! Wrap cooled apples in plastic wrap and freeze for up to 3 months. Reheat in the oven at 325°F (163°C) until warm.
Final Thoughts
Cinnamon Maple Baked Apples are the ultimate fall dessert, packed with warm spices, crunchy oats, and natural sweetness from maple syrup. Whether you serve them for dessert, breakfast, or a holiday gathering, these apples are sure to become a seasonal favorite.