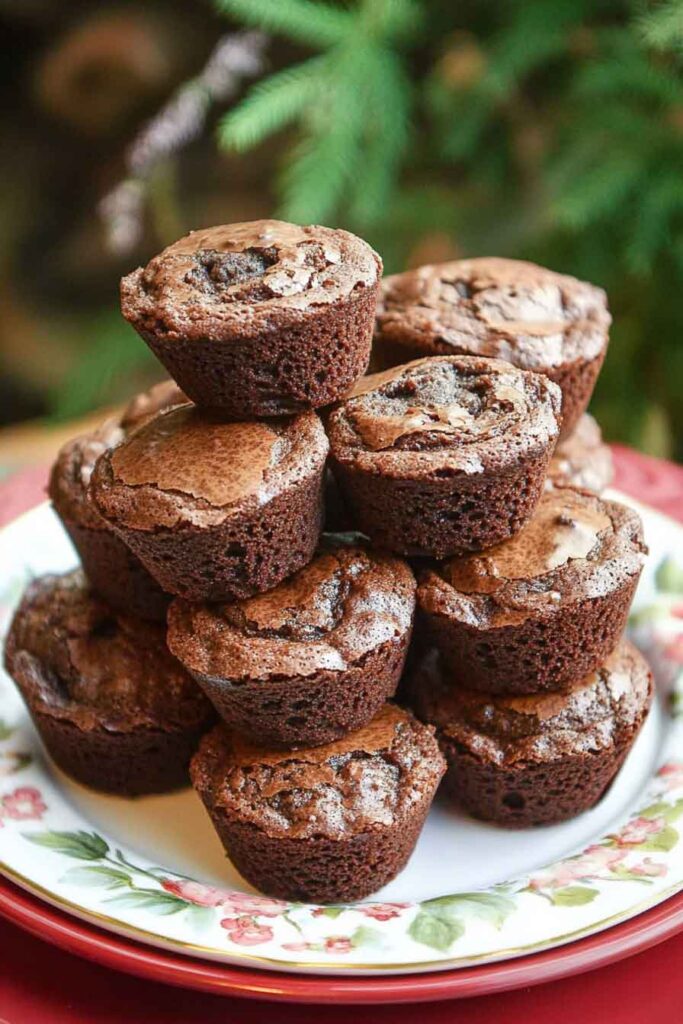
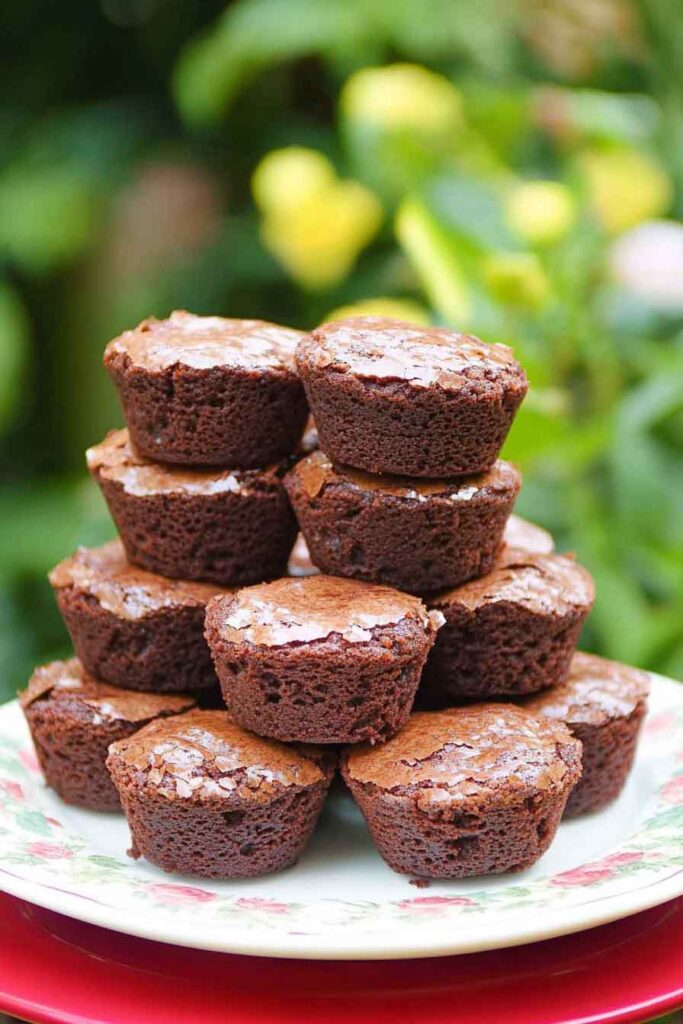
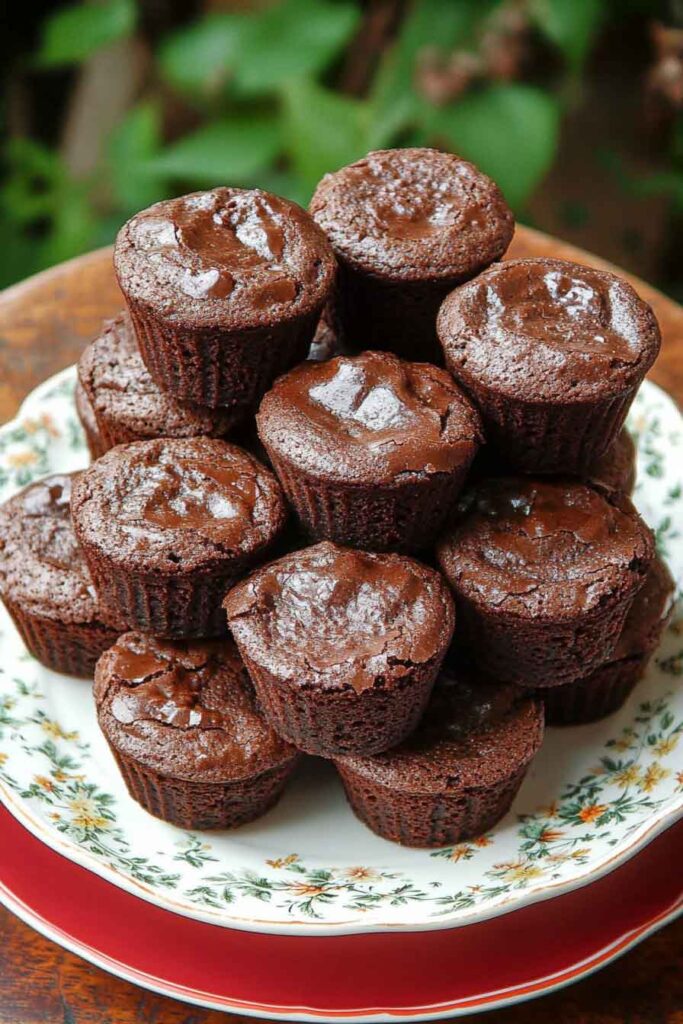
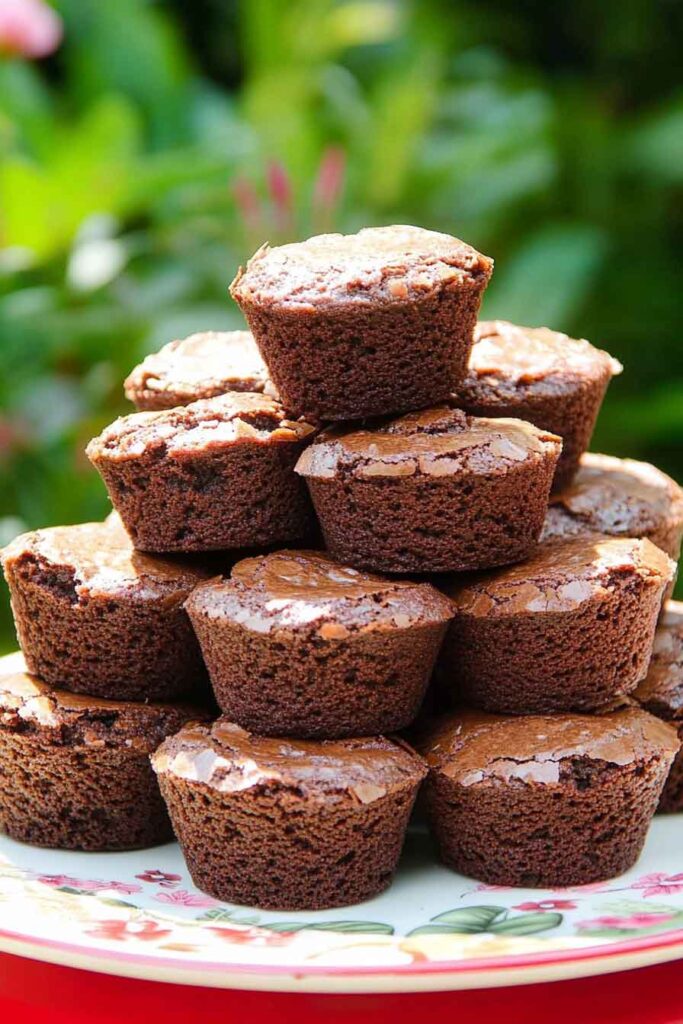
Brownie Cups

Oh wow, you guys! I just made these brownie cups, and they smell so chocolatey. Like, rich chocolate hugs in a little cup—yum!
I had to try one, and honestly… the brownies are fudgy, the edges are perfectly chewy, and the cups just make every bite extra fun. It’s kinda like dessert heaven!
Who doesn’t want a treat that’s bite-sized, chocolatey, and super satisfying? You can share them or, you know… keep them all for yourself.
Seriously, you have to make these. Grab some chocolate, butter, and a muffin tin, and let’s bake—it’s easy and so worth it!
Why You’ll Love This Recipe
- Perfectly Portion-Controlled: These brownie cups are the perfect single-serving treat, which makes it easier to control your dessert cravings.
- Rich and Fudgy: With a delicious, chewy texture, these brownie cups have a deep chocolate flavor and melt-in-your-mouth goodness.
- Easily Customizable: Add your favorite toppings like whipped cream, caramel sauce, or fresh berries.
- Kid-Friendly: These brownie cups are so simple to make, and kids love them! Let them help with the preparation and watch their faces light up when they pull them out of the oven.
- Quick and Easy: Using a boxed brownie mix makes these a breeze to prepare, yet they taste homemade with minimal effort.
- Great for Meal Prep: You can prepare these in advance, store them, and have a delicious dessert ready to go whenever you want.
Required Kitchen Tools
Before we dive into the recipe, make sure you have the following tools on hand to make the perfect Brownie Cups:
- Muffin Tin: This will serve as the base for your brownie cups. You can also use a mini muffin tin if you want bite-sized portions.
- Mixing Bowl: To combine the brownie mix and other ingredients.
- Whisk or Spoon: For stirring and mixing the brownie batter.
- Measuring Cups and Spoons: For precise measurements of your ingredients.
- Ice Cream Scoop (optional): To serve the ice cream with your brownie cups.
- Cooling Rack: To cool the brownie cups once they’re out of the oven.
- Cupcake Liners (optional): To prevent the brownie cups from sticking to the pan and for easy clean-up.
Ingredients
To create these delicious Brownie Cups, here’s what you’ll need:
- 1 Box Hy-Vee Deluxe Brownie Mix: The star of this recipe, this brownie mix makes it quick and easy to create a rich, fudgy batter that holds up perfectly in cup form.
- 2 Hy-Vee Large Eggs: These will help bind the ingredients together and provide the structure for the brownie cups.
- ⅔ Cup Hy-Vee Vegetable Oil: Vegetable oil helps keep the brownies moist and tender.
- ¼ Cup Cold Water: This is added to help thin out the batter slightly and make it more pourable.
- Hy-Vee We All Scream! Ice Cream (for topping): The perfect complement to these warm brownie cups. You can use any flavor you like, but vanilla, chocolate, or caramel ice cream pairs wonderfully with the rich chocolate flavor of the brownie cups.
Variations for Brownie Cups
While this recipe is already a crowd-pleaser, there are some great ways to customize your Brownie Cups to suit different tastes:
- Add Nuts: Stir in some chopped nuts like walnuts or pecans to the brownie batter before baking for extra crunch and flavor.
- Swirl in Peanut Butter: For a peanut butter twist, swirl in a few tablespoons of creamy peanut butter into the brownie batter before baking.
- Add Chocolate Chips: Want to make these even more indulgent? Stir in a handful of mini chocolate chips for an extra chocolatey kick.
- Try Different Ice Cream Flavors: You don’t have to stick to traditional ice cream flavors. Experiment with mint chocolate chip, salted caramel, or even a scoop of sorbet for a refreshing alternative.
- Top with Fruit: Add a burst of freshness by topping your Brownie Cups with strawberries, raspberries, or bananas. They complement the richness of the brownie perfectly.
- Drizzle with Sauce: Elevate your dessert with a drizzle of caramel sauce, chocolate ganache, or a dusting of powdered sugar.
Step-by-Step Instructions
Now let’s get to the fun part: making these delectable Brownie Cups!
1. Prepare the Oven and Muffin Tin
Preheat your oven to 350°F (175°C). Grease your muffin tin with a little cooking spray or line each cup with a paper liner. This will ensure that the brownie cups come out easily after baking.
2. Mix the Brownie Batter
In a large mixing bowl, combine the Hy-Vee Deluxe Brownie Mix, eggs, vegetable oil, and cold water. Use a whisk or spoon to mix everything together until the batter is smooth and free of lumps.
If you’d like to make your brownie cups extra special, now’s the time to add any mix-ins, such as chocolate chips, nuts, or a swirl of peanut butter. Stir everything in until fully combined.
3. Pour the Batter into the Muffin Tin
Spoon the brownie batter into the muffin tin, filling each cup about ¾ of the way full. This will allow enough room for the brownies to rise while baking. Make sure the batter is evenly distributed across all the cups.
4. Bake the Brownie Cups
Place the muffin tin in the preheated oven and bake for 18-22 minutes, or until a toothpick inserted into the center comes out clean or with just a few moist crumbs. Keep an eye on them during the last few minutes of baking, as oven times can vary.
Once the brownie cups are done, remove them from the oven and let them cool in the pan for about 5 minutes before transferring them to a cooling rack to cool completely.
5. Serve and Top with Ice Cream
Once the brownie cups have cooled slightly, it’s time to top them with your choice of Hy-Vee We All Scream! Ice Cream. Scoop a generous portion of ice cream onto each brownie cup, and watch as the ice cream melts slightly into the warm, fudgy brownie. You can also add a drizzle of caramel or chocolate sauce for extra indulgence.
For an added touch, top with fresh fruit like berries, a sprinkle of chopped nuts, or a dollop of whipped cream. The possibilities are endless!
How to Serve Brownie Cups
These Brownie Cups are perfect for any occasion, whether it’s a casual family dinner or a special gathering. Here are some ideas for serving:
- For a Party: Serve them on a platter with a variety of toppings like fresh berries, chocolate drizzle, or even marshmallows.
- As a Fun Dessert Bar: Set up a brownie cup bar with different toppings and let your guests customize their own brownie cups. Offer options like caramel sauce, whipped cream, and sprinkles.
- As an After-Dinner Treat: Enjoy them as a comforting dessert after dinner, especially with a cup of coffee or tea. The warm brownie paired with cold ice cream is simply irresistible.
- For Kids’ Parties: These brownie cups are ideal for kid-friendly events. Let the kids decorate their own cups with toppings and watch them have a blast.
Storing Brownie Cups
If you happen to have leftovers (which is unlikely!), here’s how to store your Brownie Cups:
- At Room Temperature: Keep the cooled brownie cups in an airtight container for up to 2-3 days. This will help preserve their freshness.
- In the Freezer: You can also freeze the brownie cups for longer storage. Wrap each cup individually in plastic wrap and place them in a freezer-safe container or bag. They’ll last for up to 2 months. When you’re ready to enjoy, thaw at room temperature or warm them in the microwave for a few seconds.
- Ice Cream Storage: If you have leftover ice cream, be sure to store it in its original container in the freezer.
Nutrition Information
Here’s a general breakdown of the nutritional information for one serving of Brownie Cup (1 brownie + 1 scoop ice cream). Keep in mind that this is an approximation and may vary based on the specific ingredients you use.
| Nutrient | Amount (per serving) |
|---|---|
| Calories | 300-350 |
| Fat | 15-20g |
| Carbohydrates | 40-45g |
| Sugar | 25-30g |
| Protein | 3-4g |
Conclusion
These Brownie Cups are everything you need in a dessert: rich, fudgy, and easy to make. Whether you serve them at a special event or enjoy them as a treat after dinner, they’re sure to be a hit. The combination of warm, chocolatey brownie and creamy ice cream is the ultimate indulgence, and with endless customization options, you can make them your own.
Brownie Cups
Course: Uncategorized12
Cups15
minutes20
minutes300-350
kcal10
minutesIngredients
- For the Brownies
½ cup (115 g) unsalted butter, melted
½ cup granulated sugar
2 large eggs
¼ cup brown sugar
1 tsp vanilla extract
⅓ cup all-purpose flour
¼ cup cocoa powder
¼ tsp salt
½ tsp baking powder
- Optional Fillings/Toppings
Chocolate chips
Caramel sauce
Whipped cream
Chopped nuts
Directions
- Prepare
Preheat oven to 350°F (175°C).
Grease a 12-cup muffin pan or line with cupcake liners. - Make Brownie Batter
Mix melted butter with granulated and brown sugar until smooth.
Beat in eggs and vanilla extract.
Sift in flour, cocoa powder, salt, and baking powder. Mix until just combined. - Bake
Spoon batter into muffin cups, filling ⅔ full.
Add optional chocolate chips or nuts on top if desired. - Cool & Serve
Let brownies cool in pan for 10 minutes, then remove.
Add toppings like caramel, whipped cream, or more chocolate chips if desired.
Brownie Cups FAQs
Can I use a different brownie mix?
Yes! You can use any boxed brownie mix that you prefer. Just follow the instructions on the package for the best results.
Can I make these brownie cups in advance?
You can make the brownie cups ahead of time and store them in an airtight container. Top them with ice cream just before serving for the best experience.
What if I don’t have a muffin tin?
If you don’t have a muffin tin, you can bake the brownie batter in a regular baking dish and cut it into squares after it cools. However, you won’t get the “cup” shape without the muffin tin.