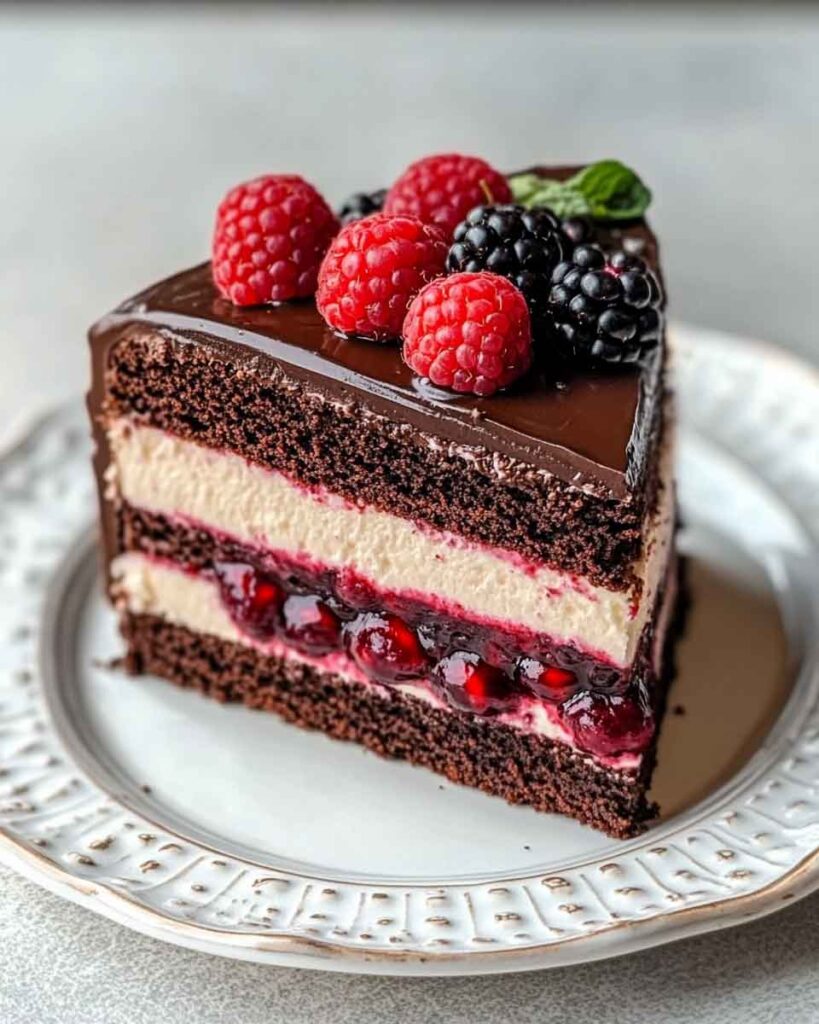
Berry Mascarpone Dream Cake Recipe
Oh wow, this berry mascarpone dream cake is like magic on a plate! It’s soft, creamy, and packed with sweet berries. I just couldn’t wait to share it with you.
I love how the fluffy cake and smooth mascarpone mix with the juicy berries. Every bite feels fancy but so easy to make. My family calls it a “dream” for a reason!
So, wanna make something sweet and pretty? Let’s bake it together—it’s gonna be fun!
Why You’ll Love This Recipe
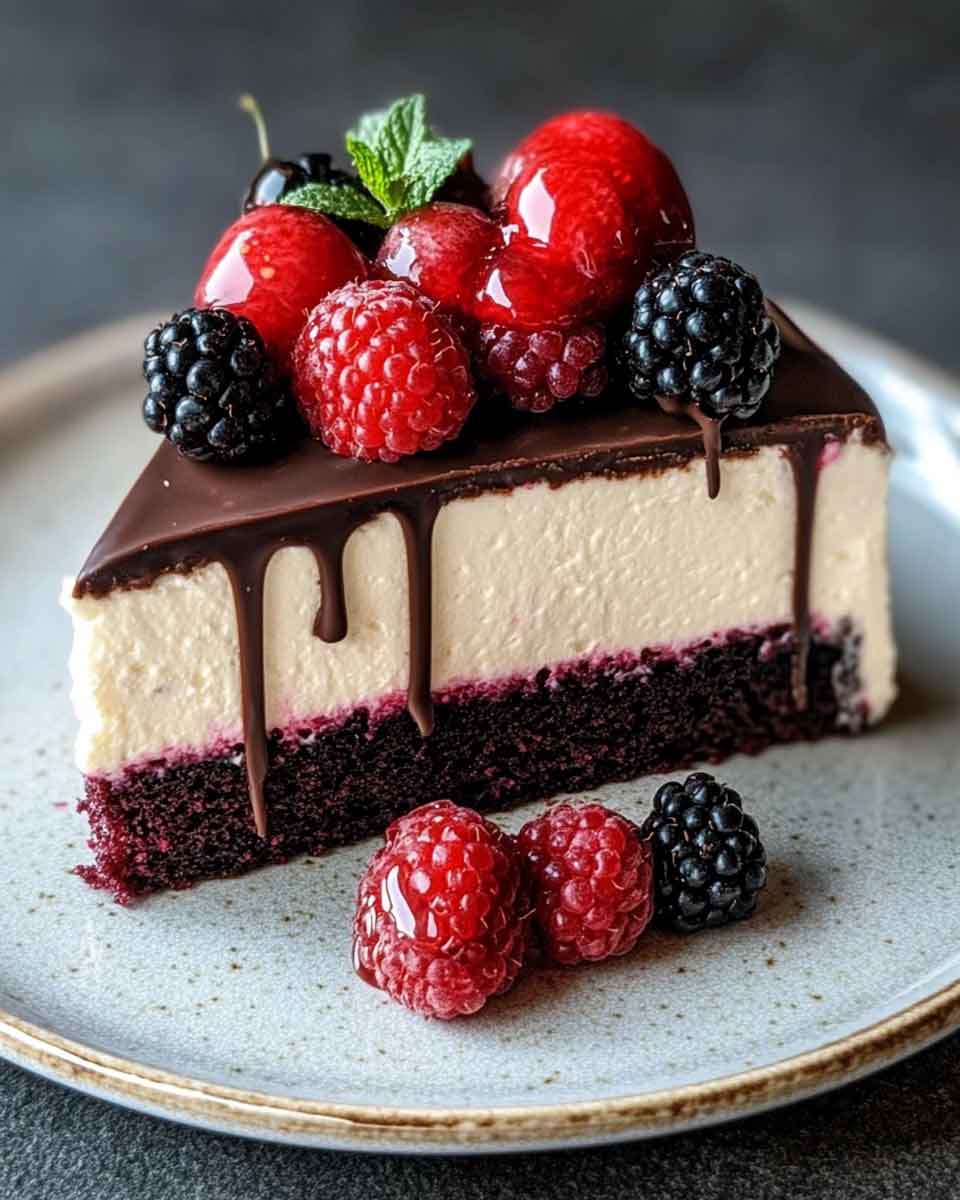
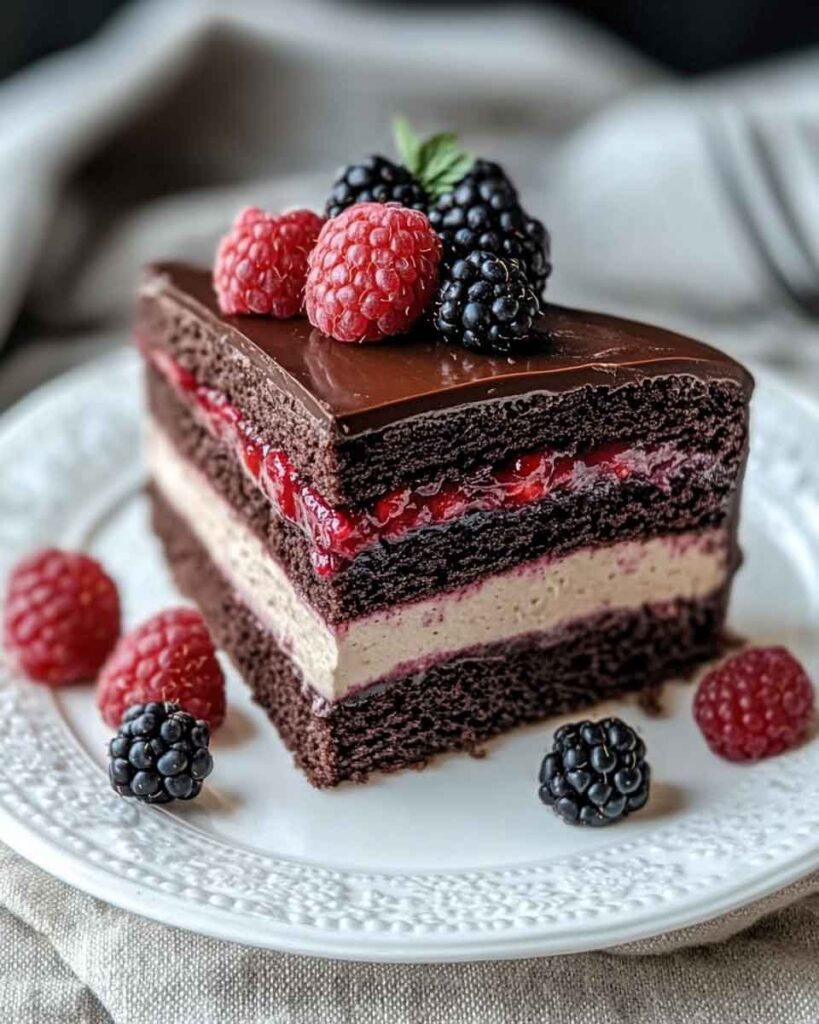
- Showstopper Dessert: This cake is gorgeous, with vibrant layers and fresh berries that make it the highlight of any table.
- Perfectly Balanced: The combination of rich mascarpone cream, juicy berries, and soft cake gives every bite a satisfying balance of sweetness and tartness.
- Versatile: You can customize the berries depending on what’s in season or available. I love using a mixture of strawberries, raspberries, and blueberries, but feel free to get creative!
- Make-Ahead Friendly: The cake can be baked and the cream can be prepared ahead of time, making it perfect for parties or meal prep.
- A Crowd Favorite: If you’re looking to wow your friends and family, this cake is sure to be a hit. People will be asking for the recipe!
Required Kitchen Tools
- Mixing Bowls: For mixing dry and wet ingredients, and for combining the mascarpone cream.
- Hand Mixer or Stand Mixer: For whipping the cream and mascarpone.
- Cake Pans (9-inch): To bake the cake layers evenly.
- Spatula: To spread the mascarpone cream and layer the cake.
- Cooling Rack: For cooling the cakes completely.
- Measuring Cups and Spoons: To measure the ingredients accurately.
Ingredients for the Cake
To make the berry mascarpone dream cake, you’ll need the following ingredients (measurements are included in the recipe card at the bottom):
Cake Ingredients:
- All-Purpose Flour: 2 1/2 cups. This forms the base of the cake, providing structure and lightness.
- Baking Powder: 2 1/2 tsp. It’s crucial to get the rise in the cake.
- Baking Soda: 1/2 tsp. Helps the cake rise and gives it the fluffiness it needs.
- Salt: 1/4 tsp. Balances the sweetness in the cake.
- Granulated Sugar: 1 1/2 cups. Adds sweetness and moisture to the cake.
- Unsalted Butter: 3/4 cup, softened. It gives the cake its rich texture.
- Vegetable Oil: 1/2 cup. Helps make the cake extra moist.
- Vanilla Extract: 1 tbsp. For the perfect fragrant sweetness.
- Eggs: 4 large eggs. Provides structure, moisture, and richness.
- Buttermilk: 1 cup. Gives the cake a soft, tender crumb and a slight tang.
Mascarpone Cream Ingredients:
- Mascarpone Cheese: 8 oz. This is the star of the show—creamy, rich, and perfect for making the frosting luxurious.
- Heavy Whipping Cream: 2 cups. Whipped to stiff peaks, it makes the cream light and fluffy.
- Powdered Sugar: 1 cup. Sweetens the mascarpone cream and gives it the perfect consistency.
Fresh Berry Layer:
- Mixed Fresh Berries: 1 1/4 cups, divided. I like to use a mix of strawberries, raspberries, and blueberries for an explosion of color and flavor. You can use any combination of berries you prefer!
Variations for Berry Mascarpone Dream Cake
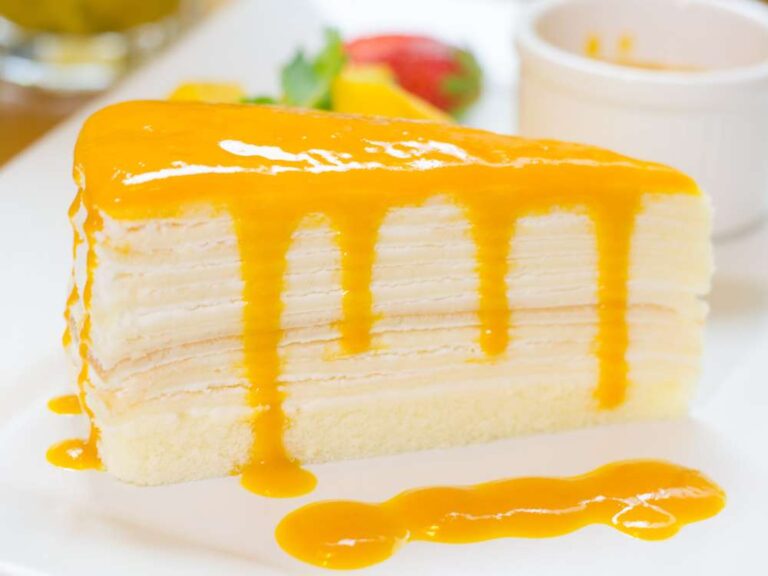
- Change the Berries: Instead of the mix of strawberries, raspberries, and blueberries, you can use blackberries, strawberries, or even peaches during the summer months.
- Add Lemon Zest: Add a hint of lemon zest to the mascarpone cream for a fresh, citrusy flavor that pairs beautifully with the berries.
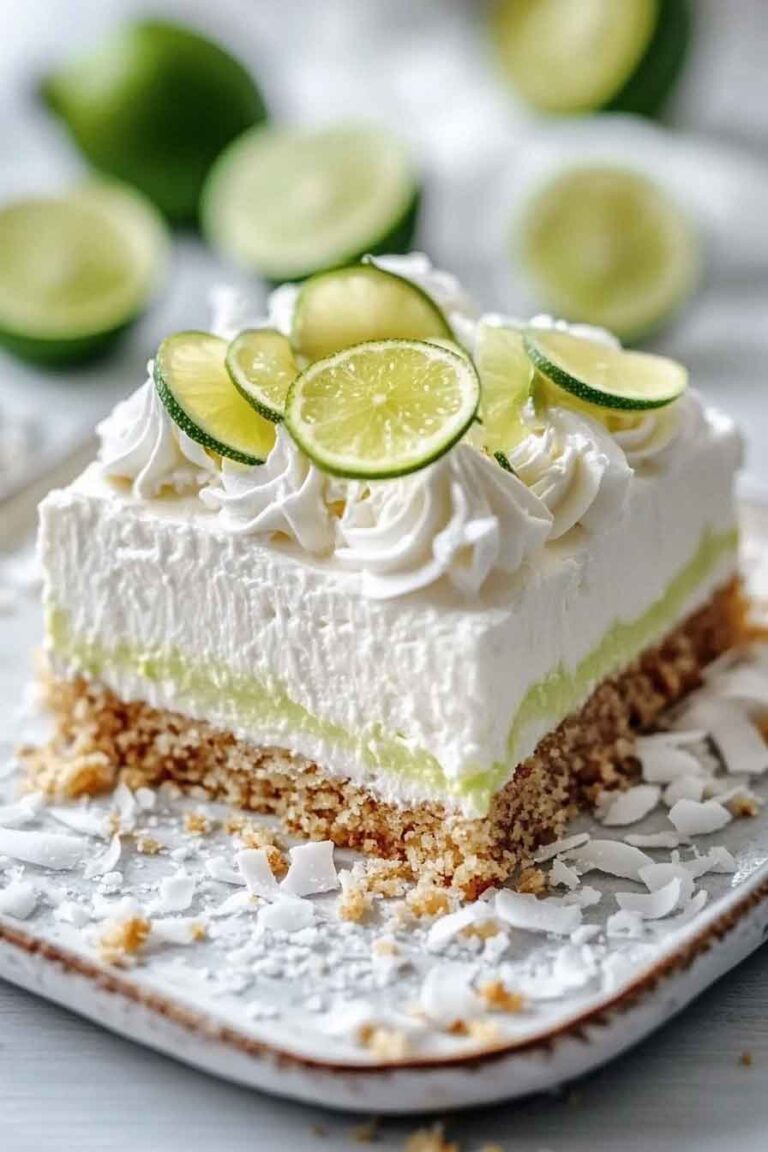
- Try Coconut Whipped Cream: If you want a dairy-free option, use coconut cream in place of the heavy cream.
- Swap the Cake Base: If you prefer, use a sponge cake or angel food cake instead of the buttermilk cake. You can even bake it in a sheet pan and cut it into squares.
- Make it Boozy: Add a splash of liqueur (like Chambord or Grand Marnier) to the mascarpone cream for a grown-up twist.
Step-by-Step Instructions
1. Preheat the Oven and Prepare Cake Pans
Start by preheating your oven to 350°F (175°C). Grease two 9-inch round cake pans with butter or non-stick spray and line the bottoms with parchment paper. This ensures the cake comes out without sticking.
2. Mix the Dry Ingredients
In a medium-sized bowl, whisk together the flour, baking powder, baking soda, and salt. Set this bowl aside for later.
3. Cream the Butter and Sugar
In a separate large bowl, cream the softened butter and granulated sugar using a hand mixer or stand mixer. Beat them together on medium speed until light and fluffy, about 3-4 minutes. This step is important for giving the cake a soft, tender texture.
4. Add the Wet Ingredients
Add the vegetable oil and vanilla extract to the creamed butter and sugar mixture. Beat until combined. Then, one by one, add the eggs, beating well after each addition. Scrape down the sides of the bowl as necessary to ensure everything is evenly incorporated.
5. Combine Wet and Dry Ingredients
Gradually add the dry flour mixture to the wet ingredients, alternating with the buttermilk. Begin and end with the flour mixture (flour, buttermilk, flour). Mix each addition until just combined. Be careful not to overmix, or you’ll end up with a dense cake.
6. Bake the Cake Layers
Divide the batter evenly between the two prepared cake pans. Use a spatula to smooth the tops. Bake the cakes in the preheated oven for 30-35 minutes or until a toothpick inserted into the center of the cake comes out clean. The tops should be golden brown and spring back when touched. Allow the cakes to cool in the pans for 10 minutes, then transfer them to a wire rack to cool completely.
7. Make the Mascarpone Cream
While the cake is cooling, it’s time to make the mascarpone cream. In a large mixing bowl, combine the mascarpone cheese and powdered sugar. Using a hand mixer or stand mixer, beat the mixture until smooth and creamy.
In a separate bowl, whip the heavy cream until stiff peaks form. Gently fold the whipped cream into the mascarpone mixture, being careful not to deflate the whipped cream. This creates a light, fluffy, and creamy frosting.
8. Assemble the Cake
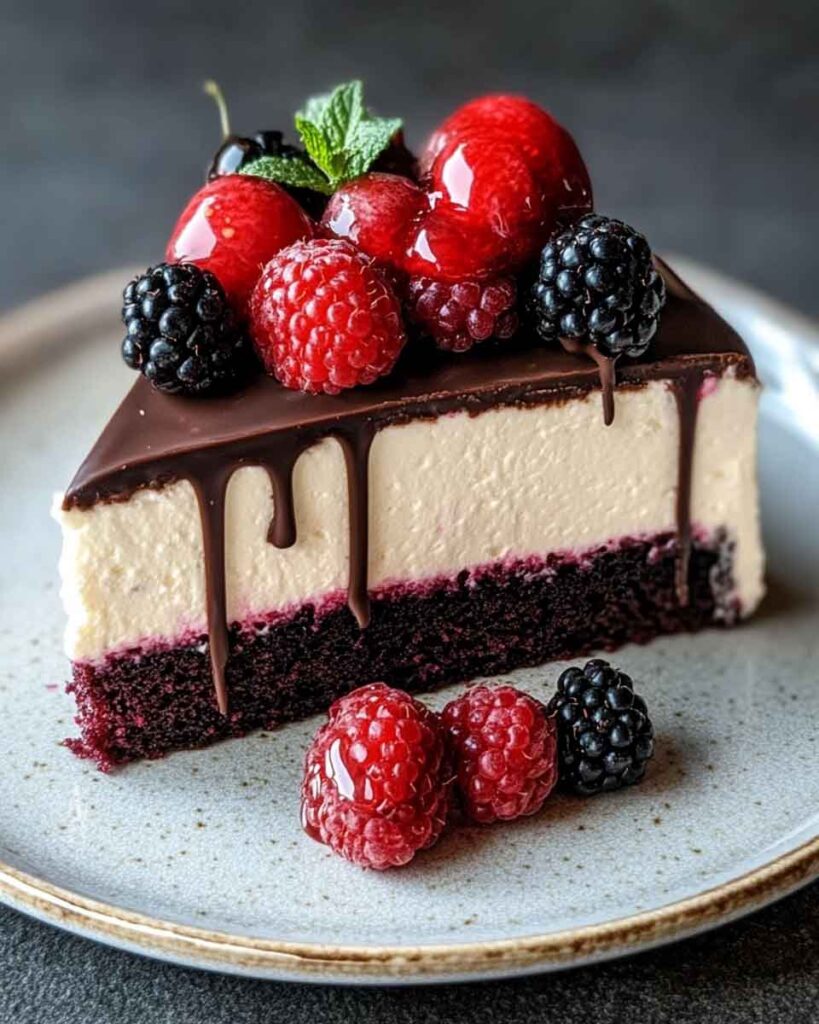
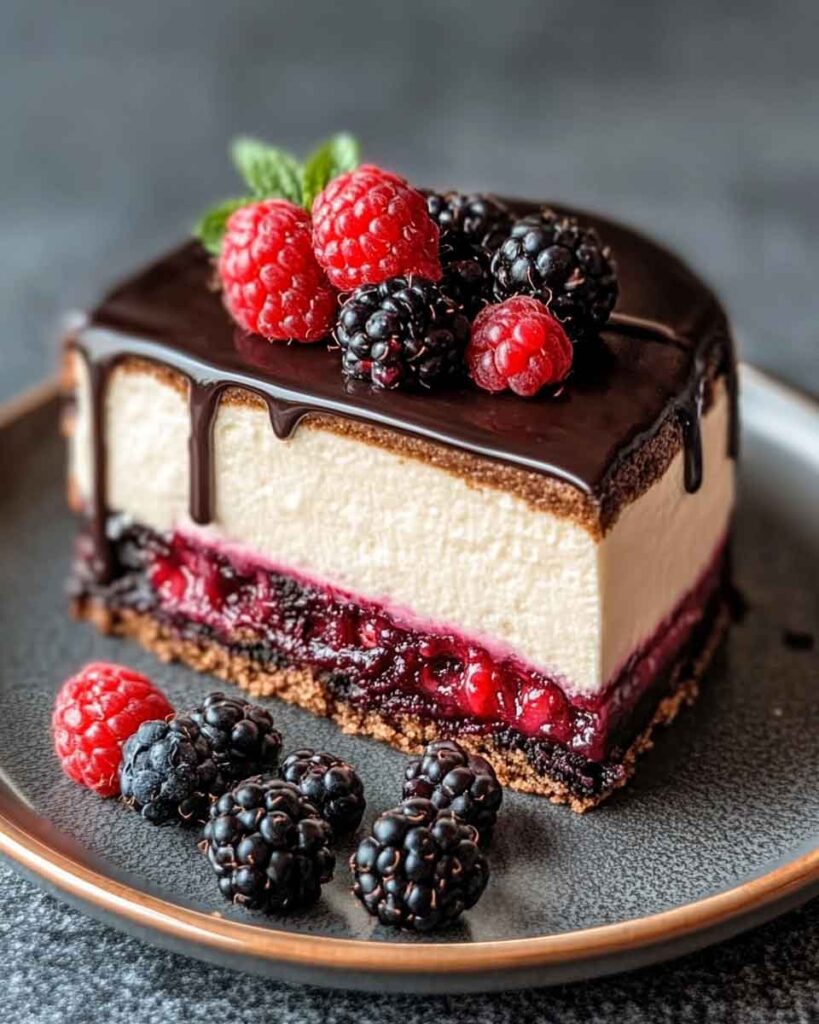
Once the cakes have completely cooled, carefully slice each cake in half horizontally to create four layers. Place the first cake layer on a cake stand or plate and spread a layer of mascarpone cream over the top. Add a few spoonfuls of fresh berries, gently pressing them into the cream.
Repeat the process for the second and third layers. For the top layer, spread a generous amount of mascarpone cream over the cake and decorate with the remaining fresh berries. You can also garnish with a few mint leaves for a pop of color and freshness.
9. Chill and Serve
Refrigerate the assembled cake for at least an hour to allow the flavors to meld and the cream to firm up. When you’re ready to serve, slice the cake into pieces and enjoy!
Serving and Decoration Ideas
How to Serve Berry Mascarpone Dream Cake
- As a Showstopper Dessert: This cake is perfect for a holiday meal, birthday parties, or any celebration. Its elegant layers and fresh fruit make it a standout dessert.
- Pair with Coffee or Tea: The lightness of the cake and the creamy mascarpone are a perfect match for an afternoon coffee or tea.
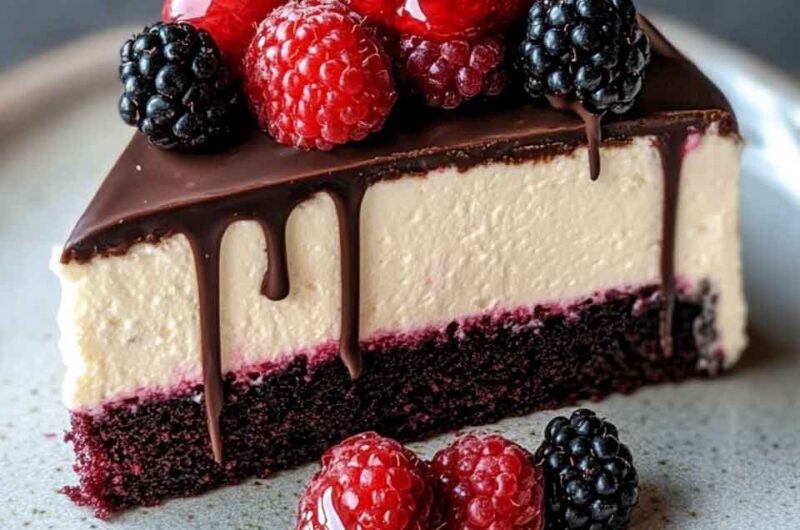
- Add a Drizzle of Fruit Sauce: If you want an extra burst of flavor, drizzle some berry compote or raspberry coulis over each slice.
- Serve with a Scoop of Vanilla Ice Cream: For an even more decadent dessert, serve slices of cake with a scoop of vanilla bean ice cream.
Storing Berry Mascarpone Dream Cake
- Leftover Cake: Keep any leftover cake in an airtight container in the refrigerator for up to 3-4 days. Be sure to refrigerate the cake to keep the mascarpone cream fresh and firm.
- Freezing: You can freeze the cake layers before frosting them. Wrap each layer tightly in plastic wrap and freeze for up to 3 months. Let the layers thaw before assembling with the mascarpone cream.
- Mascarpone Cream: If you have leftover mascarpone cream, store it in an airtight container in the fridge for up to 3 days. You can also use it as a topping for pancakes or waffles!
Nutrition
| Nutrition Info | Per Serving |
|---|---|
| Calories | 320 |
| Fat | 22g |
| Carbohydrates | 32g |
| Protein | 5g |
| Fiber | 2g |
| Sugar | 20g |
Conclusion
The Berry Mascarpone Dream Cake is the perfect combination of light, fluffy cake, creamy mascarpone frosting, and juicy, fresh berries. Whether you’re celebrating a special occasion or just indulging in a treat, this cake will not disappoint. It’s simple to make, but looks and tastes like a masterpiece. Get ready for compliments when you serve this to your friends and family!
Berry Mascarpone Dream Cake Recipe
Course: Uncategorized12-16
slices20
minutes30
minutes320
kcalIngredients
- For the cake:
2 1/2 cups all-purpose flour
2 1/2 tsp baking powder
1/2 tsp baking soda
1/4 tsp salt
1 1/2 cups granulated sugar
3/4 cup unsalted butter, softened
1/2 cup vegetable oil
1 tbsp vanilla extract
4 large eggs
1 cup buttermilk
- For the mascarpone cream:
8 oz mascarpone cheese
2 cups heavy whipping cream
1 cup powdered sugar
- For the fresh berry layer:
1 1/4 cups mixed fresh berries (strawberries, raspberries, blueberries)
Directions
- Preheat the oven to 350°F (175°C) and prepare two 9-inch round cake pans.
- Mix the dry ingredients and set aside.
- Cream together butter and sugar, then add eggs, oil, and vanilla.
- Gradually add dry ingredients and buttermilk, mixing until just combined.
- Divide the batter between the pans and bake for 30-35 minutes.
- Cool the cakes completely, then make the mascarpone cream by mixing mascarpone and powdered sugar and folding in whipped cream.
- Assemble the cake, layering with mascarpone cream and fresh berries.
- Chill the cake for at least 1 hour, then serve!