

Ever tried baking chocolate chip cookies at home, only to be disappointed when they turn out flat or lacking that bakery-perfect texture? You’re not alone—getting those thick, chewy, and perfectly gooey cookies can feel impossible.
We all know that longing for that first bite of a warm, bakery-style cookie, packed with melty chocolate and crisp edges. But without the right techniques, homemade cookies often fall short, leaving you frustrated and craving the real thing.
That’s where this bakery style chocolate chip cookie recipe comes in! With a few key tips and tweaks, you’ll learn how to make cookies that rival your favorite bakery. Ready to bring those bakery vibes into your kitchen? Let’s get started!
Why You’ll Love This Recipe
This isn’t just your average cookie recipe. These cookies are:
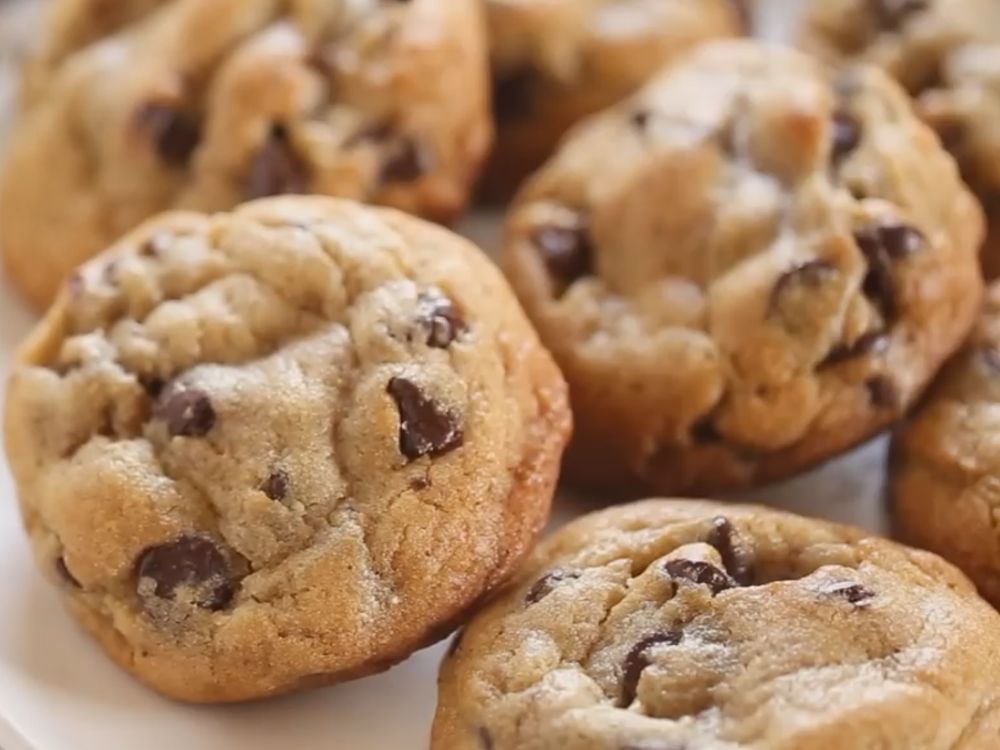
- Ultra-thick: No flat, sad cookies here! You’ll learn techniques to keep them plump and bakery-style.
- Gooey on the inside, crisp on the outside: The perfect textural contrast.
- Packed with chocolate: Every bite bursts with rich chocolate flavor.
- Easy to make: Even if you’re new to baking, these instructions will guide you smoothly through the process.
What Makes Bakery-Style Cookies Different?
If you’ve ever wondered why bakery cookies always look so perfect, the answer lies in the technique and ingredient ratios. Most bakery cookies are:
- Thicker because of a higher ratio of flour to fat and chilling the dough.
- More flavorful due to the use of brown sugar and refrigeration.
- Perfectly chewy and gooey because of their specific bake time and higher chocolate content.
You can create this at home with a few simple tricks!

Ingredients You’ll Need
Before we start, gather all your ingredients. This recipe uses staple items, but the proportions and technique are what give it that bakery-style magic.
- 2 sticks (1 cup) unsalted butter, cool room temperature
- ¾ cup granulated sugar
- 1¼ cup packed light brown sugar (for that caramelized flavor)
- 2 large eggs, room temperature
- 1 tablespoon vanilla extract
- 3 cups all-purpose flour
- 1 teaspoon baking soda
- 1 teaspoon fine sea salt
- 2 cups semi-sweet chocolate chips (or chunks if you prefer!)
- Optional: Flaky sea salt for sprinkling on top
Step 1: Cream the Butter and Sugars
To kick things off, cream together the butter, granulated sugar, and brown sugar. Here’s where we start building the flavor and texture that will make your cookies stand out.
Why cool room-temperature butter?
Using butter that’s too warm can lead to cookies that spread too much, resulting in a flatter texture. Butter should feel slightly firm when pressed but soft enough to cream easily. This balance ensures your cookies will maintain their thickness during baking.
- Place your butter in the mixing bowl, and beat on medium speed for about 2 minutes until it’s smooth.
- Add in the granulated sugar and brown sugar. The brown sugar is the star here, adding a rich, caramel-like flavor that gives these cookies their signature bakery taste.
- Cream the butter and sugars together for 2-3 minutes, just until light and fluffy.
Pro Tip: Don’t overbeat! Over-creaming can introduce too much air, which can cause your cookies to puff up in the oven and then deflate as they cool.
Step 2: Add Eggs and Vanilla
Once the butter and sugars are creamed to perfection, it’s time to add your eggs and vanilla.
- Crack in the eggs one at a time, beating just enough to incorporate each one. This will keep your dough smooth and help prevent overmixing.
- Add in the vanilla extract for extra depth of flavor.
Pro Tip: Always use room-temperature eggs. Cold eggs can cause your dough to stiffen, leading to uneven cookies.
Step 3: Mix in Dry Ingredients
Now, let’s get to the heart of the dough by adding your dry ingredients.
- In a separate bowl, whisk together the all-purpose flour, baking soda, and sea salt. The baking soda is what helps your cookies get that beautiful golden brown color and slight rise.
- Gradually add the dry ingredients to the wet mixture, mixing on low speed until just combined.
Pro Tip: Avoid overmixing once you’ve added the flour, as this can lead to tough cookies. Mix just until you see no more streaks of flour.
Step 4: Add the Chocolate Chips
It’s time to add the star of the show—chocolate chips!
- Stir in 2 cups of semi-sweet chocolate chips. You can also use chocolate chunks or even a mix of milk and dark chocolate for variety.
Pro Tip: If you want to really up the chocolate factor, save a few chocolate chips to press into the tops of the cookies right before baking. This gives that professional bakery look with gooey chocolate bits peeking through.
Step 5: Chill the Dough
This is a crucial step in making bakery-style cookies.
Refrigerating your cookie dough for at least 24 hours (and up to 72 hours) does a few important things:
- Enhances flavor: Like marinating meat, resting the dough allows the flavors to meld, resulting in a deeper butterscotch and caramel flavor.
- Improves texture: Chilling solidifies the fat in the dough, ensuring your cookies don’t spread too much during baking.
- Thicker cookies: Cold dough bakes into cookies that are thicker and chewier.
To chill:
- Cover the dough with plastic wrap or store it in an airtight container.
- Refrigerate for 24-72 hours.
Pro Tip: If you’re in a rush, chilling for at least 30 minutes can still help. But for the best results, refrigerate overnight.
Step 6: Preheat and Prepare for Baking
After chilling the dough, it’s time to bake!
- Preheat your oven to 350°F (175°C).
- Line two baking sheets with parchment paper. Using parchment paper helps create an even, golden-brown finish and makes clean-up easy.
Pro Tip: Avoid using silicone baking mats, as they can trap moisture, which can lead to softer, less crispy edges.
Step 7: Scoop and Bake the Cookies
Using a cookie scoop is the secret to getting those perfectly uniform, bakery-style cookies. I recommend a 3-tablespoon scoop for large, thick cookies.
- Scoop the dough onto the prepared baking sheets, spacing them about 2 inches apart.
- Bake in the preheated oven for 12-15 minutes or until the edges are golden brown, but the centers are still slightly soft.
Pro Tip: For extra-thick cookies, pop the dough in the freezer for 10 minutes before baking. This quick chill ensures they don’t spread too much in the oven.
Step 8: Cool and Enjoy!
Once your cookies are golden brown and irresistible, remove them from the oven. Let them cool on the baking sheet for 5 minutes before transferring to a wire rack to cool completely.
For those who love gooey centers, you can dive in while they’re still warm—there’s nothing like that first bite of melted chocolate and soft dough!
Pro Tip: Sprinkle a pinch of flaky sea salt on top of each cookie right after baking. It adds a lovely contrast to the sweetness and elevates the overall flavor profile.
How to Store Your Cookies
If you manage to resist eating them all in one sitting, store your cookies in an airtight container at room temperature. They’ll stay fresh and chewy for up to 5 days.
You can also freeze the dough or baked cookies. Just make sure to let the baked cookies cool completely before freezing, and for dough, scoop it into balls before freezing for easy, on-demand cookie baking.
Troubleshooting Common Cookie Problems
Even with the best recipe, sometimes things don’t go as planned. Here are some common cookie issues and how to fix them:
- Flat cookies: This usually happens if your butter is too warm or you didn’t chill the dough long enough. Always make sure your dough is cold before baking.
- Over-spreading: Using too little flour or overmixing can cause cookies to spread too much. Measure your flour correctly and mix just until combined.
- Dry, tough cookies: Overmixing once the flour is added can lead to tough cookies. Be gentle with your dough!
Final Thoughts
There you have it—the perfect bakery-style chocolate chip cookie recipe that you can easily master at home! These cookies are thick, gooey, crispy on the edges, and absolutely delicious. Plus, with the added tips and tricks, you’ll feel confident baking like a pro.
So, grab your ingredients, follow these steps, and enjoy the process. Whether you’re making these for a cozy afternoon snack or to impress friends, these cookies will become your go-to bakery-style treat.
Let us know in the comments if you try this recipe, and don’t forget to share it with your fellow cookie lovers. Happy baking!