Mint Chocolate Ice Cream Cake: A Cool, Decadent Delight
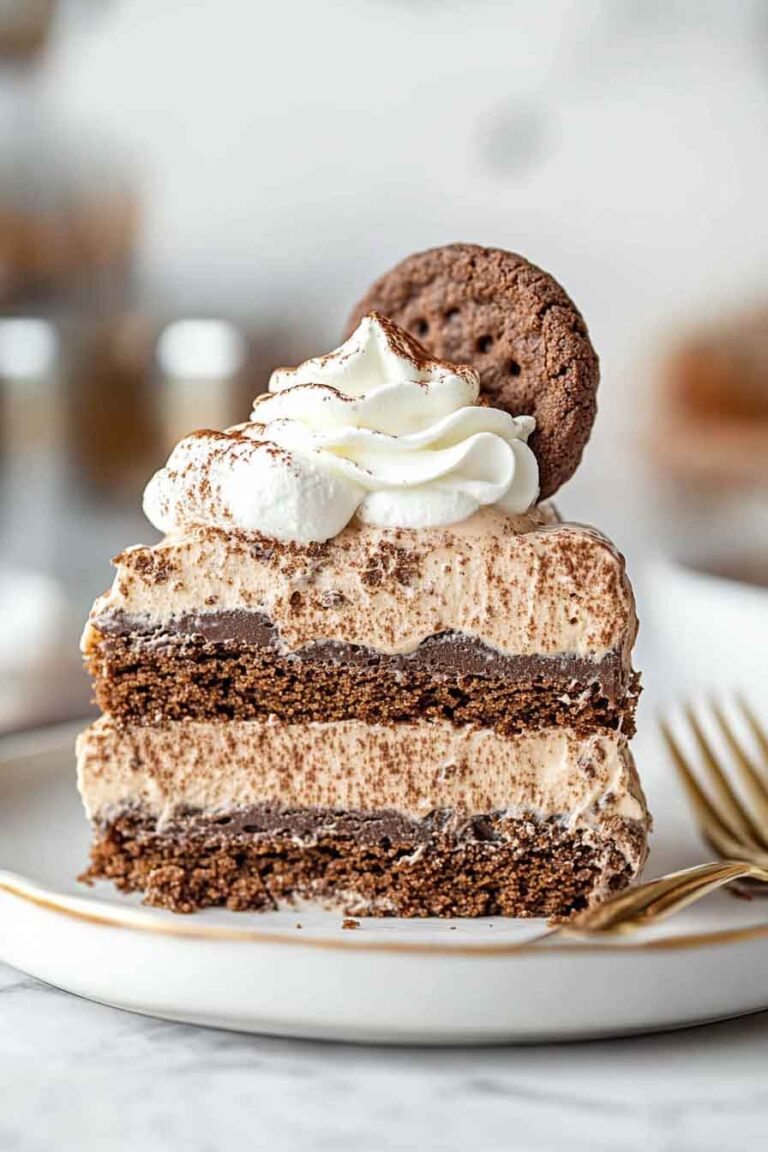
If you’re looking for the ultimate dessert that combines the richness of chocolate with the refreshing coolness of mint, look no further. This Mint Chocolate Ice Cream Cake is a stunning treat that not only tastes amazing but also looks like a showstopper. Perfect for summer parties or any time you want to indulge in something cool and sweet!
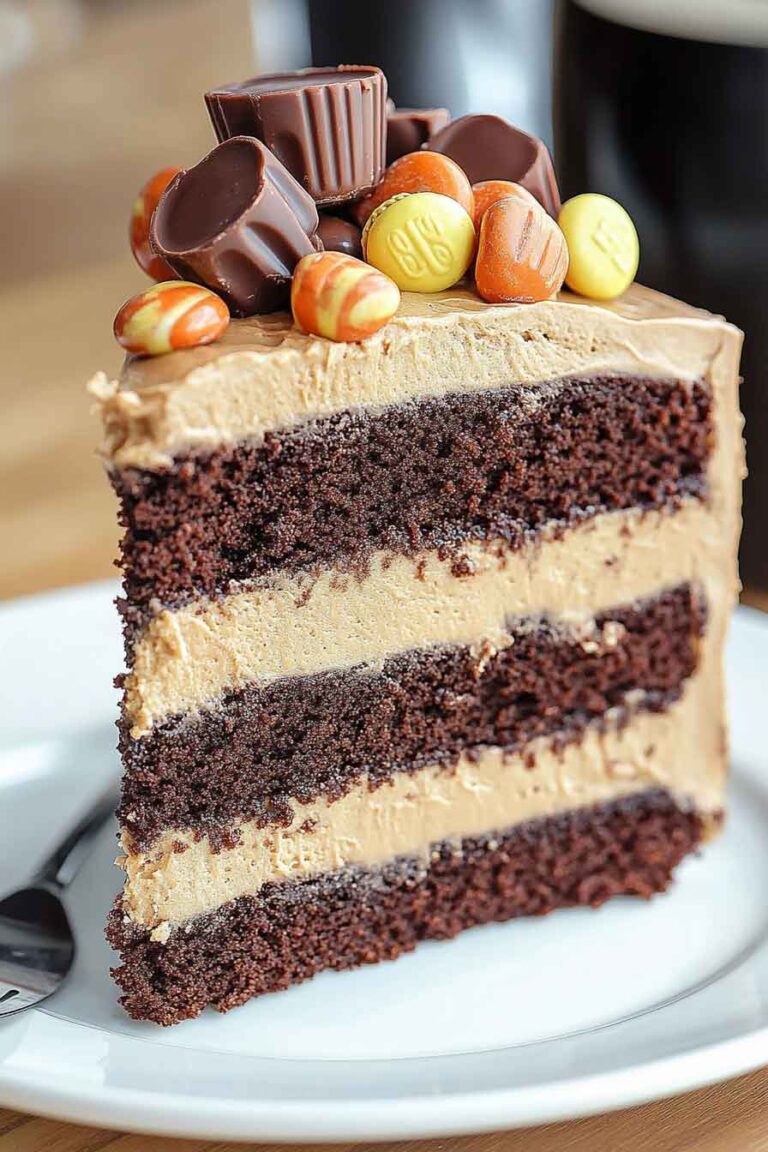
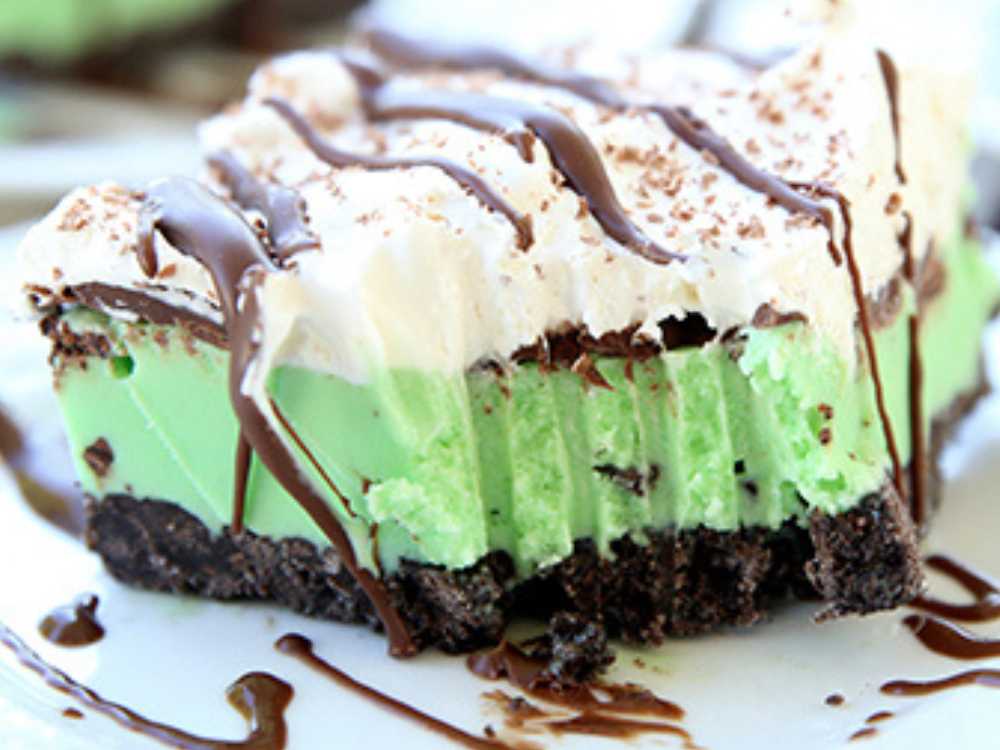
This cake consists of three layers of tender chocolate cake paired with layers of creamy, minty chocolate ice cream. Topped with whipped cream, a drizzle of melted chocolate, and sprinkled with chocolate shavings, this cake is sure to impress. So, let’s dive into the recipe for this cool, decadent delight!
Ingredients
For the Chocolate Cake
Here’s what you’ll need for the rich, chocolatey base of this cake:
- 3 cups all-purpose flour
- ⅔ cup Dutch cocoa powder (for that deep, dark chocolate flavor)
- 2 cups granulated sugar
- 2 tsp baking soda
- 1½ tsp baking powder
- ½ tsp salt
Wet Ingredients
- ½ cup whole milk Greek yogurt (or sour cream for extra richness)
- 1¼ cups buttermilk
- 1¼ cups strong hot coffee (to deepen the chocolate flavor)
- 3 large eggs
- 1 tsp vanilla extract
- ⅔ cup neutral vegetable oil
For the Ice Cream
- 1 recipe of homemade mint chocolate ice cream (Check my mint chocolate ice cream post for a detailed recipe)
For Decorating
- 1 cup heavy whipping cream, chilled
- 2 tbsp cream cheese
- 3 tbsp granulated sugar
- Melted chocolate (for a glossy, rich top layer)
- Chocolate shavings (for a decorative finish)
- Cocoa powder (for a light dusting on top)
Instructions
Step 1: Make the Chocolate Cake
Prepare the Cake Batter:
- Preheat the oven to 350°F (175°C). Grease two baking sheets and line them with butter paper (parchment paper).
- In a large mixing bowl, sift together the dry ingredients: all-purpose flour, cocoa powder, baking soda, baking powder, and salt. Once sifted, stir in the granulated sugar.
- In another bowl, whisk the wet ingredients: eggs and Greek yogurt until smooth. Add in the oil and whisk again. Then, stir in the buttermilk and hot coffee. Finish by mixing in the vanilla extract.
- Combine the wet and dry ingredients: Pour the wet mixture into the dry ingredients and mix thoroughly until you have a smooth, even batter. Make sure not to overmix.
Bake the Cake:
- Spread the batter evenly between the two prepared pans. Tap the pans on the counter a few times to release any air bubbles.
- Bake for 35 minutes on the upper and lower thirds of the oven. Rotate the pans halfway through baking to ensure even cooking.
- Check for doneness with a toothpick. If it comes out clean, remove the trays from the oven and allow the cakes to cool in the pans for 10 minutes.
- After cooling, invert the cakes onto wire racks, remove the butter paper, and let them cool completely.
Step 2: Prepare the Ice Cream Layer
- Chill the ice cream: While the cakes are cooling, transfer your mint chocolate ice cream from the freezer to the fridge for about 20 minutes. You want the ice cream to soften enough to spread but not melt.
- Cut the cake layers: Once the cakes have cooled, use a cake ring or a sharp knife to cut out three rounds from the sheet cakes. Make the rounds about an inch smaller in diameter than the pan you’ll be using for assembly. This way, you can press the ice cream around the edges and avoid frosting the sides later on!
Step 3: Assemble the Ice Cream Cake
- Line your assembly pan: Take your cake pan (preferably a springform pan for easy removal) and line it with two layers of plastic wrap. Let the plastic wrap overlap crosswise to ensure it covers all sides of the pan.
- Layer the cake and ice cream:
- Start by placing one round of chocolate cake at the bottom of the pan.
- Spread about 2 cups of mint chocolate ice cream over the cake layer.
- Add another cake round on top, followed by another 2 cups of ice cream.
- Place the final cake layer on top and gently press down to even everything out.
- Freeze the cake: Cover the cake tightly with plastic wrap and freeze it overnight (or at least 4 hours). This allows the ice cream to fully set and makes the cake easy to slice.
Step 4: Decorating the Cake
- Whip the cream: Right before serving, make your whipped cream. In a chilled bowl, combine the heavy whipping cream, cream cheese, and sugar. Whisk until stiff peaks form. The cream cheese helps stabilize the whipped cream, making it perfect for decorating.
- Spread melted chocolate: Take the cake out of the freezer and spread melted chocolate over the top. This gives the cake a shiny, rich top layer that complements the mint and chocolate flavors.
- Garnish: Sprinkle chocolate shavings over the top for some added texture and beauty. Dust with cocoa powder for an extra chocolatey finish.
- Serve immediately: Slice and enjoy! Don’t forget to return any leftovers to the freezer to keep them fresh.
Pro Tips for Success
- Use strong coffee: The hot coffee in the cake batter enhances the chocolate flavor without adding any coffee taste. Don’t skip this ingredient!
- Make ahead: This cake is perfect for making in advance. Assemble it the day before you need it, and simply decorate right before serving.
- Go for homemade ice cream: Using homemade mint chocolate ice cream takes this cake to the next level. However, if you’re short on time, you can use store-bought mint chocolate chip ice cream.
- Frosting-free sides: By pressing the ice cream around the sides, you get a smooth finish without the hassle of frosting. Plus, it makes the cake look extra cool (pun intended)!
Conclusion:
This Mint Chocolate Ice Cream Cake is the perfect combination of refreshing mint and rich chocolate, layered into a beautiful, marbled ice cream cake. It’s an impressive dessert that’ll leave your guests in awe and their taste buds craving more. Whether it’s for a summer party or a family celebration, this cake is sure to be a hit.
Give this recipe a try, and don’t forget to share your beautiful creations! Happy baking (and freezing), friends!

