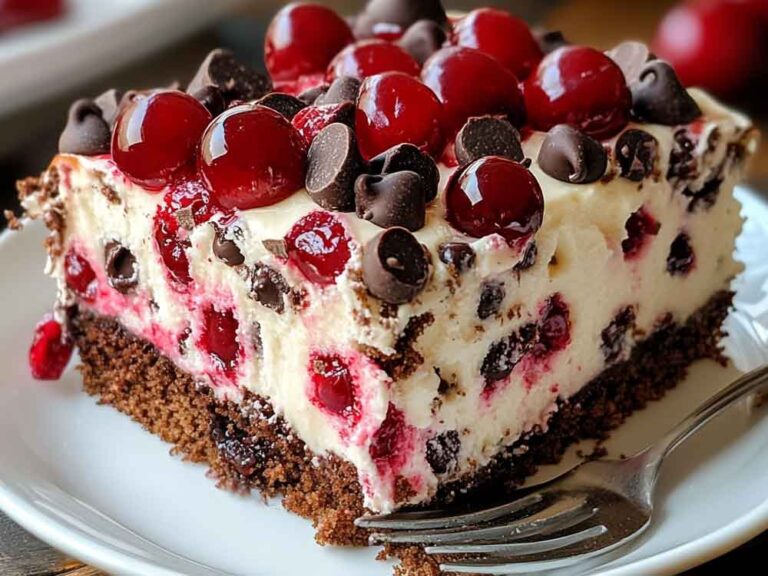
Homemade Cherry Jam Recipe

Preserving the taste of fresh cherries can be challenging, especially when they’re in peak season and available in abundance. Store-bought jams often come with preservatives and artificial flavors that don’t capture the true essence of ripe cherries.
Imagine having a jar of cherry jam that truly reflects the vibrant, natural sweetness of fresh cherries, without any additives. The convenience of having homemade cherry jam on hand for various occasions can be immensely satisfying.
Making your own cherry jam is an easy and fulfilling way to savor the cherry season year-round. With just a few ingredients and simple steps, you can create a delicious, natural preserve that enhances everything from breakfast to charcuterie boards.
Ingredients
- 2 pounds fresh cherries
- 1 ½ cups granulated sugar
- 4 tablespoons lemon juice (or your choice of citrus)
Instructions
Preparing the Cherries
- Pit the Cherries: Start by removing the pits from the cherries. Using a cherry pitter simplifies this task and saves time. If you don’t have a pitter, you can use frozen cherries, which also work well but may need additional cooking time due to higher moisture content.
Cooking the Jam
- Combine Ingredients: Place the pitted cherries, granulated sugar, and lemon juice into a large pot.
- Heat the Mixture: Cook over medium heat, stirring frequently until the sugar is completely dissolved. As the cherries heat, they will break down and release their juices.
- Mash the Cherries: Use a potato masher to break down the cherries to your preferred consistency. For a smoother jam, continue mashing until you achieve the desired texture.
- Simmer: Let the mixture simmer, stirring occasionally, until it thickens. This process typically takes 30 to 40 minutes. The natural pectin in the cherries helps with thickening.
Testing for Doneness
- Check Consistency: To determine if the jam is ready, place a small amount on a chilled spoon or plate. If it thickens and does not run off, it is ready to be removed from heat.
Storing the Jam
- Cool and Store: Allow the jam to cool to room temperature before transferring it into clean jars. For longer storage, freeze the jam in small portions or use jam jars. Homemade cherry jam generally lasts 3 to 4 weeks in the refrigerator.
Tips and Variations
- Citrus Variations: Experiment with different types of citrus, such as lime or orange, to vary the flavor of your jam.
- Consistency Adjustments: For a smoother texture without fruit chunks, consider making cherry jelly instead.
Conclusion
Cherry jam offers a delightful way to preserve the essence of summer cherries and enjoy their sweet, fruity flavor year-round. This straightforward recipe requires only a few basic ingredients, making it accessible even for those new to jam-making. By following these simple steps, you can create a flavorful and versatile jam that enhances a variety of dishes, from cheese pairings to breakfast spreads. Homemade cherry jam not only provides a delicious treat but also adds a personal touch to your culinary creations. As you savor the fruits of your labor, you’ll appreciate the fresh taste and satisfaction that comes from crafting your own preserves.


