Layered Pumpkin Cheesecake Bars Recipe – A Fall Favorite
Stuffing is the best part of any holiday meal, right? But what if I told you we could take that goodness and turn it into something even better? Enter: savory stuffing balls—crispy on the outside, soft and flavorful on the inside.
These little bites pack all the cozy flavors of traditional stuffing but with an irresistible golden crust. No more fighting over the crispy edges in the pan—every bite is the best bite! Plus, they’re super easy to make and perfect for dipping.
Imagine serving these at your next gathering—no messy scooping, no dry stuffing, just pure, poppable perfection. They’re a game-changer for holiday meals, potlucks, or even just a cozy dinner at home. Trust me, once you try them, you’ll never go back.
Ready to make your new favorite side dish? Let’s get rolling—literally! These stuffing balls are about to steal the show.
Why You’ll Love These Pumpkin Cheesecake Bars
- Perfectly Balanced Flavors: A harmonious combination of pumpkin, spices, and creamy cheesecake that’s not too sweet but just right.
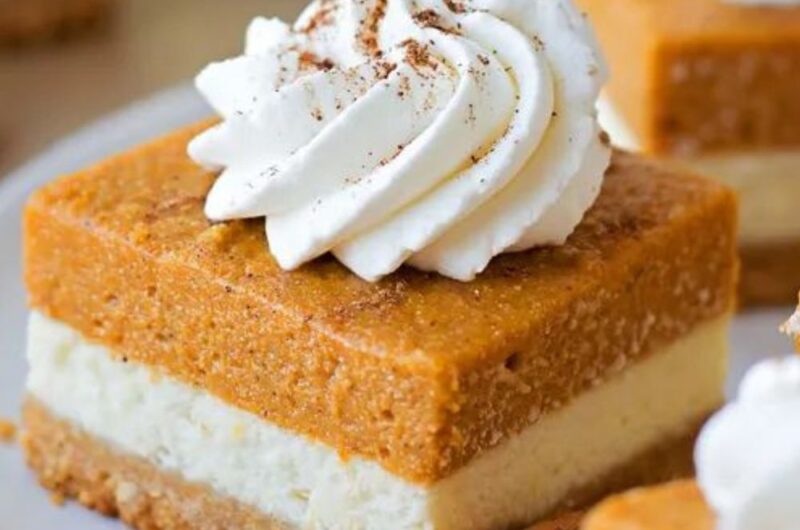
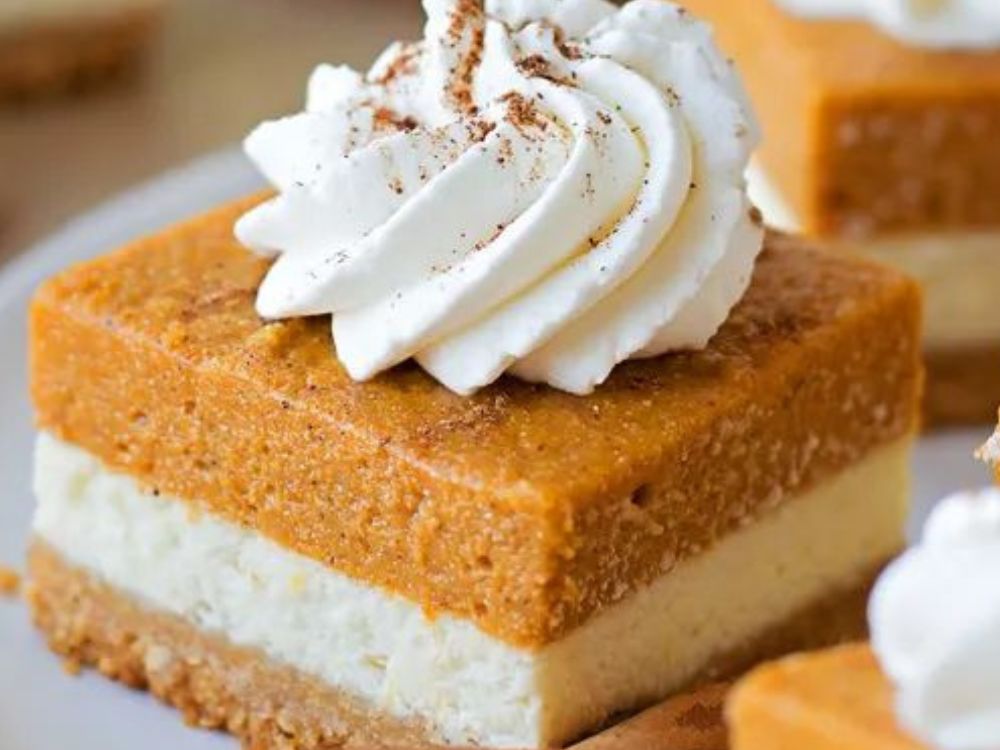
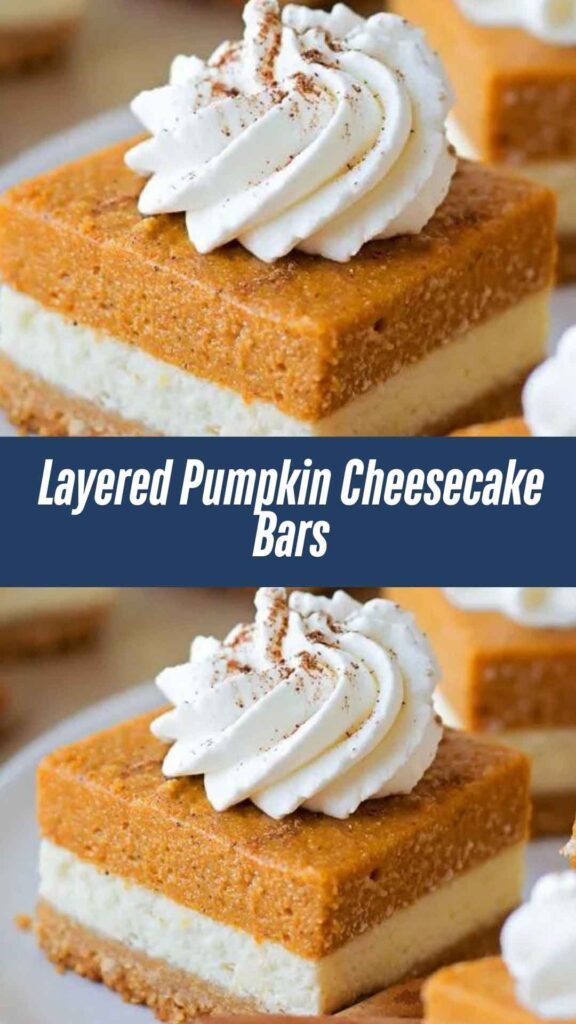
- Gorgeous Layers: The crust, pumpkin layer, and sour cream topping each have their own distinct texture, making each bite a treat for your taste buds.
- Fall-Inspired: The warm, comforting flavors of pumpkin and spices make this the perfect dessert for autumn celebrations like Thanksgiving and Halloween.
- Make-Ahead Friendly: These bars can be prepared ahead of time and stored, making them a great option for busy days or potlucks.
- Ideal for Sharing: With a crowd-pleasing taste and easy-to-slice bars, you can serve these to your family and friends with minimal effort.

Required Kitchen Tools
Before you start, make sure you have these tools on hand:
- 9×13-inch Baking Dish: This is the perfect size for baking the bars evenly.
- Mixing Bowls: For combining the ingredients for the crust, pumpkin layer, and sour cream topping.
- Electric Mixer: An electric mixer makes beating the cream cheese and eggs easier, but you can also use a hand whisk if you don’t have one.
- Spatula: To spread the layers smoothly in the baking dish.
- Measuring Cups and Spoons: Accurate measurements are key to making this dessert turn out perfectly.
- Parchment Paper: Optional, but lining your baking dish with parchment paper helps make it easier to lift out the bars once they’re done.
Key Ingredients for Layered Pumpkin Cheesecake Bars
Here’s a list of the main ingredients you’ll need to make these layered pumpkin cheesecake bars. All the measurements are in the recipe card below, but here’s what you’ll need:
For the Crust:
- All-Purpose Flour: The base of the crust, giving it structure.
- Brown Sugar: Adds a touch of sweetness and depth to the crust.
- Butter (softened): Helps bind the crust together and gives it a rich flavor.
- Quick-Cooking Oats: Adds texture and makes the crust more substantial.
- Pecans or Walnuts (finely chopped): These add a nutty crunch and enhance the flavor of the crust.
For the Pumpkin Cheesecake Layer:
- Cream Cheese (8 oz package, softened): The creamy base of the cheesecake layer.
- Sugar: Sweetens the cheesecake filling, balancing the pumpkin’s natural sweetness.
- Pumpkin (15 oz can): The star ingredient for the pumpkin layer.
- Pumpkin Pie Spice: A blend of cinnamon, nutmeg, and ginger, bringing that signature fall flavor.
- Eggs (room temperature): These help set the pumpkin cheesecake layer, giving it a smooth and creamy texture.
For the Sour Cream Topping:
- Sour Cream: Adds tanginess to contrast the sweetness of the bars.
- Sugar: Sweetens the topping just enough without overpowering it.
- Vanilla Extract: Adds a lovely depth of flavor to the topping.
Variations for Layered Pumpkin Cheesecake Bars
If you’d like to mix things up or add a personal touch, here are some ideas for variations:
- Nuts in the Cheesecake Layer: For extra crunch, you can add finely chopped pecans or walnuts into the cheesecake layer itself.
- Spices Swap: If you don’t have pumpkin pie spice, you can use a mix of cinnamon, nutmeg, ginger, and cloves.
- Gingersnap Crust: For a spicier twist, use crushed gingersnap cookies in place of the oats and pecans for the crust.
- Sweetened Condensed Milk: Instead of sugar and eggs in the pumpkin layer, you can use sweetened condensed milk for an even creamier texture.
Step-by-Step Instructions: Part 1
1. Prepare the Crust
In a medium bowl, combine the all-purpose flour, brown sugar, butter, quick-cooking oats, and chopped pecans (or walnuts). Use a fork or pastry cutter to blend the ingredients together until the mixture resembles coarse crumbs. This will create a delicious, buttery, and slightly nutty crust. Once combined, press the mixture evenly into the bottom of your 9×13-inch baking dish.
2. Bake the Crust
Preheat your oven to 350°F (175°C). Once the crust is evenly spread, bake it for 10-12 minutes, or until it becomes lightly golden. This step helps to set the crust, ensuring that it holds together when you add the creamy layers on top. Once done, remove the crust from the oven and let it cool for about 10 minutes.
3. Make the Pumpkin Cheesecake Layer
While the crust is cooling, it’s time to prepare the pumpkin cheesecake layer. In a large mixing bowl, use an electric mixer to beat the softened cream cheese until smooth and creamy. Add in the sugar and continue beating until combined. Then, add the pumpkin puree, pumpkin pie spice, and eggs. Beat everything together until smooth and well combined.
Once your cheesecake mixture is smooth, pour it over the partially cooled crust. Spread it evenly with a spatula to create a smooth top layer. This layer will bake up beautifully and become a creamy, flavorful filling for your bars.
Step-by-Step Instructions: Part 2
4. Bake the Pumpkin Cheesecake Layer
Now that your pumpkin cheesecake layer is ready, it’s time to bake! Place the baking dish back into the preheated oven at 350°F (175°C). Bake the bars for about 30-35 minutes, or until the center is set and the top looks slightly firm. You can test this by gently shaking the baking dish; if the center moves a little but is mostly firm, it’s done.
It’s important to keep an eye on the bars as they bake. If you find that the edges are getting too dark, you can loosely cover the bars with foil for the remainder of the baking time. Once the bars are done baking, remove them from the oven and let them cool completely in the baking dish.
5. Prepare the Sour Cream Topping
While the pumpkin cheesecake layer is cooling, it’s time to prepare the topping. In a medium bowl, combine the sour cream, sugar, and vanilla extract. Stir until smooth and well combined. This topping will add a refreshing tang to balance out the sweetness of the pumpkin cheesecake and create a beautiful contrast when spread on top.
6. Add the Sour Cream Topping
Once the pumpkin cheesecake bars have cooled completely (about 1-2 hours), carefully spread the sour cream topping evenly over the top layer using a spatula. Be gentle to avoid disturbing the creamy pumpkin layer beneath. This topping will set up nicely in the fridge, adding that perfect creamy finish.
Step-by-Step Instructions: Part 3
7. Chill the Bars
After you’ve spread the sour cream topping, cover the baking dish with plastic wrap or aluminum foil. Place the bars in the refrigerator to chill for at least 4 hours or overnight. Chilling the bars is crucial as it allows the layers to set properly, making them easier to slice into neat squares.
8. Slice and Serve
Once the bars have chilled and set, use a sharp knife to slice them into squares or rectangles. The bars will hold their shape beautifully, with clear layers visible from the crust to the pumpkin cheesecake to the tangy sour cream topping. Serve these bars chilled for the best texture and flavor.
How to Serve Layered Pumpkin Cheesecake Bars
These layered pumpkin cheesecake bars are incredibly versatile and can be enjoyed in a variety of ways:
- As a Dessert: Serve them as the star dessert at your next fall gathering, Thanksgiving dinner, or Halloween party. They’re perfect for impressing guests with minimal effort.
- With Coffee or Tea: Pair these bars with a warm cup of coffee or tea for a cozy afternoon treat. The pumpkin and spices complement a hot drink beautifully.
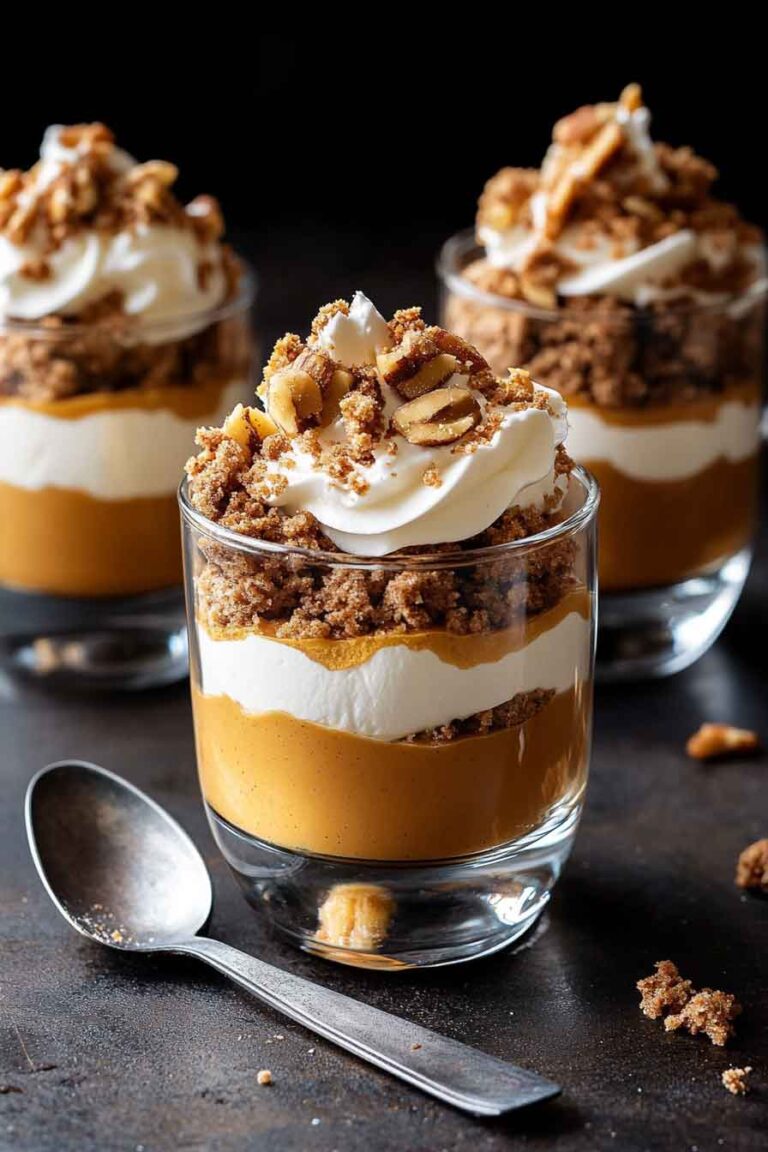
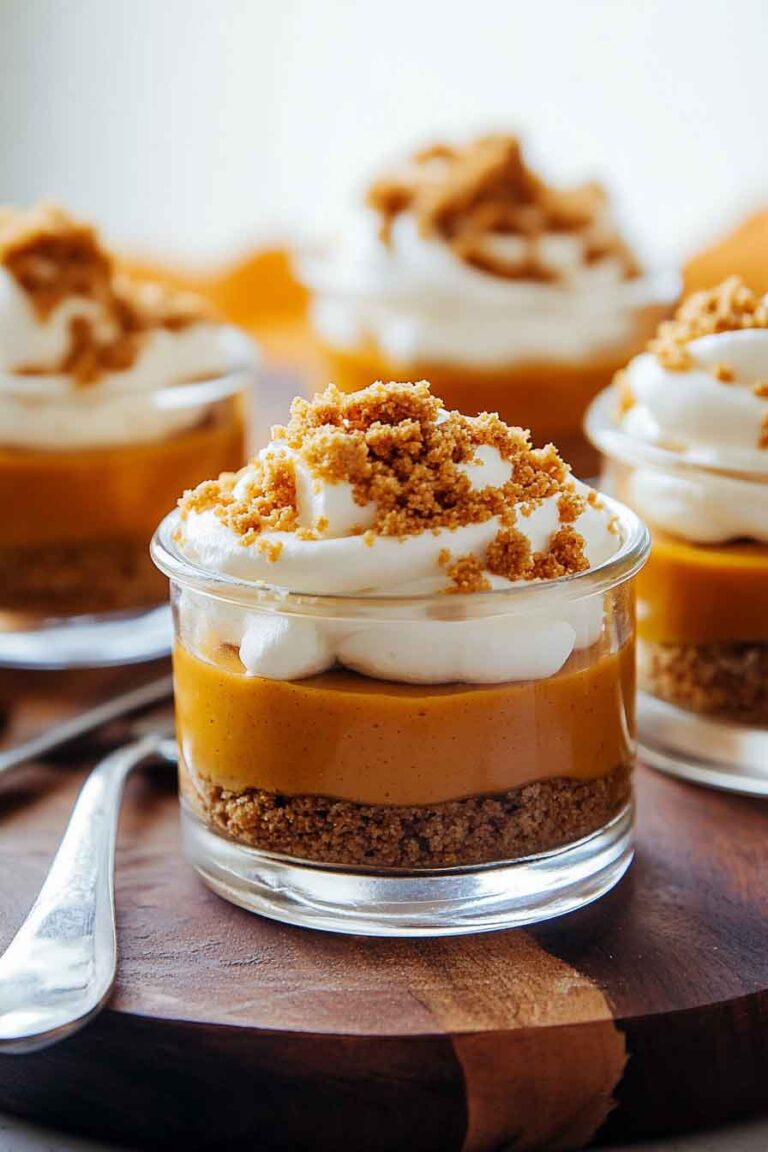
- In Individual Servings: For an elegant presentation, serve the bars in individual portions with a dollop of whipped cream or a sprinkle of cinnamon on top.
Storing Layered Pumpkin Cheesecake Bars
- In the Refrigerator: Store any leftover pumpkin cheesecake bars in an airtight container in the fridge for up to 5 days. They’ll remain deliciously fresh, and the flavors will continue to meld together.
- In the Freezer: You can also freeze these bars! Place them in an airtight container or wrap them individually in plastic wrap and foil. Store them in the freezer for up to 2 months. To serve, let them thaw in the fridge overnight or at room temperature for a few hours.
Nutrition Information
Here’s a breakdown of the nutritional content for one serving (1 bar) of these delicious Layered Pumpkin Cheesecake Bars. This information is an estimate and may vary depending on ingredient brands and portion sizes:
| Nutrient | Amount per Serving |
|---|---|
| Calories | 300 kcal |
| Total Fat | 18g |
| Saturated Fat | 8g |
| Cholesterol | 50mg |
| Sodium | 150mg |
| Carbohydrates | 33g |
| Fiber | 1g |
| Sugars | 19g |
| Protein | 4g |
| Vitamin A | 40% Daily Value |
| Calcium | 6% Daily Value |
| Iron | 4% Daily Value |
Note: This estimate is based on a standard serving size of one bar.
Conclusion: Why You’ll Love These Pumpkin Cheesecake Bars
There’s no doubt that Layered Pumpkin Cheesecake Bars will be a hit at your next gathering. The buttery crust, creamy pumpkin cheesecake layer, and tangy sour cream topping come together in a dessert that’s as visually appealing as it is mouthwatering. These bars are an effortless way to enjoy the flavors of fall, with minimal prep time and a crowd-pleasing result.
Whether you’re sharing them with family, friends, or saving them for yourself (no judgment here!), these bars will quickly become a seasonal favorite. Don’t forget to add your personal twist with variations, like adding extra spices or nuts. The recipe is simple, customizable, and perfect for fall.
Part 1: Layered Pumpkin Cheesecake Bars Recipe – A Fall Favorite
Course: Uncategorized12 bars
servings20
minutes30
minutes300
kcalIngredients
- For the Crust:
1 cup all-purpose flour
1/2 cup brown sugar
1/2 cup butter (softened)
1 cup quick-cooking oats
1/2 cup pecans or walnuts (finely chopped)
- For the Pumpkin Cheesecake Layer:
1 package (8 oz) cream cheese (softened)
3/4 cup sugar
15 oz pumpkin (puree)
1 1/2 tsp pumpkin pie spice
2 eggs (room temperature)
- For the Sour Cream Topping:
1 cup sour cream
1/4 cup sugar
1 tsp vanilla extract
Directions
- Prepare the Crust: Combine flour, brown sugar, butter, oats, and chopped nuts. Press into a greased 9×13-inch baking dish.
- Bake the Crust: Bake at 350°F for 10-12 minutes. Let cool.
- Make the Pumpkin Cheesecake Layer: Beat cream cheese until smooth. Add sugar, pumpkin, pie spice, and eggs. Mix until smooth. Pour over the crust.
- Bake the Bars: Bake at 350°F for 30-35 minutes until set. Let cool completely.
- Make the Topping: Combine sour cream, sugar, and vanilla. Spread over the cooled bars.
- Chill: Cover and refrigerate for at least 4 hours or overnight.
- Serve: Slice into bars and enjoy!
Layered Pumpkin Cheesecake Bars FAQs
Can I use fresh pumpkin instead of canned pumpkin?
Yes, you can! Just make sure to cook and puree the pumpkin until smooth before using it in the recipe. Canned pumpkin puree is often more consistent, but fresh pumpkin will work just as well.
How do I know when the pumpkin cheesecake layer is done?
The center should be mostly firm but slightly jiggly when done. It will continue to set as it cools.
Can I make these bars ahead of time?
Absolutely! These bars can be made up to 2 days in advance and stored in the fridge for best results.

