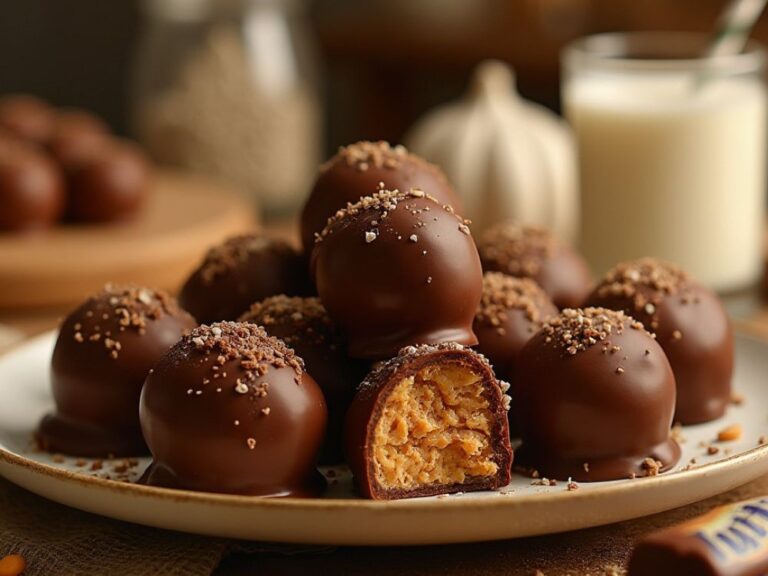
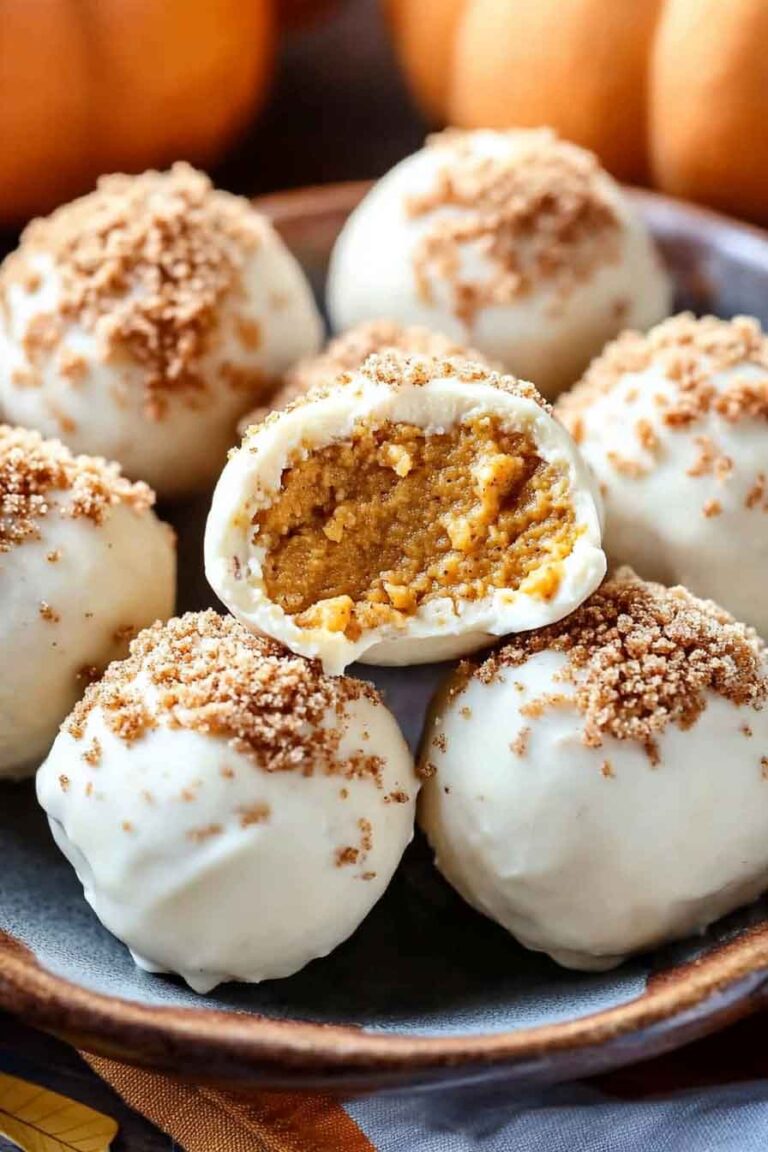
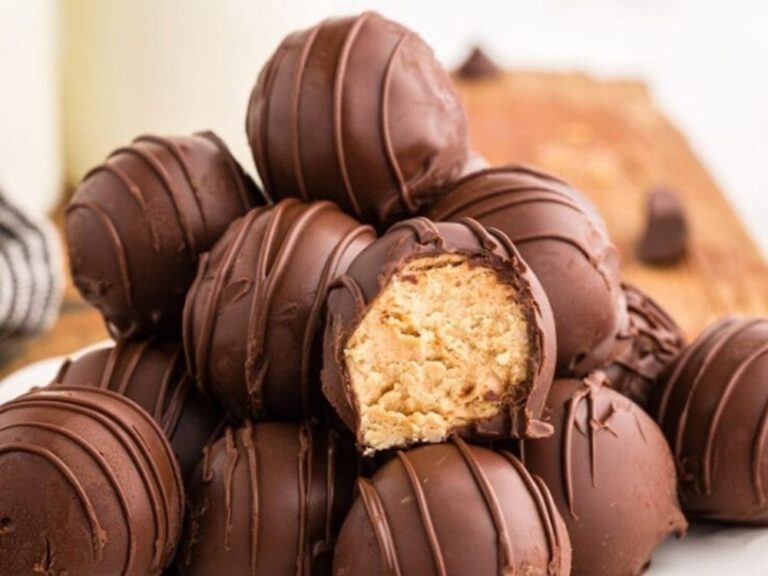
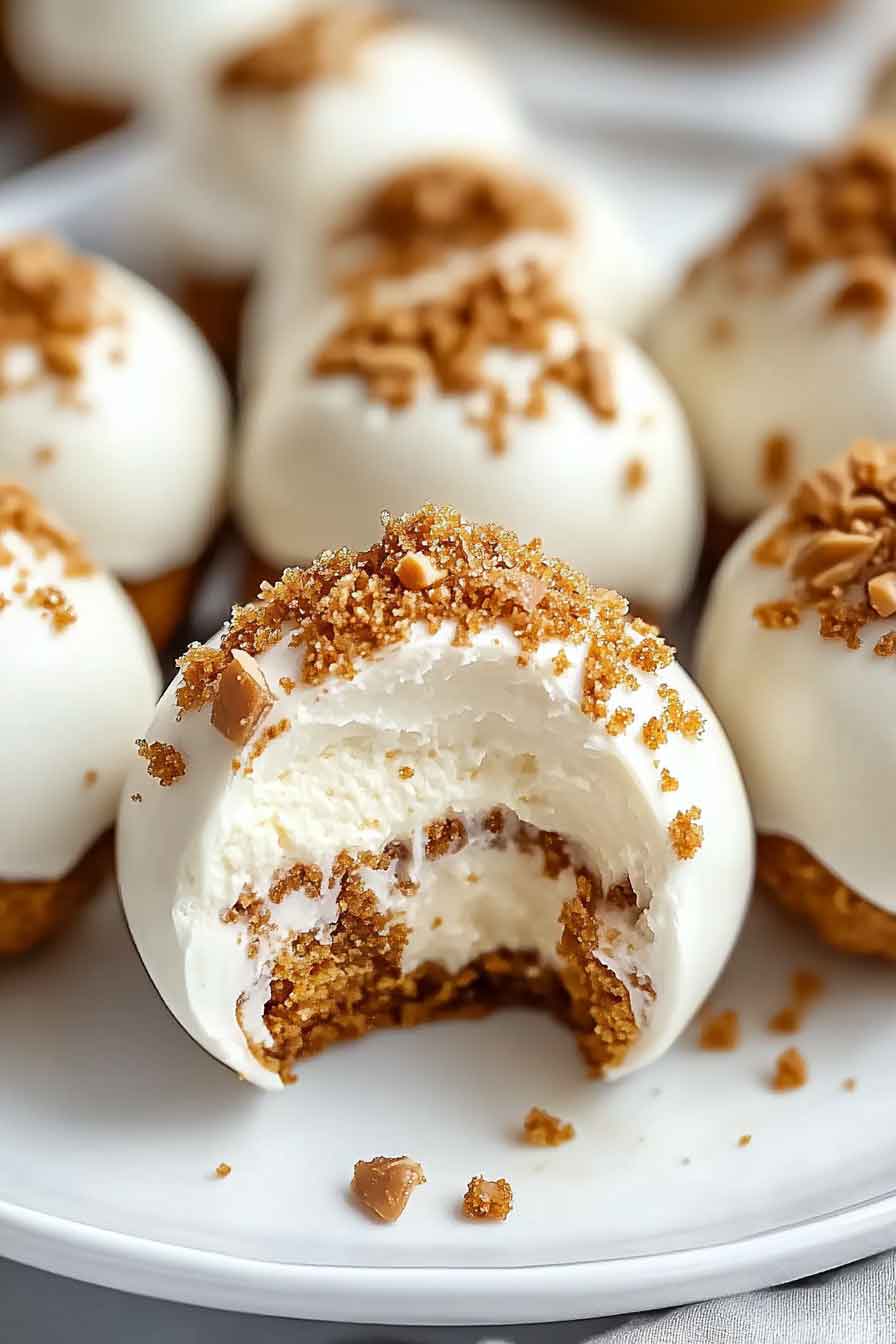
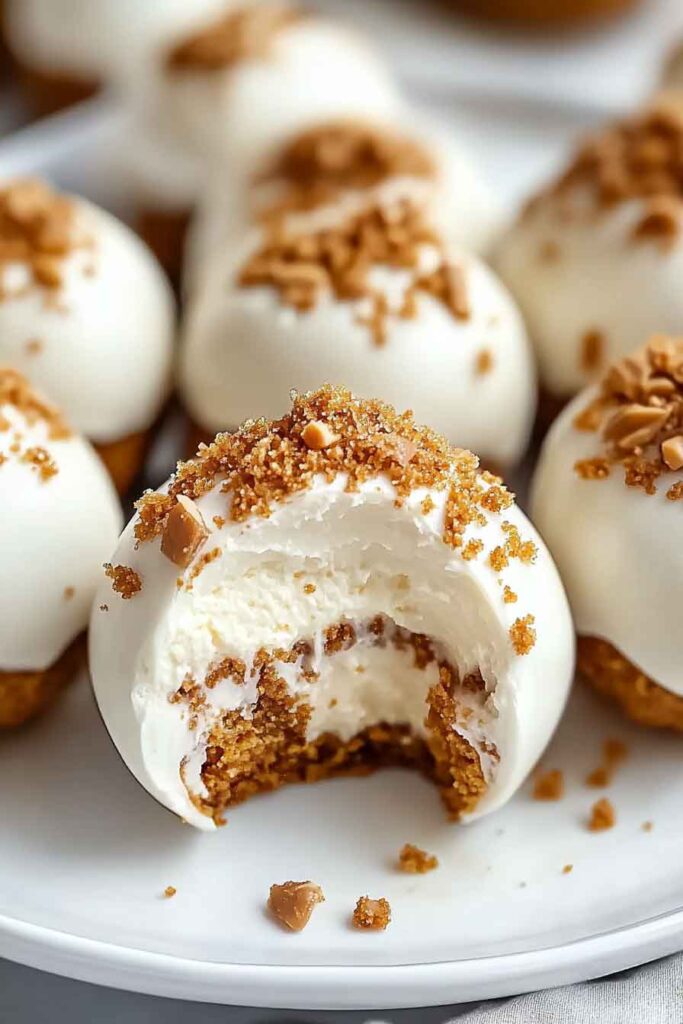
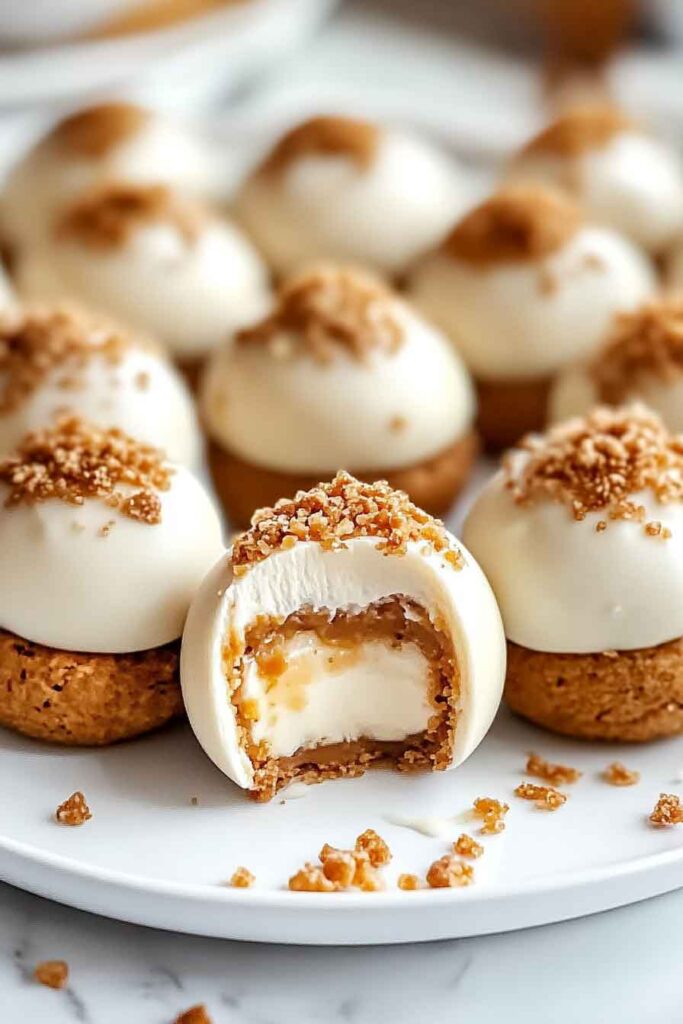
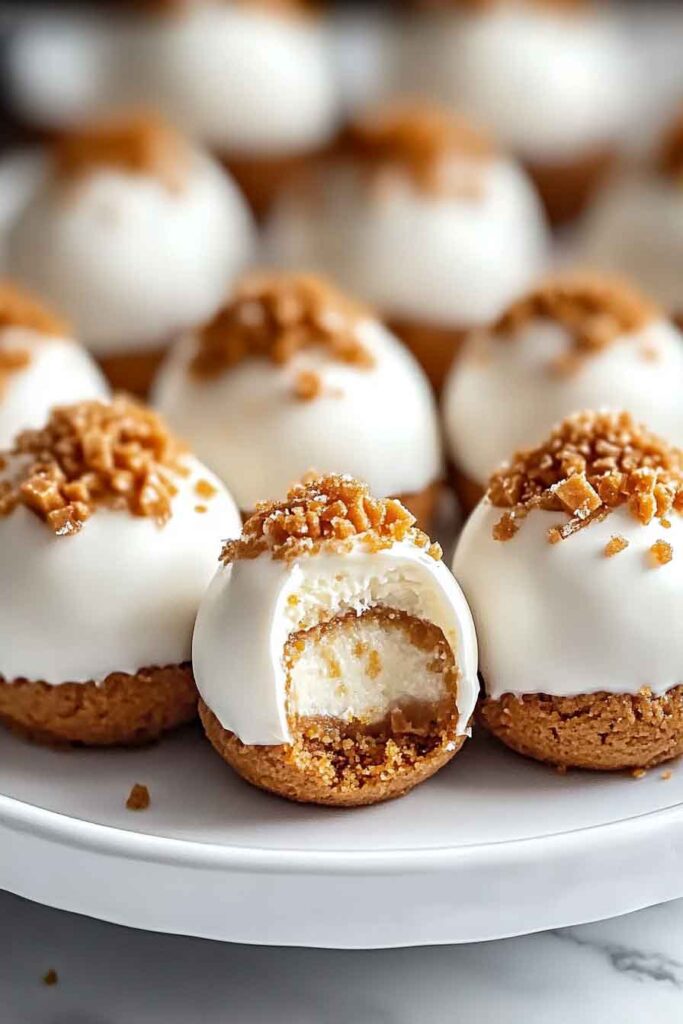
No Bake Pumpkin Cheesecake Balls
Okay, these are dangerously good. These No Bake Pumpkin Cheesecake Balls are sweet, creamy, and taste just like fall. And the best part? No oven needed!
I whipped up a batch in like 10 minutes. Yep, that fast. Perfect for snacks, parties, or just sneaking one from the fridge when no one’s looking.
If you love pumpkin and cheesecake, this is it. Trust me, once you try one—you’ll be hooked.
Why You’ll Love This Recipe
- No Bake, No Fuss: Forget the oven! These pumpkin cheesecake balls come together in no time with just a few simple ingredients.
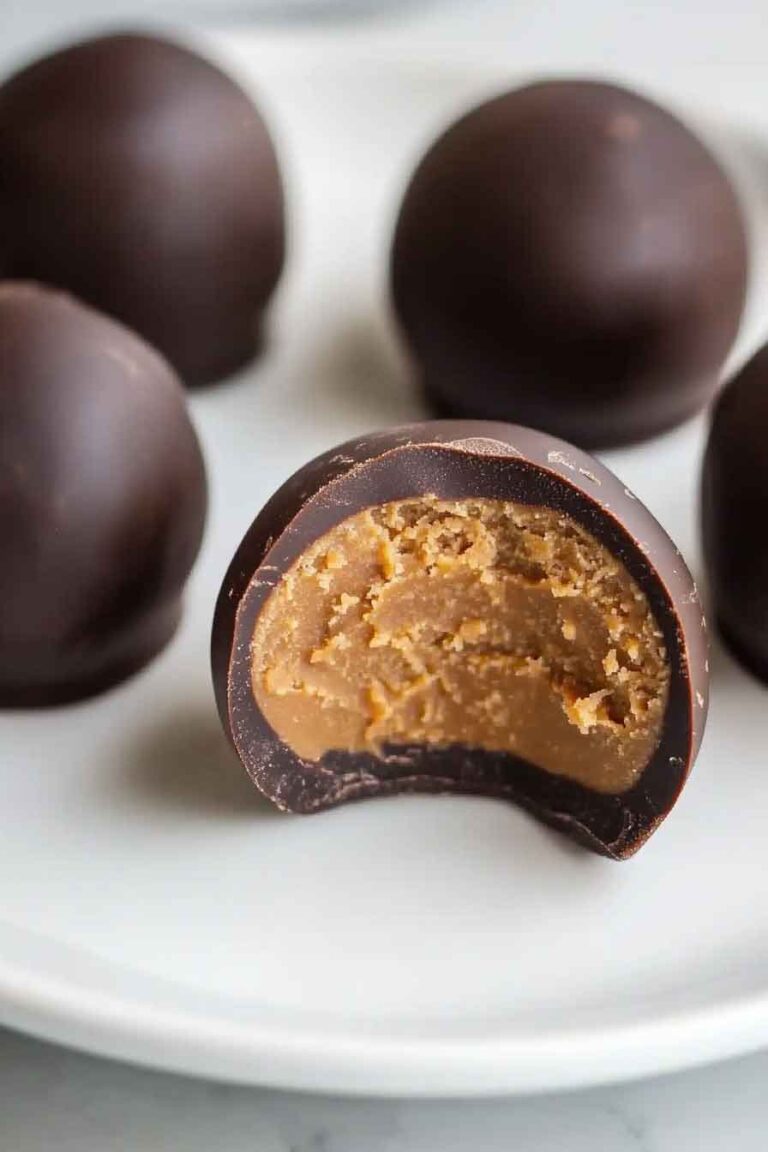
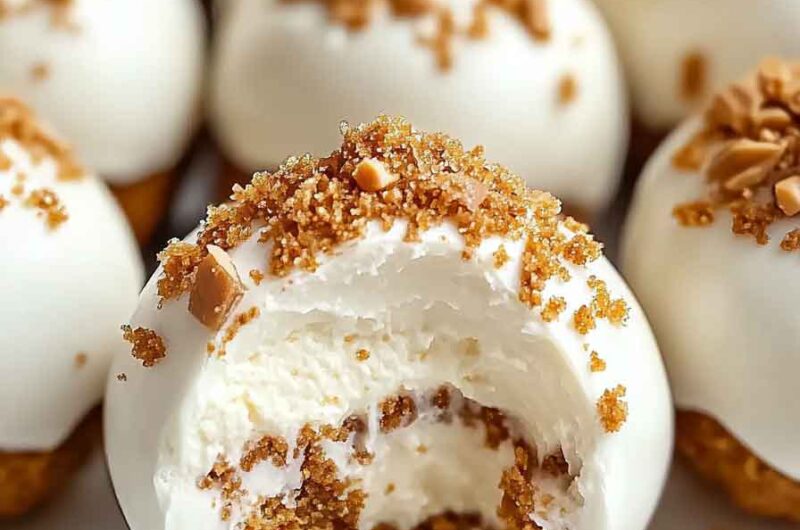
- Creamy & Spiced Perfection: The combination of cream cheese, pumpkin puree, and warm spices like cinnamon, nutmeg, and ginger creates a creamy, melt-in-your-mouth texture.
- Great for Fall: Perfect for any fall gathering, party, or cozy afternoon snack. They’re even better than pumpkin pie!
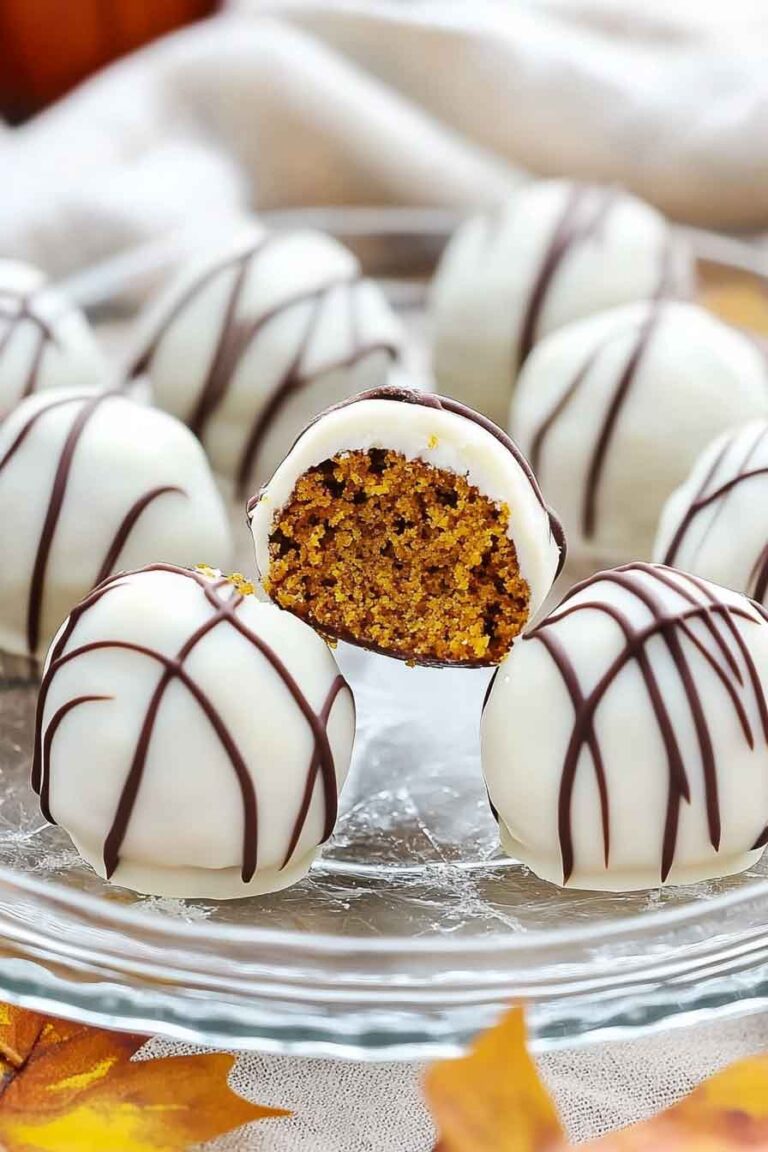
- Customizable Coatings: Coat these balls in your choice of graham cracker crumbs, melted white chocolate, or crushed nuts for extra texture and flavor.
- Kid-Friendly: With a fun shape and mild sweetness, these are a hit with both adults and kids alike.
Required Kitchen Tools
Before you get started, make sure you have these basic kitchen tools ready:
- Mixing Bowl: A large bowl to combine all of your ingredients.
- Hand or Stand Mixer: This will make mixing the cream cheese filling easy and smooth.
- Spoon or Cookie Scoop: To help form uniform balls for consistent sizes.
- Baking Sheet or Tray: To place the cheesecake balls while they set in the fridge.
- Parchment Paper or Wax Paper: To prevent the balls from sticking as they chill.
- Refrigerator: For chilling the balls until they’re firm enough to enjoy.
Ingredients
Let’s dive into the ingredients that will make these pumpkin cheesecake balls so irresistible. You’ll need:
- Cream Cheese (softened): The base of your cheesecake mixture. Cream cheese gives these little treats their rich, creamy texture.
- Pumpkin Puree: Adds a natural sweetness and the distinct pumpkin flavor that everyone loves during the fall season.
- Powdered Sugar: Sweetens up the cream cheese and pumpkin puree mixture while ensuring a smooth texture.
- Vanilla Extract: A touch of vanilla balances out the spices and enhances the overall flavor.
- Ground Cinnamon: This spice is a classic fall flavor, giving the cheesecake balls that familiar warm, cozy taste.
- Ground Nutmeg: Adds a depth of flavor that complements the cinnamon and pumpkin.
- Ground Ginger: Brings a subtle spiciness to the mix that pairs perfectly with the other warming spices.
- Graham Cracker Crumbs: A traditional cheesecake crust component, used here to coat the balls for a crispy, crunchy texture.
- White Chocolate Chips (melted): Optional, but the perfect way to create a creamy, sweet outer layer on your pumpkin cheesecake balls.
- Crushed Pecans or Walnuts: These are optional, but they add a nice crunchy coating and a nutty flavor that works wonderfully with the pumpkin.
Variations for No Bake Pumpkin Cheesecake Balls
This recipe is super versatile and can be adjusted to suit different preferences. Here are a few ways to switch things up:
- Try Different Coatings: If graham crackers aren’t your thing, try rolling the pumpkin cheesecake balls in finely crushed vanilla wafers, or even a mixture of powdered sugar and cinnamon for an extra touch of sweetness.
- Add a Touch of Salt: A pinch of sea salt in the filling will bring out the sweetness of the pumpkin and balance the flavor perfectly.
- Use Milk or Dark Chocolate: While white chocolate is delicious, you could also dip these in milk or dark chocolate for a richer, deeper flavor.
- Switch Up the Nuts: If you’re not a fan of pecans or walnuts, feel free to use almonds, hazelnuts, or even skip the nuts altogether.
- Use Brown Sugar: For a deeper caramel flavor, swap the powdered sugar with brown sugar. It will add a lovely richness to the filling.

Step-by-Step Instructions
Ready to make these No Bake Pumpkin Cheesecake Balls? Here’s how you do it:
1. Mix the Cheesecake Filling
Start by softening your cream cheese at room temperature for about 30 minutes (or microwave it for about 15 seconds). This ensures that the cream cheese mixes smoothly into the other ingredients.
In a large mixing bowl, beat the softened cream cheese with a hand mixer or stand mixer until it’s smooth and creamy. Add the pumpkin puree, powdered sugar, vanilla extract, ground cinnamon, ground nutmeg, and ground ginger to the bowl. Continue to beat everything together until it’s well combined and smooth. The filling should be thick, creamy, and perfectly spiced.
2. Chill the Mixture
Once your mixture is smooth and fluffy, cover the bowl with plastic wrap and place it in the refrigerator for at least 30 minutes. Chilling the mixture will help it firm up and make it easier to form into balls.
3. Form the Cheesecake Balls
After the mixture has chilled, use a spoon or a cookie scoop to form small, uniform balls. I recommend making them about 1 inch in diameter, but you can adjust the size based on your preference. Place each ball onto a parchment paper-lined baking sheet or tray.
Once all the balls are formed, pop them back into the refrigerator for another 30 minutes to ensure they’re firm and easy to handle.
4. Coat the Cheesecake Balls
Now, the fun part! You can coat the balls in a variety of ways. Here are a few options:
- Graham Cracker Coating: Roll each ball in graham cracker crumbs to give it that classic cheesecake crust flavor.
- White Chocolate Dip: Melt the white chocolate chips in the microwave in 15-second intervals, stirring each time until smooth. Dip each cheesecake ball into the melted chocolate, covering it completely, and place it back onto the parchment paper.
- Nutty Coating: If you’re using nuts, roll the balls in crushed pecans or walnuts for a crunchy, nutty exterior.
You can even get creative and combine these coatings for extra flavor and texture!
5. Chill Again
Once all the cheesecake balls are coated, pop them back in the fridge for another 30 minutes to an hour, or until the chocolate has set (if you used it). This final chilling step helps the coating harden and keeps everything together.
How to Serve No Bake Pumpkin Cheesecake Balls
These little bites of heaven are perfect for a variety of occasions:
- As a Fall Snack: These pumpkin cheesecake balls are ideal for snacking during the fall season. Keep them in the fridge for an easy treat whenever the craving strikes.
- For Parties and Gatherings: They’re perfect for potlucks, Halloween parties, Thanksgiving, or even just cozy nights in.
- Gift-Giving: Pack these up in cute little gift boxes or bags to share with family and friends. These are a sweet homemade gift that will surely be appreciated!
- As Dessert Bites: Serve them at the end of a fall meal, along with other seasonal treats like apple cider, caramel sauce, or cinnamon-spiced coffee.
Storing No Bake Pumpkin Cheesecake Balls
If you happen to have leftovers (although I doubt you will!), you can store these cheesecake balls in an airtight container in the refrigerator for up to 1 week. Just make sure they are completely chilled and set before storing to prevent them from getting too soft.
For longer storage, you can freeze these balls! Place them in a freezer-safe container or bag, and they’ll stay fresh for up to 3 months. When you’re ready to enjoy them, simply thaw them in the refrigerator for a few hours.
Expert Tips for Perfect No Bake Pumpkin Cheesecake Balls
While the recipe is simple, here are a few tips to ensure that your No Bake Pumpkin Cheesecake Balls turn out absolutely perfect:
1. Use Room Temperature Cream Cheese
To achieve the smoothest, creamiest filling, make sure the cream cheese is softened before you begin. Cold cream cheese can cause lumps in the mixture and make it harder to combine the ingredients properly. Simply leave the cream cheese out on the counter for about 30 minutes before mixing.
2. Don’t Skip the Chilling Time
The chilling steps are essential to helping the filling set and firm up so the balls hold their shape. It’s tempting to skip the fridge time, but trust me, if you want the perfect texture, it’s important to let the mixture cool and the chocolate or coatings harden.
3. Customize the Sweetness
If you prefer your treats on the sweeter side, feel free to increase the amount of powdered sugar a little bit. On the other hand, if you’re more of a fan of a less-sweet treat, reduce the sugar slightly and let the natural flavors of the pumpkin and spices shine through.
4. Use a Cookie Scoop for Consistent Size
To ensure that all your cheesecake balls are the same size and cook evenly (if you choose to bake them later), use a cookie scoop. It makes the process so much easier and keeps everything uniform!
5. Avoid Overmixing
While mixing, make sure you don’t overwork the dough. Overmixing can make it too soft and sticky, which will make it harder to roll into perfect balls. Keep the mixing gentle and just enough to blend everything together.
Delicious Variations to Try
Want to experiment a little and make these pumpkin cheesecake balls your own? Here are some fun and creative variations to switch things up:
1. Spiced Rum Pumpkin Cheesecake Balls
For a boozy twist, add a tablespoon of spiced rum to the filling mixture. It pairs beautifully with the warm spices and adds an extra level of flavor that’s perfect for adult gatherings. You can also roll the balls in cinnamon-sugar after dipping them in chocolate for even more flavor.
2. Chocolate Chips in the Filling
If you’re a fan of chocolate and pumpkin, add mini chocolate chips directly into the pumpkin cheesecake filling. This adds a nice bite and pairs beautifully with the creamy filling.
3. Pumpkin Spice Latte Cheesecake Balls
For a flavor that’s reminiscent of everyone’s favorite fall drink, add a tablespoon of instant coffee or espresso powder to the mixture. The bitterness from the coffee perfectly balances the sweetness of the pumpkin and creates a delicious pumpkin spice latte flavor.
4. Caramel-Coated Cheesecake Balls
Want to bring in a touch of caramel? Once you’ve coated your cheesecake balls in chocolate, drizzle some warm caramel sauce over them for a decadent finishing touch. This variation is especially delightful if you plan to serve them at a Thanksgiving or fall dinner.
5. Vegan No Bake Pumpkin Cheesecake Balls
If you’re looking for a dairy-free version, use vegan cream cheese and a plant-based milk substitute like almond milk. Swap out powdered sugar for a natural sweetener like maple syrup or coconut sugar, and you’ve got a vegan-friendly treat that’s still indulgent and full of fall flavor.
Different Ways to Serve No Bake Pumpkin Cheesecake Balls
These pumpkin cheesecake balls are so versatile that you can serve them in many different ways depending on the occasion. Here are a few ideas to elevate your presentation or tailor them to specific events:
1. On a Cheesecake Dessert Platter
If you’re hosting a fall gathering or Thanksgiving dinner, serve these cheesecake balls as part of a dessert platter alongside other sweet treats like mini pumpkin pies, cinnamon rolls, or apple crisp. They make a cute addition to any dessert spread, and guests can easily grab a few to enjoy.
2. Pack Them as Gifts
Gift-giving doesn’t get much sweeter than this! These no-bake pumpkin cheesecake balls make for a delicious, thoughtful gift. Package them up in small mason jars or treat boxes and give them to friends and family for the holidays. You can even tie them with a ribbon for a cute presentation.
3. Pair Them with Hot Cider or Coffee
For an extra cozy touch, serve these cheesecake balls with a warm drink like homemade apple cider, spiced chai, or a cup of pumpkin spice latte. They’ll complement the flavors of your beverages beautifully and make for the perfect fall snack.
4. As a Party Favor
If you’re hosting a Halloween, Thanksgiving, or fall-themed party, these cheesecake balls make perfect party favors! Just pack them in small bags or containers and hand them out to guests as they leave. It’s a unique way to send your guests home with a sweet treat!
5. As a Sweet Appetizer
If you want to serve these pumpkin cheesecake balls before the main course, make them bite-sized and serve them as an appetizer. Just arrange them on a beautiful plate or platter, and let your guests enjoy a little sweet something while they wait for the main event.
Can I Make These in Advance?
Absolutely! In fact, making these pumpkin cheesecake balls ahead of time is a great idea because it allows the flavors to set and meld together. These can be made 2-3 days in advance and stored in an airtight container in the refrigerator. They’ll stay fresh and delicious for several days!
For freezer storage, you can freeze the pumpkin cheesecake balls before or after coating them. Place them on a baking sheet in a single layer and freeze for about 1 hour until firm. Then, transfer them into an airtight container or freezer-safe bag. They’ll last up to 3 months in the freezer. Just thaw them in the refrigerator for a few hours before serving.
Common Issues and How to Solve Them
1. The Cheesecake Balls Are Too Soft
If the mixture feels too soft to roll into balls, simply chill it for a bit longer before trying again. If the mixture is still too soft after chilling, add a little more graham cracker crumbs or powdered sugar to thicken it up. A little extra chilling time will help firm everything up.
2. The Coating Isn’t Sticking
If your graham cracker crumbs, nuts, or chocolate coating aren’t sticking to the balls, make sure the cheesecake balls are cold when you try to coat them. A chilled surface will help the coating adhere better. You can also dip the balls in melted white chocolate or milk chocolate first, which will create a base layer that helps the other coatings stick.
3. The Chocolate Coating Is Not Setting
If the melted chocolate isn’t setting properly after you coat the balls, it’s likely because it wasn’t tempered properly. Try using a higher-quality chocolate or even a candy coating to ensure it sets better. Chilling the balls after coating will also help the chocolate firm up faster.
Creative Ways to Serve No Bake Pumpkin Cheesecake Balls
Now that you know how to make these irresistible treats, it’s time to think about how to serve them! Here are a few more serving ideas to help you get the most out of this recipe:
1. As a Party Dessert Table Feature
No Bake Pumpkin Cheesecake Balls are perfect for dessert tables at seasonal parties, especially during Halloween, Thanksgiving, or harvest gatherings. Arrange them in a bowl or on a festive platter alongside other fall-inspired sweets like mini apple pies or caramel popcorn. You can also add a few decorative leaves or pumpkins around the platter to enhance the fall vibe.
2. In Mini Dessert Cups
For a more formal or elegant presentation, consider serving these cheesecake balls in mini dessert cups. You can layer them with whipped cream, extra graham cracker crumbs, or even some caramel sauce for a beautiful and delicious display. This method also helps control portions for guests who prefer smaller, bite-sized servings.
3. As a Fall-Themed Gift
If you want to gift something handmade and from the heart, pack your No Bake Pumpkin Cheesecake Balls in a mason jar or treat box. These little bites make for a wonderful homemade gift for neighbors, friends, or family members. Add a cute ribbon, and you’ve got the perfect fall gift! You can even personalize the jar with a little note and the recipe.
4. In Chocolate Cups
Want to go a step further? Mold the cheesecake balls into mini chocolate cups! Simply melt some chocolate and pour it into mini muffin tins or silicone molds, then chill until firm. Once the chocolate is set, fill each cup with the pumpkin cheesecake mixture and freeze until ready to serve. These chocolate cups will take your cheesecake balls to the next level!
5. At a Tailgate or Picnic
These pumpkin cheesecake balls are a hit for fall tailgates, picnics, or any casual outdoor gathering. Because they’re easy to transport, they make the perfect treat to bring along when you need something easy to serve and share. Keep them chilled in a cooler, and you’ll be all set for a fun time outdoors!
No Bake Pumpkin Cheesecake Balls FAQs
1. Can I Use Fresh Pumpkin Instead of Canned?
Yes, absolutely! If you prefer to use fresh pumpkin puree, just make sure to cook and puree the pumpkin until it’s smooth and thick, similar to the texture of canned pumpkin puree. Let it cool completely before using it in the recipe to ensure the filling doesn’t become too runny.
2. Can I Freeze These Cheesecake Balls?
Yes! You can freeze the cheesecake balls for up to 3 months. After rolling them into balls and coating them with chocolate or toppings, place them on a baking sheet lined with parchment paper and freeze until firm. Once frozen, transfer the balls to an airtight container or freezer-safe bag and store in the freezer. To serve, simply let them thaw in the refrigerator for a few hours before enjoying.
3. Can I Make These Without the Graham Cracker Coating?
Yes, if you prefer not to use graham cracker crumbs for the coating, you can try crushed nuts (like pecans or walnuts) or even crushed pretzels for a salty-sweet flavor. Alternatively, you can simply dip the balls in chocolate and skip the outer coating altogether.
4. How Long Can I Store These Cheesecake Balls?
These no-bake pumpkin cheesecake balls can be stored in an airtight container in the refrigerator for up to 4-5 days. The flavors actually improve as they sit, so they can be made a day or two in advance for convenience. For longer storage, freezing them is your best option.
5. What Other Toppings or Coatings Can I Use?
Feel free to experiment with a variety of coatings and toppings! Some great ideas include:
- Chopped pecans or walnuts
- Mini chocolate chips
- Crushed cinnamon graham crackers
- Shredded coconut
- Drizzled caramel or melted chocolate
You can also sprinkle them with a bit of pumpkin spice or cinnamon sugar for an extra touch of flavor!
Nutrition (Approximate per Cheesecake Ball)
- Calories: 130-150 calories
- Fat: 9g
- Carbohydrates: 16g
- Protein: 2g
- Fiber: 1g
- Sugar: 12g
No Bake Pumpkin Cheesecake Balls
Course: Uncategorized20-24
balls20
minutes130-150
kcal2
hoursIngredients
8 oz cream cheese, softened
1 cup pumpkin puree
1 cup powdered sugar
1 tsp vanilla extract
1 tsp ground cinnamon
1/4 tsp ground nutmeg
1/4 tsp ground ginger
1 cup graham cracker crumbs (for coating)
1/2 cup white chocolate chips, melted
Crushed pecans or walnuts (optional, for coating)
Directions
- In a large bowl, combine the softened cream cheese, pumpkin puree, powdered sugar, vanilla extract, cinnamon, nutmeg, and ginger. Mix until smooth and creamy.
- Add in the graham cracker crumbs, and stir to combine.
- Use a cookie scoop or your hands to roll the mixture into 1-inch balls.
- Dip each ball in the melted white chocolate, then roll in graham cracker crumbs or crushed nuts.
- Place the cheesecake balls on a parchment-lined baking sheet and refrigerate for at least 2 hours, or until firm.
- Serve chilled and enjoy!
Conclusion
No Bake Pumpkin Cheesecake Balls are a must-try treat for fall lovers! These little bites of pumpkin cheesecake goodness are not only a breeze to make but also incredibly versatile. With their creamy texture, spicy-sweet flavor, and the option to customize them to your heart’s content, they make a perfect dessert for any occasion, from Halloween parties to Thanksgiving dinner. And because they’re no-bake, they require minimal effort, leaving you with more time to relax and enjoy your guests.
Whether you choose to keep them simple or elevate them with additional ingredients and creative coatings, these pumpkin cheesecake balls will surely become your new favorite fall dessert. So, gather up your ingredients, get mixing, and let these sweet little balls of pumpkin goodness take center stage this season!