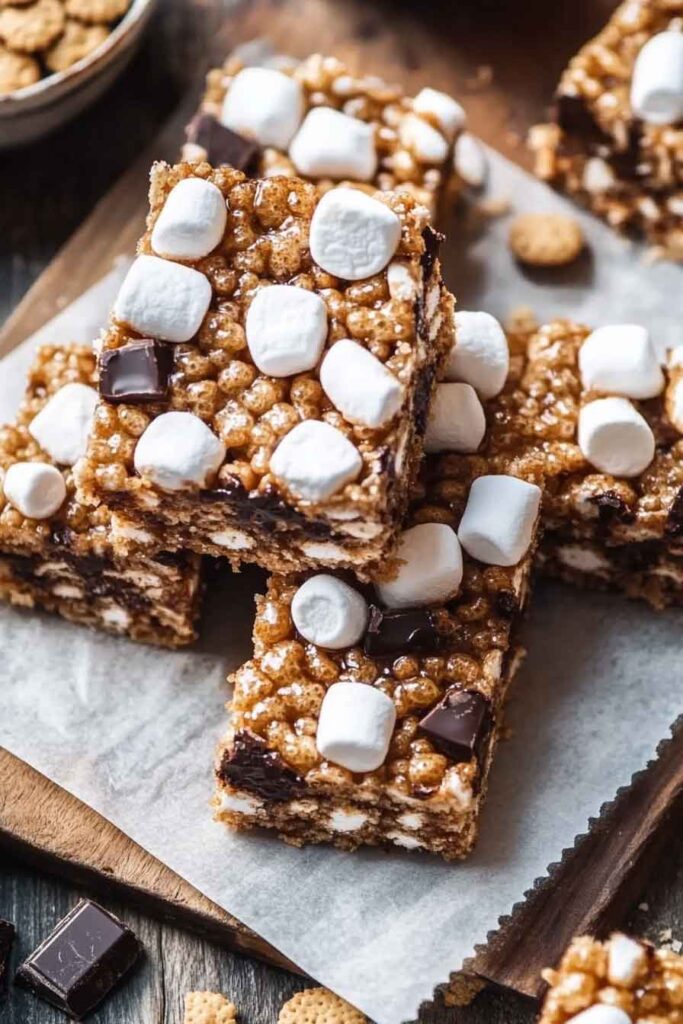
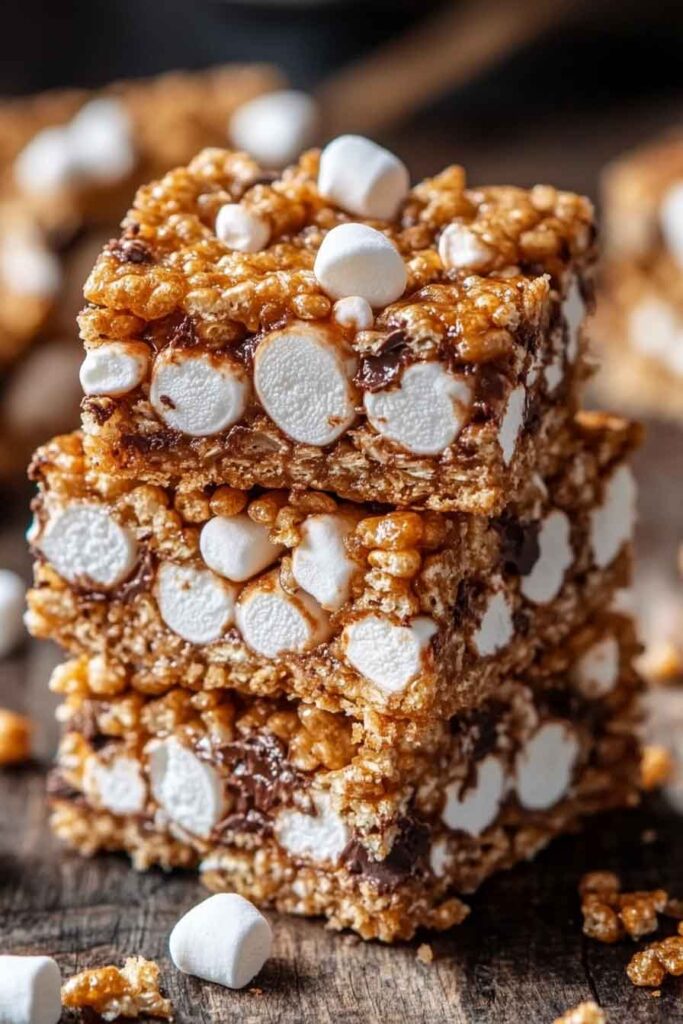
Campfire Crunch Krispie Bars
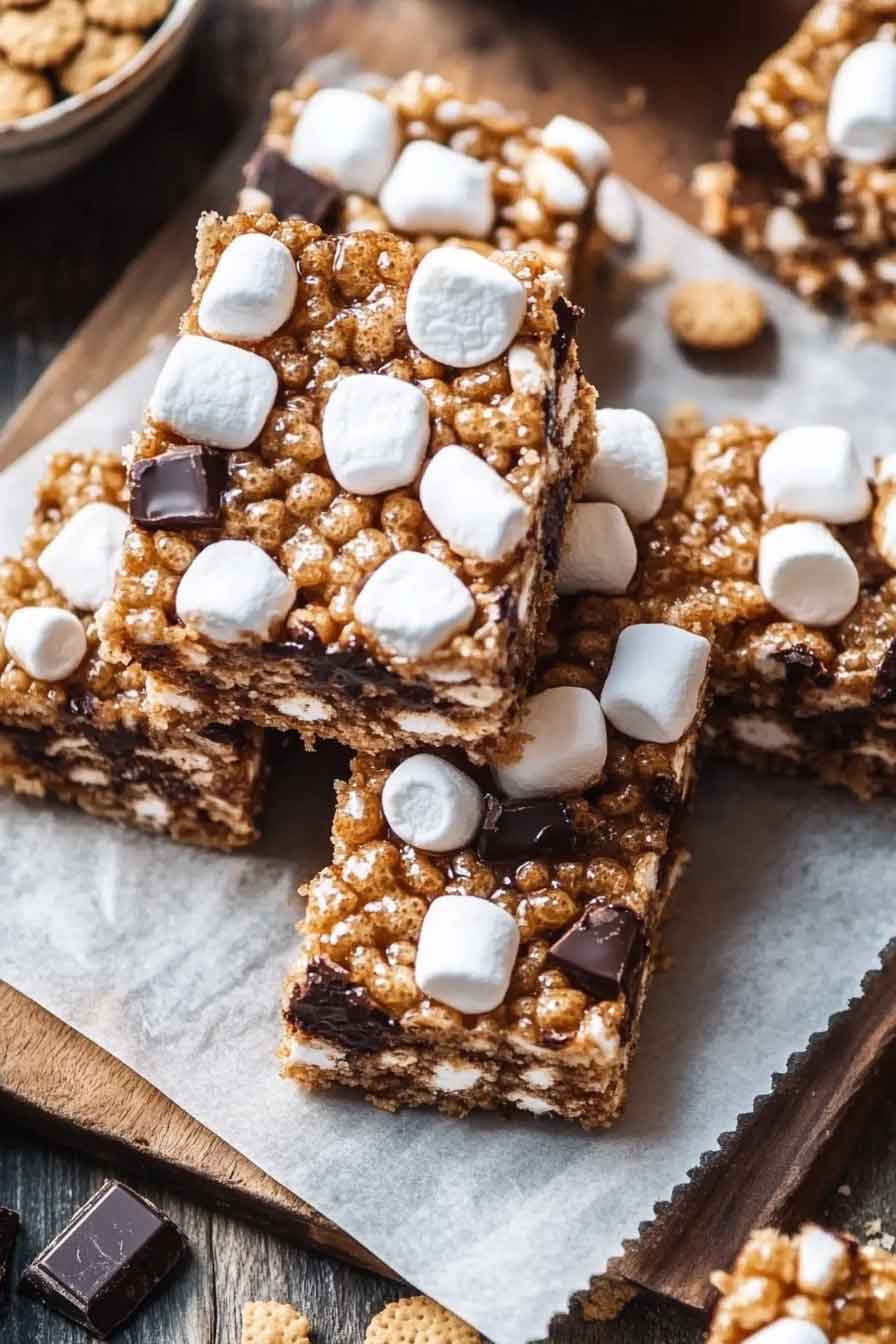
Okay, so these bars? They’re like s’mores and Rice Krispies had a crunchy, gooey baby. And yep, we are obsessed.
The first time we made them, it felt like a little campfire party—right in our kitchen. There’s marshmallow, chocolate, and that perfect crispy crunch.
They’re super easy. No fire needed. Just fun, sticky goodness in every bite. Ready to try ’em? Let’s go!
Why You’ll Love These Campfire Crunch Krispie Bars
- S’mores-Inspired Flavor: These bars bring the nostalgic taste of s’mores to life, with a crunchy, gooey texture and all the right flavors.
- Quick and Easy: No baking involved! It’s as simple as melting, mixing, and setting.
- Perfect for Any Occasion: Whether you’re planning a family night, a picnic, or looking for a fun treat to bring to a gathering, these bars are always a hit.
- Customizable: Feel free to add your own twist by playing around with different chocolate types, marshmallow sizes, or even adding extras like peanut butter.
- Kid-Friendly: Get the little ones involved in making these bars—they’ll love the fun, gooey process!
Required Kitchen Tools
Before we dive into the recipe, let’s make sure you have the right kitchen tools ready. You don’t need anything too fancy, just a few essential items.
- Large Mixing Bowl: To melt the butter and marshmallows together and to combine all the ingredients.
- Saucepan: For melting the butter and marshmallows over the stove.
- 9×9 Baking Pan: This size works great for these bars, giving them the perfect thickness.
- Non-Stick Cooking Spray or Butter: For greasing your pan so the bars come out easily.
- Spatula or Spoon: To stir everything together without making a mess.
- Measuring Cups and Spoons: To ensure you get just the right proportions of each ingredient.
Ingredients
Let’s talk about the ingredients you’ll need to make these irresistible bars. Don’t worry—these are pantry staples that are easy to find!
Here’s what you’ll need:
- Rice Krispies Cereal (6 cups): This crispy, crunchy cereal serves as the base of your bars. It gives them the signature texture that makes Rice Krispies treats so irresistible.
- Mini Marshmallows (1 package, 10 oz): These melt down perfectly to create a gooey, marshmallowy consistency. If you love marshmallows (who doesn’t?), feel free to throw in extra for a more indulgent bar!
- Unsalted Butter (4 tablespoons): This helps melt the marshmallows into a creamy, smooth mixture and adds richness to the bars.
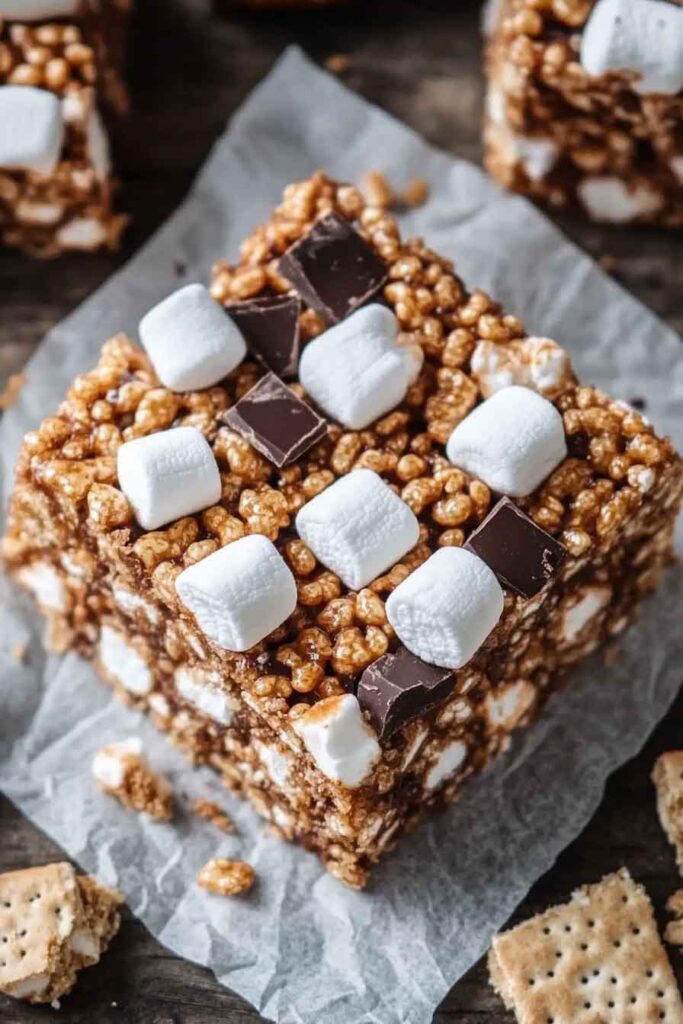
- Graham Cracker Crumbs (1/2 cup, plus extra for topping): These crumbs infuse the bars with that distinct s’mores flavor. You can use store-bought or crush your own graham crackers if you prefer.
- Milk Chocolate Chips (1 cup): Add some chocolatey goodness to your bars! The chips will melt just slightly, giving that perfect chocolatey burst with every bite.
- Additional Mini Marshmallows (for garnish): This is optional, but a sprinkling of marshmallows on top adds extra gooeyness and makes your bars look even more mouthwatering.
- Non-Stick Cooking Spray: Helps prevent the bars from sticking to the pan, making them easy to lift out.
Step-by-Step Instructions
1. Prepare Your Pan
Before we get started with melting the marshmallows, spray your 9×9-inch pan with non-stick cooking spray or lightly butter it. This step ensures that your bars come out easily after setting, so you can enjoy them without any frustration.
2. Melt the Butter and Marshmallows
In a large saucepan, melt the butter over medium heat. Once the butter is melted, add the mini marshmallows. Stir constantly until the marshmallows are completely melted and the mixture is smooth. This will take just a couple of minutes. Be patient, as you don’t want the marshmallows to burn.
3. Add the Cereal and Graham Cracker Crumbs
Once your marshmallow mixture is smooth and creamy, remove it from the heat. Add the Rice Krispies cereal and graham cracker crumbs. Stir everything together until the cereal is evenly coated in the gooey marshmallow mixture. This is where the magic happens! The cereal soaks up all that marshmallow goodness, and the graham cracker crumbs give it that classic s’mores flavor.
4. Mix in the Chocolate Chips
Now, it’s time to add the chocolate chips. Gently fold them into the cereal mixture. Be careful not to overmix, as the chips will start to melt and lose their shape. You want to keep some of those little chocolate chunks intact for maximum chocolate flavor.
5. Press into the Pan
Transfer the mixture into your prepared pan. Use a spatula or the back of a spoon to gently press the mixture into the pan, making sure it’s evenly spread out. You don’t want to press too hard; just enough to compact the bars slightly so they hold together once they set.
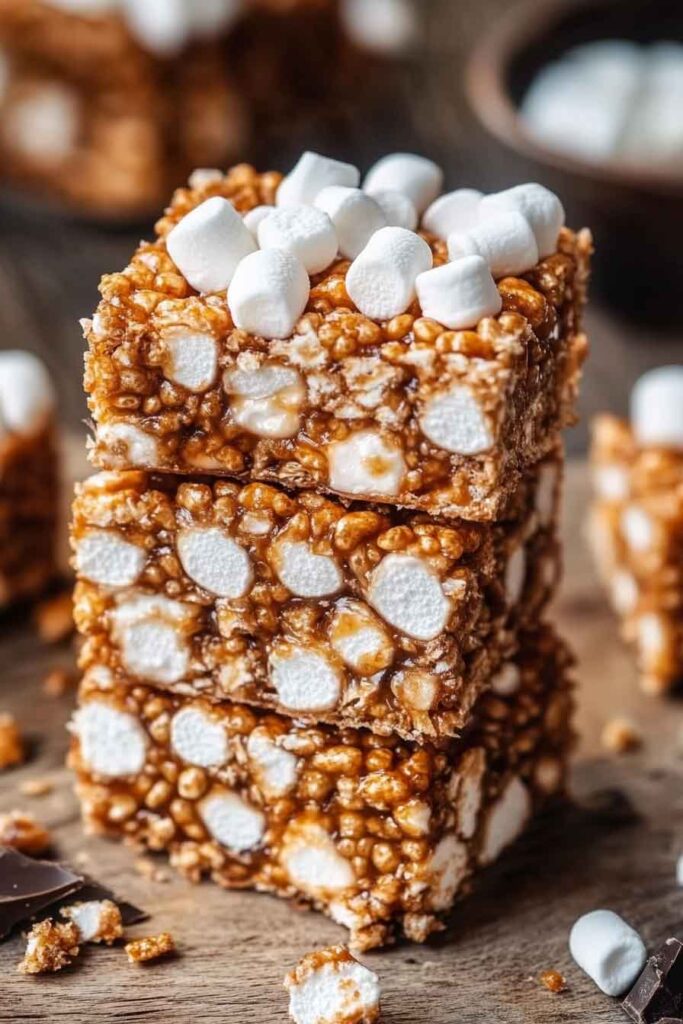
6. Add Extra Marshmallows
For an extra layer of marshmallow goodness, sprinkle some additional mini marshmallows over the top of the bars. This step is optional, but it makes them look even more delicious and adds an extra gooey bite when you cut them.
7. Let the Bars Set
Allow the bars to cool and set at room temperature for about 30 minutes. If you’re in a hurry, you can speed up the process by placing them in the fridge for about 15 minutes. Once they’ve set, cut them into squares and enjoy!
Variations for Campfire Crunch Krispie Bars
One of the best things about these bars is how easily you can customize them. Here are a few variations you can try to add your own personal touch.
- Add Peanut Butter: For a rich, nutty flavor, stir in 1/2 cup of peanut butter along with the butter and marshmallows. It adds a creamy, salty contrast to the sweetness of the marshmallows.
- Use Dark Chocolate or White Chocolate: If you prefer a different type of chocolate, feel free to swap the milk chocolate chips for dark chocolate or white chocolate chips. Each will bring a slightly different flavor to your bars.
- Add Chopped Nuts: For a bit of crunch, add some chopped almonds, pecans, or walnuts to the mix. This will elevate the texture and add a savory contrast to the sweet marshmallows and chocolate.
- Make it Festive: For holidays, sprinkle some colored sugar on top, or use holiday-themed marshmallows. You can even add sprinkles or mini candy pieces for fun!
How to Serve Campfire Crunch Krispie Bars
These bars are perfect for all occasions! Serve them at:
- Picnics and BBQs: These bars are portable, easy to serve, and a hit with both kids and adults.
- Movie Nights: Grab a tray of these treats, pop some popcorn, and enjoy a movie marathon.
- Parties: Whether it’s a birthday party or a casual gathering, these bars are sure to impress your guests.
- As a Sweet Snack: Have them as an afternoon snack or an after-dinner treat to satisfy your sweet tooth.
Storing Campfire Crunch Krispie Bars
- Room Temperature: Store the bars in an airtight container at room temperature for up to 5 days. They’ll stay nice and soft but still have that crisp crunch.
- Refrigerate for Longer Freshness: If you want to keep them fresh for a little longer, store them in the fridge for up to a week. Just be sure to let them come to room temperature before serving so they’re extra gooey.
- Freezing: You can also freeze these bars for up to 3 months. Wrap them tightly in plastic wrap or foil, then place them in an airtight container. Thaw at room temperature when you’re ready to enjoy.
Nutritional Information
Here’s a quick glance at the nutritional content of these delightful bars (per serving):
| Nutrient | Amount per Serving |
|---|---|
| Calories | 190 |
| Total Fat | 9g |
| Saturated Fat | 5g |
| Carbohydrates | 28g |
| Sugars | 19g |
| Protein | 1g |
| Fiber | 1g |
| Sodium | 70mg |
Note: Nutritional values may vary depending on the specific ingredients you use, such as the type of chocolate or butter.
Campfire Crunch Krispie Bars
Course: Uncategorized16
bars10
minutes190
kcal30
minutesIngredients
Rice Krispies cereal: 6 cups
Mini marshmallows: 1 package (10 oz)
Unsalted butter: 4 tablespoons
Graham cracker crumbs: 1/2 cup (plus extra for topping)
Milk chocolate chips: 1 cup
Additional mini marshmallows (optional for topping)
Non-stick cooking spray (for greasing the pan)
Directions
- Melt butter and mini marshmallows in a saucepan over medium heat, stirring constantly.
- Add Rice Krispies cereal and graham cracker crumbs, then mix until coated.
- Fold in milk chocolate chips.
- Press mixture into the prepared pan and sprinkle with extra marshmallows if desired.
- Let the bars cool for 30 minutes before cutting into squares.
- Enjoy!
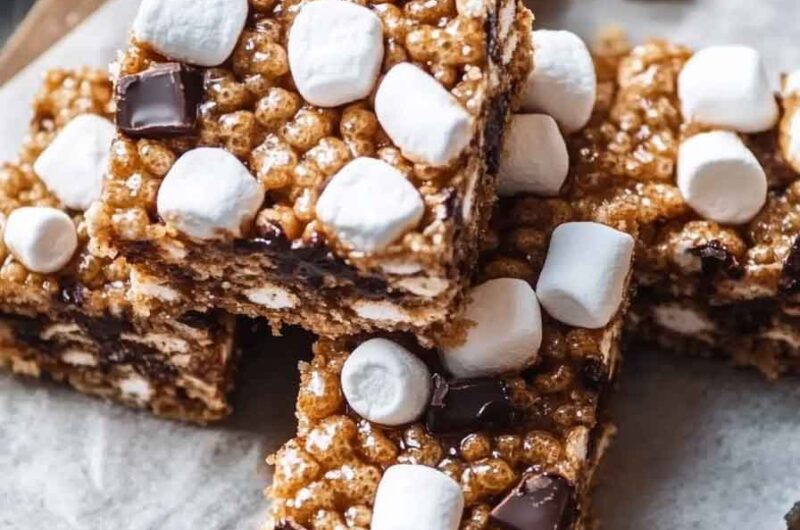
Conclusion
These Campfire Crunch Krispie Bars are the perfect no-bake dessert for anyone who loves the classic flavors of s’mores. They’re quick, easy to make, and totally customizable to suit your taste. Whether you’re in the mood for something sweet and chocolatey or looking for a fun treat to serve at your next gathering, these bars won’t disappoint. Give them a try today—you’ll be hooked after just one bite!