Chocolate Peppermint Dream Cake

OOkay, this Peppermint Dream Cake is something magical. It’s cool, minty, and sooo soft. The first bite made me say “wow!”
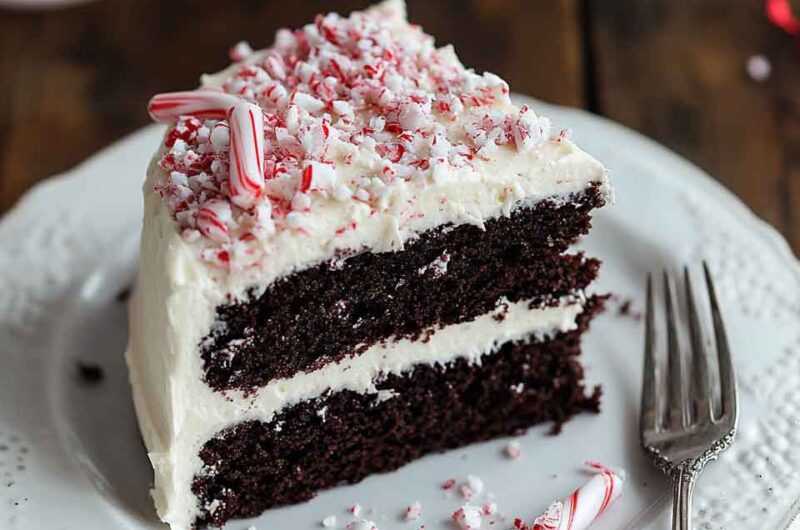
It’s got that sweet peppermint swirl and a fluffy, creamy top. Kinda like a winter wonderland in cake form. I love how fresh and fun it tastes.
I made this for a holiday party once, and everyone wanted seconds. It’s pretty and yummy. And it’s easier than it looks!
Let’s make this dreamy cake together! It’s perfect for the holidays… or, like, anytime you want a little minty magic. You’ll love it, promise!kay, this Peppermint Dream Cake is something magical. It’s cool, minty, and sooo soft. The first bite made me say “wow!”.
Why You’ll Love This Recipe
- Delightful Peppermint Flavor: The perfect balance of minty freshness and sweetness.
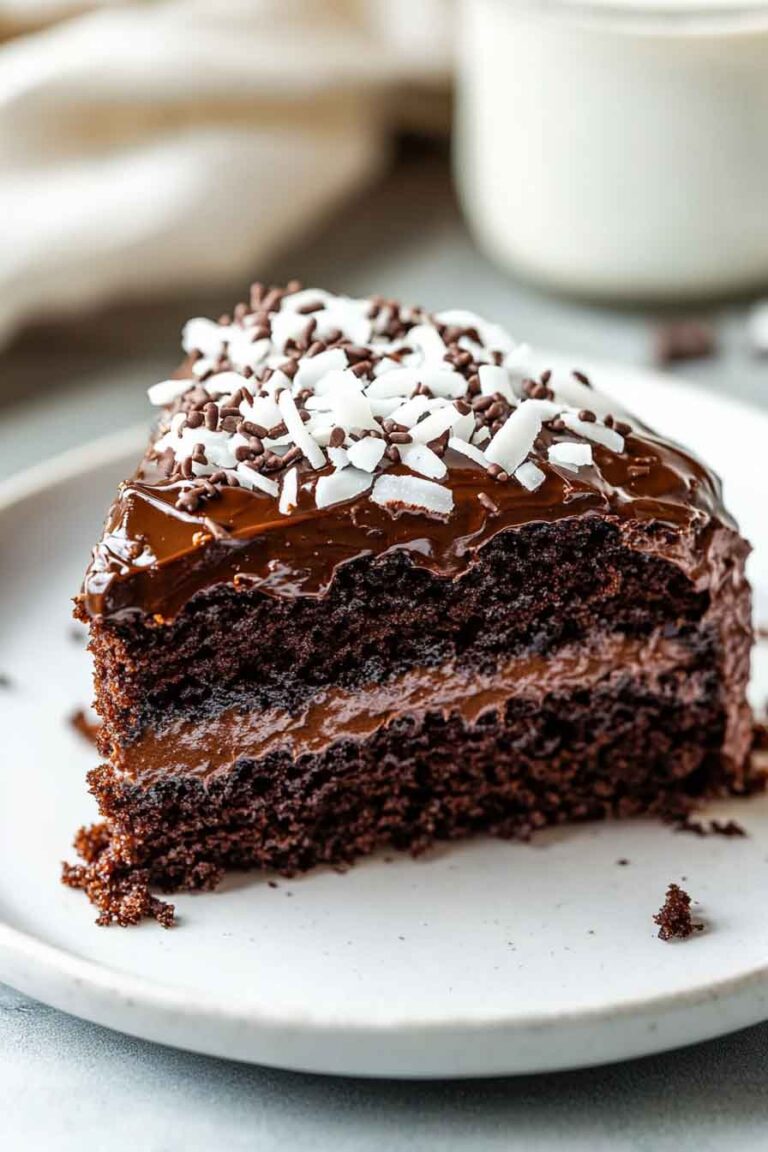
- Fluffy and Moist: Each layer of cake is light, airy, and melt-in-your-mouth.
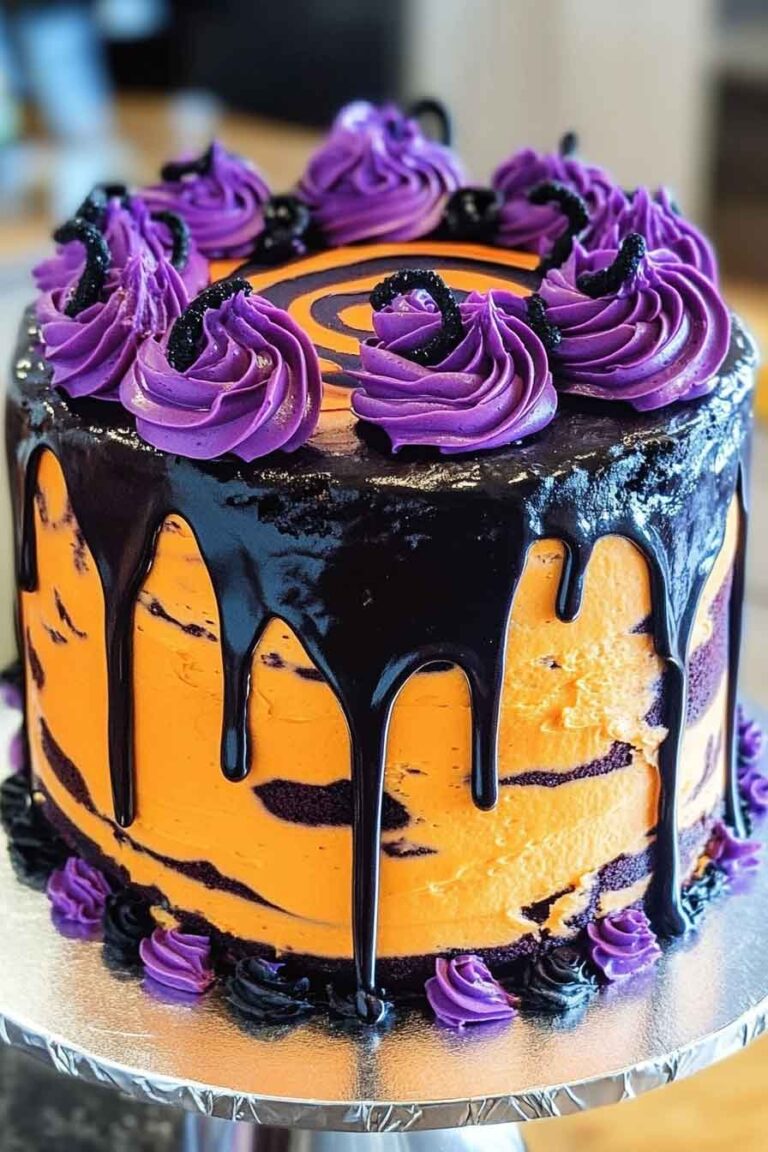
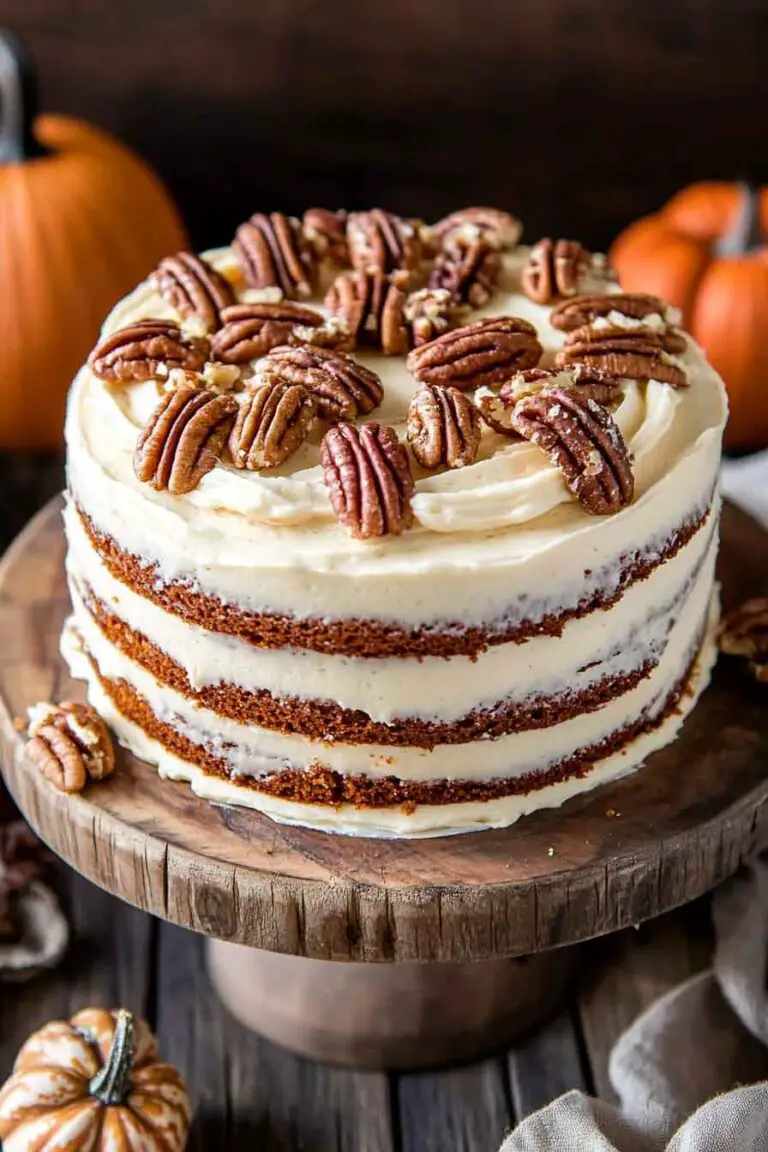
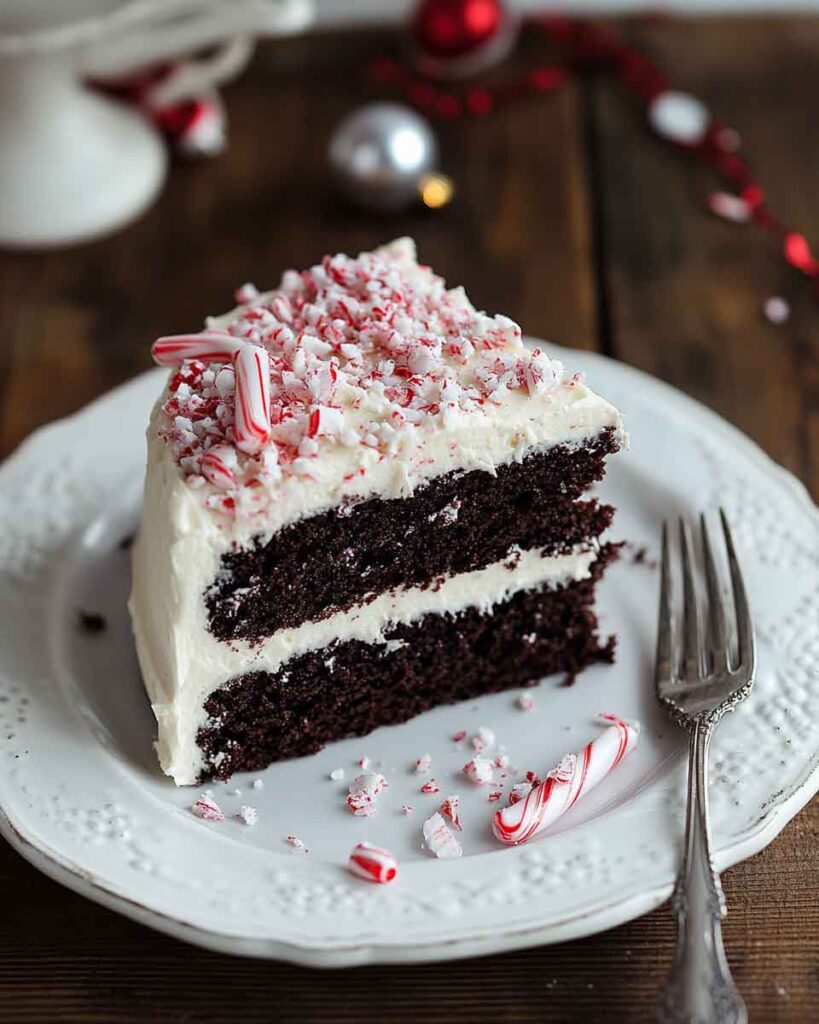
- Beautiful Presentation: With its layers of white chocolate frosting, peppermint swirls, and candy cane decoration, this cake looks as beautiful as it tastes.
- Perfect for Any Celebration: Whether it’s a holiday, birthday, or just a special treat, this cake fits the bill.
- Make-Ahead Friendly: You can bake the cake layers ahead of time and store them, then frost and decorate right before serving.
Required Kitchen Tools
Before diving into the recipe, let’s make sure you have everything you need to make this Peppermint Dream Cake with ease:
- Two 9-inch round cake pans
- Electric hand mixer or stand mixer
- Mixing bowls
- Spatula
- Measuring cups and spoons
- Whisk
- Cooling rack
- Pastry bag and decorating tip (optional for frosting decoration)
- Parchment paper
- A small saucepan (for melting the white chocolate)
Ingredients
For the Peppermint Cake:
- 3 eggs: These help create a light and fluffy texture in the cake.
- 1 ½ cups all-purpose flour: The main structure for the cake, giving it that soft crumb.
- 1 ½ teaspoons baking powder: Provides lift to the cake layers.
- ¼ teaspoon salt: Helps to balance the sweetness of the cake.
- 1 ½ cups sugar: Adds sweetness to the cake batter.
- ¾ cup milk: Moisture for the cake, making it light and tender.
- 3 tablespoons butter: Adds richness and flavor to the cake.
- ½ teaspoon peppermint extract: For that unmistakable peppermint flavor that makes this cake extra special.
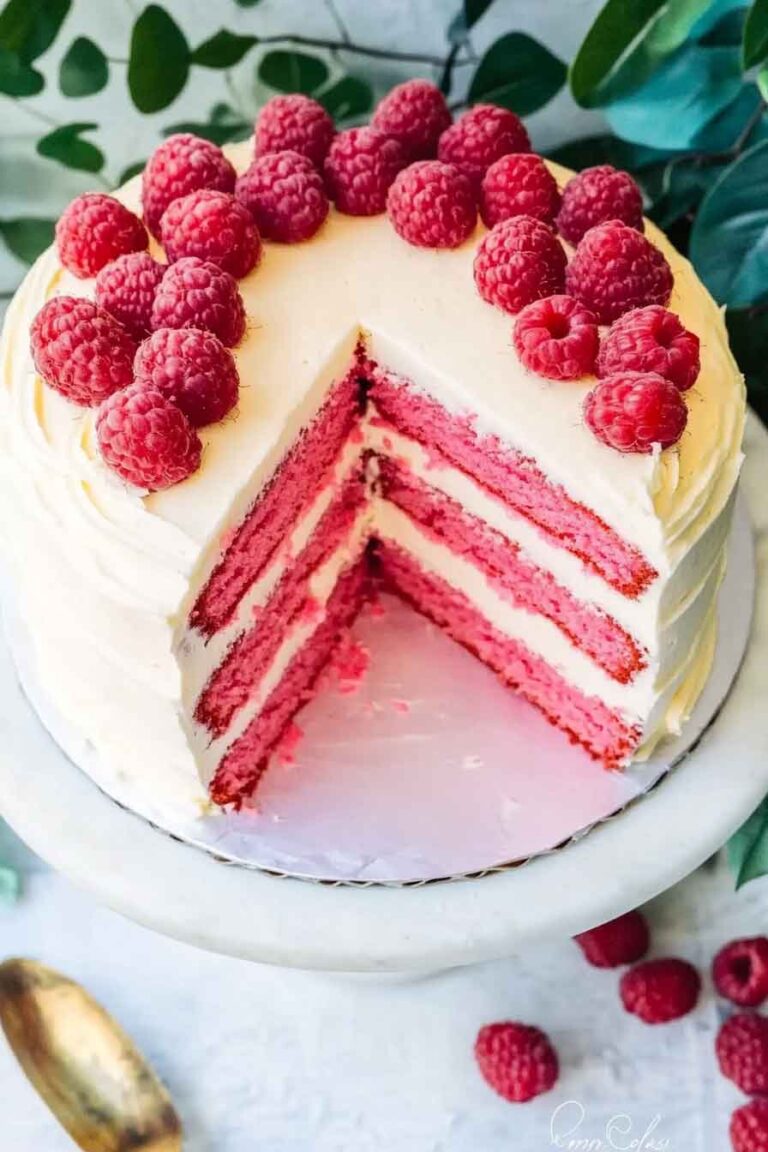
- 1 tablespoon liquid red food coloring: This will give your cake a beautiful pinkish tint, perfect for that peppermint look.
For the Fluffy White Chocolate Frosting:
- ½ cup whipping cream: To make the frosting smooth and creamy.
- 2 tablespoons butter: Adds richness and helps with the texture of the frosting.
- 8 ounces high-quality white chocolate, chopped: The key ingredient for that creamy, decadent white chocolate frosting.
- ½ teaspoon peppermint extract: Enhances the peppermint flavor in the frosting.
- 2 cups whipping cream (for whipping the frosting): This ensures the frosting is light and airy.
For Decorating:
- White chocolate curls: For a fancy and indulgent decoration that complements the white chocolate frosting.
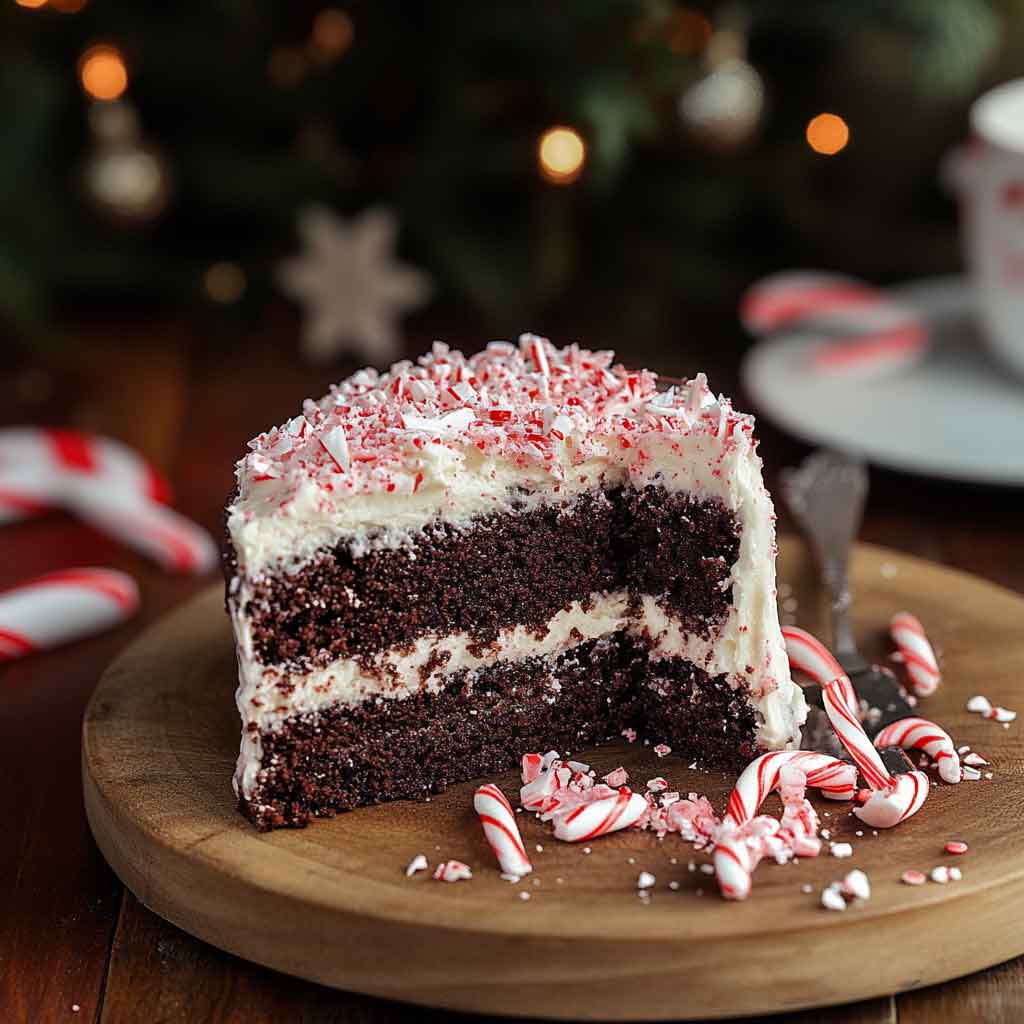
- Chopped peppermint candy canes: The perfect crunchy topping to add a burst of peppermint flavor and a festive touch.
Step-by-Step Instructions
1. Prepare the Cake Pans and Preheat the Oven
Start by preheating your oven to 350°F (175°C). Grease two 9-inch round cake pans with butter or cooking spray, then line the bottom with parchment paper to ensure easy cake removal later. This will make your life so much easier when it’s time to flip the cakes out.
2. Mix the Dry Ingredients
In a medium-sized bowl, whisk together the all-purpose flour, baking powder, and salt. This ensures the leavening agents are evenly distributed in the cake batter, giving your cake a uniform rise. Set aside.
3. Mix the Wet Ingredients
In a large mixing bowl, beat together the eggs and sugar using a hand mixer or stand mixer on medium speed for about 2-3 minutes. This will help incorporate air into the mixture, giving the cake its light and fluffy texture.
Add the milk, melted butter, and peppermint extract to the egg-sugar mixture and mix until everything is combined. You’ll start to notice a rich, smooth texture forming.
4. Add the Dry Ingredients
Slowly add the dry ingredients to the wet ingredients, mixing gently with a spatula or mixer on low speed. Mix until just combined – be careful not to overmix, as this can lead to a dense cake.
5. Add the Red Food Coloring
To achieve that festive, peppermint red color, add a tablespoon of liquid red food coloring to the batter. Stir until the color is evenly distributed throughout the batter, creating a vibrant pinkish hue.
6. Bake the Cake
Divide the batter evenly between the two prepared cake pans. Use a spatula to smooth the top of the batter to ensure even baking. Bake in the preheated oven for 25-30 minutes, or until a toothpick inserted into the center of the cakes comes out clean.
Once baked, remove the cakes from the oven and let them cool in the pans for about 10 minutes. After that, flip the cakes out onto a wire rack to cool completely. It’s important to let the cakes cool completely before frosting to prevent the frosting from melting.
7. Make the Fluffy White Chocolate Frosting
While the cakes are cooling, prepare the frosting. In a small saucepan over medium-low heat, warm the whipping cream and butter until the butter melts and the cream begins to steam, but don’t bring it to a boil.
Add the chopped white chocolate to the saucepan and stir until completely melted and smooth. Remove from heat and stir in the peppermint extract. Let the mixture cool for about 10 minutes before transferring it to a mixing bowl.
8. Whip the Frosting
Once the white chocolate mixture has cooled slightly, pour it into a stand mixer bowl. Add the remaining 2 cups of whipping cream and beat on high speed for 5-7 minutes until the frosting becomes thick, fluffy, and holds soft peaks.
9. Assemble the Cake
Once your cakes have cooled completely, it’s time to assemble. Place one cake layer on a serving plate or cake stand. Spread a generous amount of fluffy white chocolate frosting on top, smoothing it evenly with a spatula.
Top with the second layer of cake, then frost the entire cake with the remaining frosting. Make sure to coat the sides and top evenly for a smooth, professional finish.
10. Decorate the Cake
Now comes the fun part: decorating! Use a spatula to create swirls on top of the cake if you want a rustic, textured finish. Garnish with white chocolate curls and sprinkle with chopped peppermint candy canes for a festive and crunchy touch.
How to Serve Peppermint Dream Cake
This Peppermint Dream Cake is a showstopper for any occasion! Here’s how you can serve it:
- For Special Occasions: Whether it’s a holiday party or a birthday celebration, this cake is perfect for any festive occasion. Pair it with hot cocoa or peppermint coffee for a complete treat!
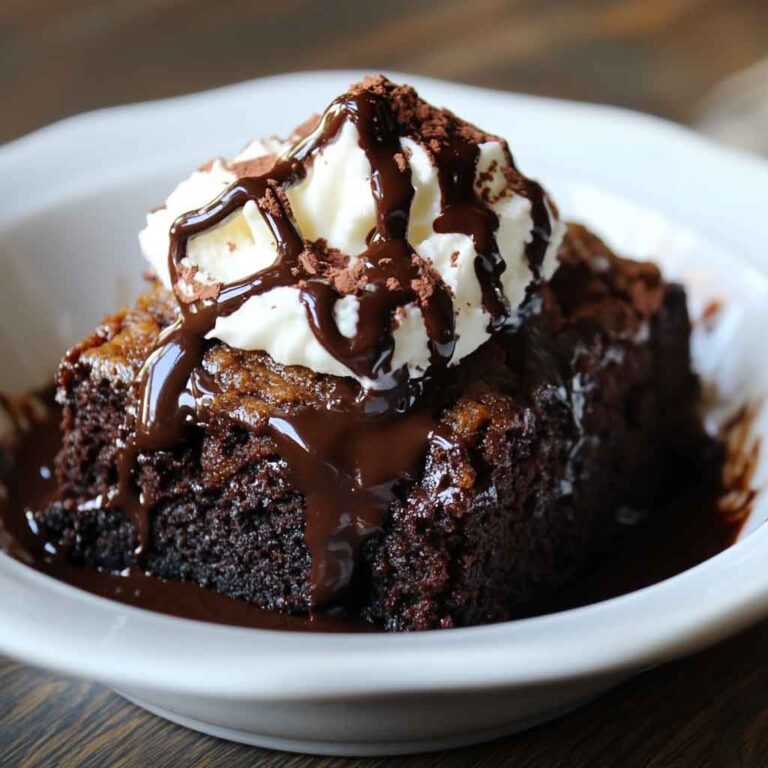
- For a Sweet Ending to a Dinner Party: This cake is rich and indulgent, so it’s the perfect way to end a meal on a sweet note. Serve it alongside a scoop of vanilla ice cream for an extra special touch.
- For Tea Time or Brunch: The peppermint flavor works beautifully for any afternoon gathering. Serve with a cup of tea or coffee, and enjoy the soft, sweet layers of cake.
Storing Peppermint Dream Cake
- Leftover Cake: If you have leftovers (which is rare with this delicious cake!), store them in an airtight container in the fridge for up to 4 days. You can also wrap the cake in plastic wrap and store it in the freezer for up to 3 months.
- Decorating: The frosting will hold up well in the fridge, but the candy cane decorations may lose their crunch over time. For the best results, decorate the cake right before serving.
Nutrition Information (Approximate per slice)
| Nutrition | Per Slice (1/12 of cake) |
|---|---|
| Calories | 370 |
| Protein | 4g |
| Carbohydrates | 50g |
| Fat | 18g |
| Saturated Fat | 11g |
| Sugar | 35g |
| Fiber | 1g |
Conclusion:
The Peppermint Dream Cake is a must-try for anyone who loves the festive flavor of peppermint combined with the indulgence of white chocolate. With its light, fluffy texture, vibrant color, and sweet peppermint crunch, it’s a cake that is sure to impress. Whether you’re making it for a holiday celebration, a birthday, or a casual gathering, this cake will be a showstopper that everyone will remember!
Peppermint Dream Cake
Course: Uncategorized12-14
slices40
minutes30
minutes370
kcalIngredients
3 eggs
1 ½ cups all-purpose flour
1 ½ teaspoons baking powder
¼ teaspoon salt
1 ½ cups sugar
¾ cup milk
3 tablespoons butter
½ teaspoon peppermint extract
1 tablespoon liquid red food coloring
- Fluffy White Chocolate Frosting:
½ cup whipping cream
2 tablespoons butter
8 oz high-quality white chocolate
½ teaspoon peppermint extract
2 cups whipping cream
- Decoration:
White chocolate curls
Chopped peppermint candy canes
Directions
- Prep Your Oven:
Preheat the oven to 350°F (175°C).
Grease and line two 9-inch cake pans with parchment paper. - Make the Batter:
In a large bowl, whisk together flour, sugar, cocoa, baking powder, baking soda, and salt.
In another bowl, mix milk, oil, eggs, vanilla, and peppermint extract.
Pour wet ingredients into dry and mix until just combined.
Stir in hot water last—batter will be thin (totally normal!). - Bake the Cake:
Divide batter evenly into prepared pans.
Bake for 30–35 minutes, or until a toothpick comes out clean.
Cool in pans for 10 minutes, then transfer to wire racks to cool completely. - Make the Frosting:
Beat butter until creamy and light (about 3 minutes).
Gradually add powdered sugar.
Mix in peppermint extract and food coloring, if using.
Add cream 1 tbsp at a time until fluffy and spreadable. - Assemble the Cake:
Place one cake layer on a plate.
Spread frosting evenly on top.
Add the second layer and frost the top and sides.
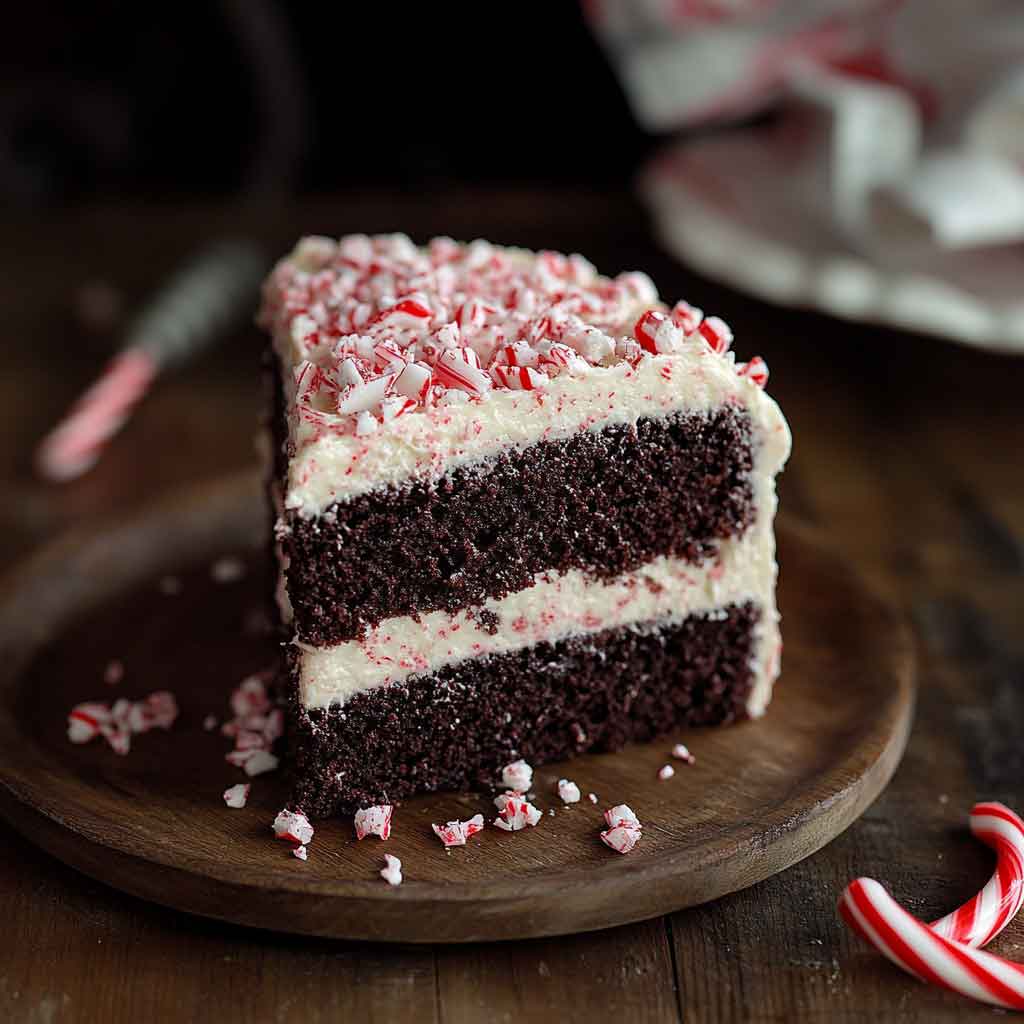
Sprinkle crushed peppermint candies all over. - Chill and Serve:
Chill for 20–30 minutes for clean slicing.
Slice, serve, and enjoy the peppermint magic!
FAQs:
Can I use dark chocolate instead of white chocolate for the frosting?
While the white chocolate gives a unique sweetness, you can substitute it with dark chocolate if you prefer a more bitter contrast.
Can I use fresh peppermint instead of extract?
Yes, you can use fresh peppermint leaves, but make sure to finely chop them and add them to the frosting for the best results.