Mocha Dream Pie
Oh, the first bite of this Mocha Dream Pie is pure bliss. It’s creamy, chocolatey, and has that smooth coffee flavor that makes you close your eyes for a second. I still remember the first time I made it—it felt like dessert and a latte in one bite.
The filling is rich and silky, the crust is perfectly crisp, and the flavor balance is just right. It’s sweet but not too much, with that cozy mocha taste that warms you up. Every slice feels like a little treat after a long day.
I love making this pie when I want something fancy but easy. It looks gorgeous, tastes amazing, and doesn’t need hours in the kitchen. You’ll want to share it—though it’s hard not to keep it all to yourself.
So come on, let’s whip it up together. It’s quick, it’s dreamy, and it’s the kind of pie you’ll think about long after the last bite.

Why You’ll Love This Mocha Dream Pie Recipe
- Perfect Balance of Flavors: The combination of rich chocolate and bold coffee creates a perfect symphony of flavors.
- No-Bake Dessert: It’s simple to make with no oven required—just chill and enjoy!
- Delightful Texture: The crispy, flaky phyllo crust paired with the creamy filling makes each bite a dream come true.
- Impress Your Guests: No one will believe how easy this pie is to make, but they’ll be blown away by how decadent it tastes.
- Make-Ahead Friendly: This pie can be prepared the day before, making it an ideal option for busy days or parties.
Required Kitchen Tools
Before we dive into the ingredients and recipe, make sure you have the following kitchen tools handy:
- Pie Dish or Tart Pan: A 9-inch pie dish works perfectly for this recipe.
- Mixing Bowls: You’ll need two—one for the filling and one for mixing the gelatin.
- Whisk: For blending the gelatin, cocoa, and coffee.
- Heatproof Measuring Cups: For accurately measuring your milk and boiling water.
- Spoon or Rubber Spatula: For mixing ingredients.
- Plastic Wrap: To cover the pie while it chills in the fridge.
- Chilling Tray: If you have one, it helps the pie set perfectly and evenly.

Ingredients
Here’s what you’ll need to make this luxurious dessert (exact measurements are in the recipe card below):
- Frozen Phyllo Pastry Leaves: These will form the flaky, buttery crust of your pie. Be sure to thaw them out before using.
- Unflavored Gelatin: This helps set the mocha filling to a creamy yet firm texture.
- Milk: You’ll need both cold milk and milk heated to boiling—this will help dissolve the gelatin.
- Unsweetened Cocoa Powder: The rich cocoa creates the chocolatey base of your mocha filling.
- Instant Coffee: The coffee adds depth to the chocolate, creating a mocha flavor that’s irresistible.
- Ricotta Cheese (Part-Skim): The creamy texture of ricotta is perfect for creating a smooth, decadent filling.
- Sugar: Sweeten up the filling with just the right amount of sugar.
- Vanilla Extract: A bit of vanilla enhances the flavor, rounding out the coffee and chocolate notes.
- Ground Cinnamon: Adds warmth and subtle spice to the filling.
- Salt: Just a pinch brings all the flavors together.
Variations for Mocha Dream Pie
This Mocha Dream Pie is versatile, and you can adjust the flavors to suit your preferences:
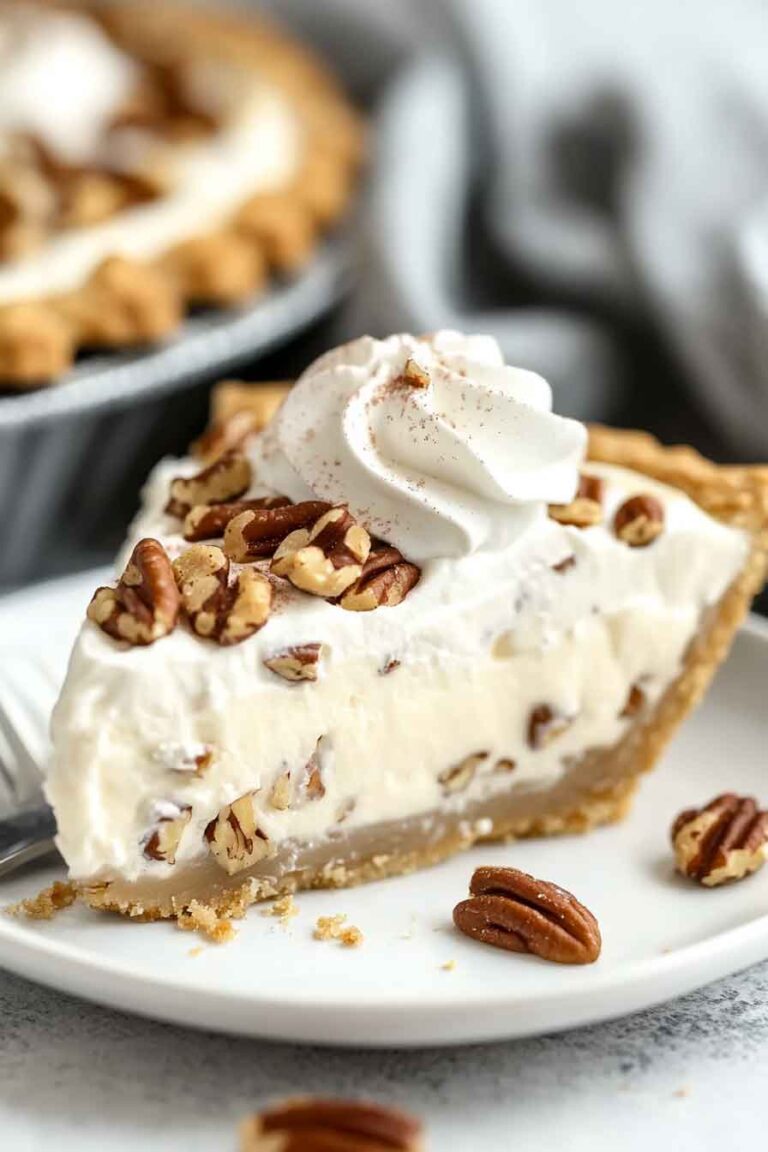
- Add Whipped Cream Topping: Top the pie with freshly whipped cream for an extra layer of indulgence.
- Use Heavy Cream: For an even richer filling, substitute part of the milk with heavy cream.
- Make it Vegan: Use dairy-free phyllo dough, coconut milk, and a plant-based ricotta alternative for a dairy-free version of this pie.
- Chocolate Drizzle: Drizzle melted chocolate over the top of the pie for an elegant finishing touch.
- Spicy Mocha: Add a pinch of cayenne pepper or chili powder to the filling for a little extra heat that complements the coffee and chocolate flavors.
Step-by-Step Instructions
1. Prepare the Phyllo Crust
The first step to this Mocha Dream Pie is making the flaky, buttery crust with phyllo pastry. Phyllo dough can seem intimidating, but it’s actually quite easy once you get the hang of it. Here’s how:
- Preheat your oven to 375°F (190°C).
- Brush the Phyllo Sheets: Take the thawed phyllo sheets and lay them on a clean surface. Brush each sheet lightly with melted butter. Layer the sheets one on top of the other to create a thicker, crispier crust.
- Form the Crust: Gently press the stacked phyllo into your pie dish, making sure the edges are even. If you have excess dough hanging over the edges, you can fold it in for a more rustic look or trim it for a neat finish.
- Bake the Crust: Place the pie dish in the oven and bake the crust for about 10-12 minutes or until golden and crisp. Once done, remove from the oven and set aside to cool.
2. Prepare the Mocha Filling
Now it’s time to make the luscious, creamy mocha filling that will make your pie unforgettable:
- Dissolve the Gelatin: In a small bowl, add the unflavored gelatin. Pour in the cold milk and whisk gently until the gelatin begins to soften, about 2 minutes.
- Heat the Milk: In a separate saucepan, bring the remaining milk to a boil. Once it starts to boil, pour it over the gelatin mixture. Stir well until the gelatin dissolves completely.
- Add Cocoa and Coffee: Whisk in the unsweetened cocoa powder and instant coffee into the hot milk and gelatin mixture. Stir until smooth and fully combined.
- Cool the Mixture: Let the mocha mixture cool to room temperature, stirring occasionally to prevent any clumping.
- Mix Ricotta and Sugar: In a large mixing bowl, combine the ricotta cheese, sugar, vanilla extract, cinnamon, and a pinch of salt. Beat until the mixture is smooth and creamy.
- Combine the Mixtures: Slowly pour the cooled mocha mixture into the ricotta mixture, stirring gently until everything is well combined and smooth.
3. Assemble the Pie
Once your phyllo crust has cooled and your filling is ready, it’s time to assemble your Mocha Dream Pie:
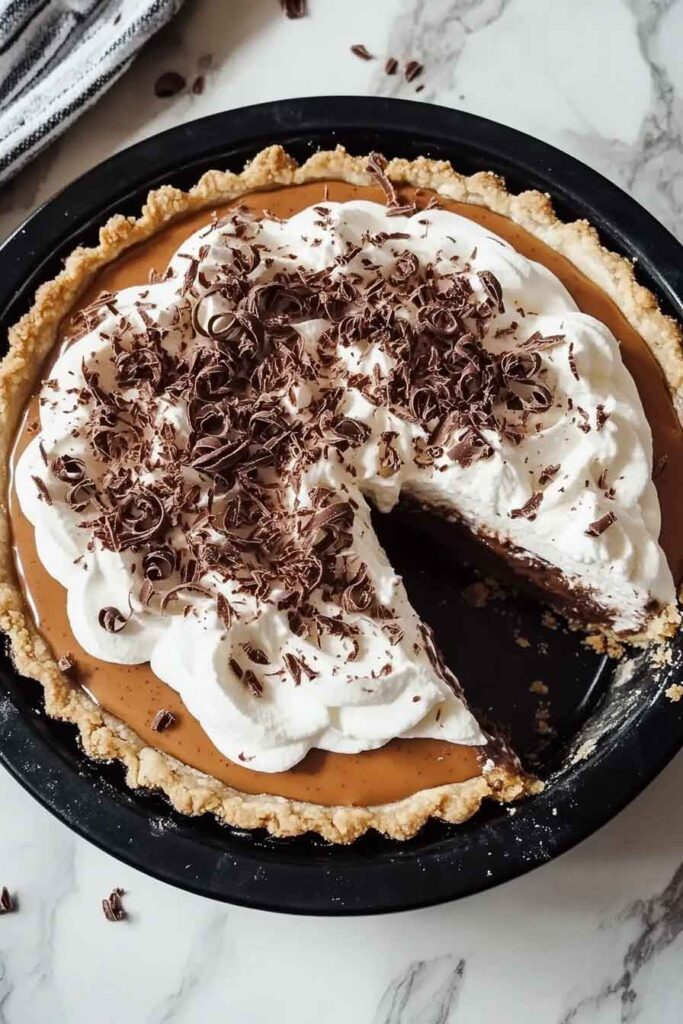
- Pour the Filling: Carefully pour the mocha filling into the cooled phyllo crust, spreading it evenly with a spatula.
- Chill the Pie: Cover the pie with plastic wrap and refrigerate for at least 4 hours, preferably overnight, to allow the filling to set completely.
4. Serve and Decorate
Before serving, consider adding a few decorative touches to make your pie even more indulgent:
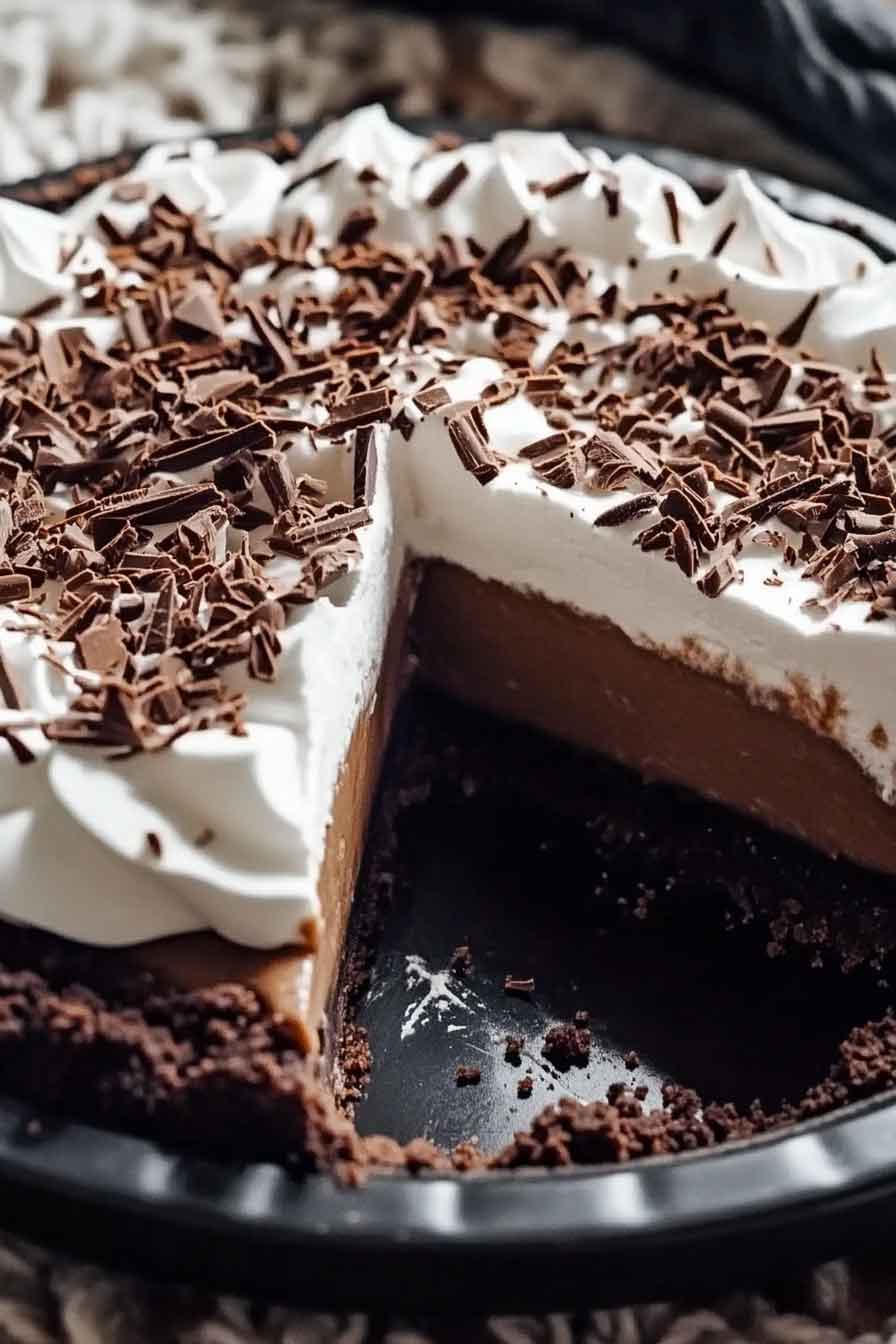
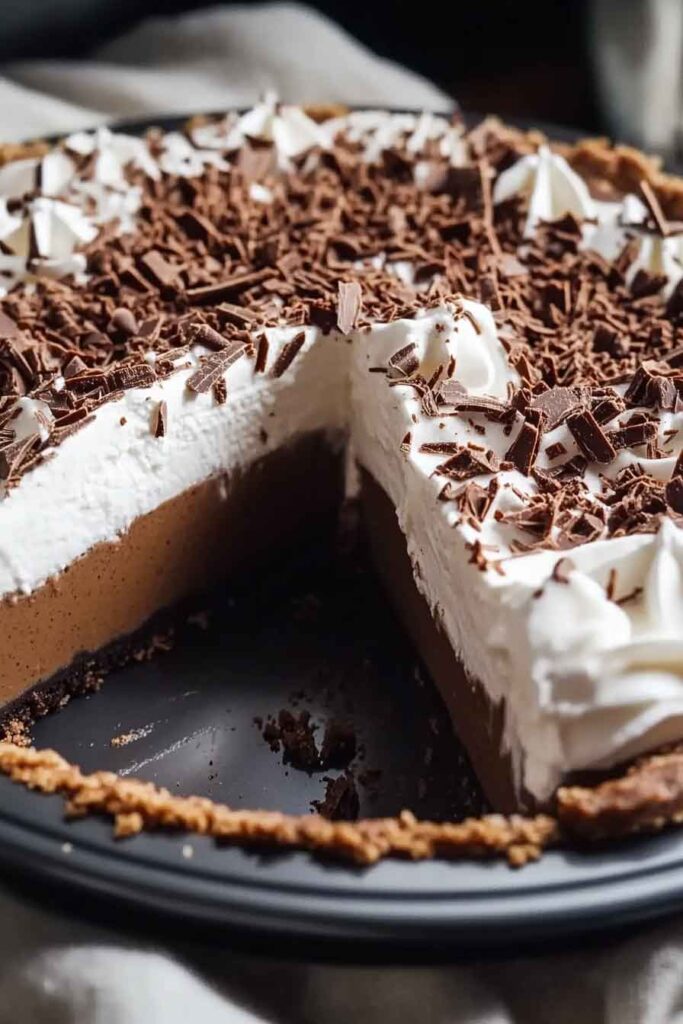
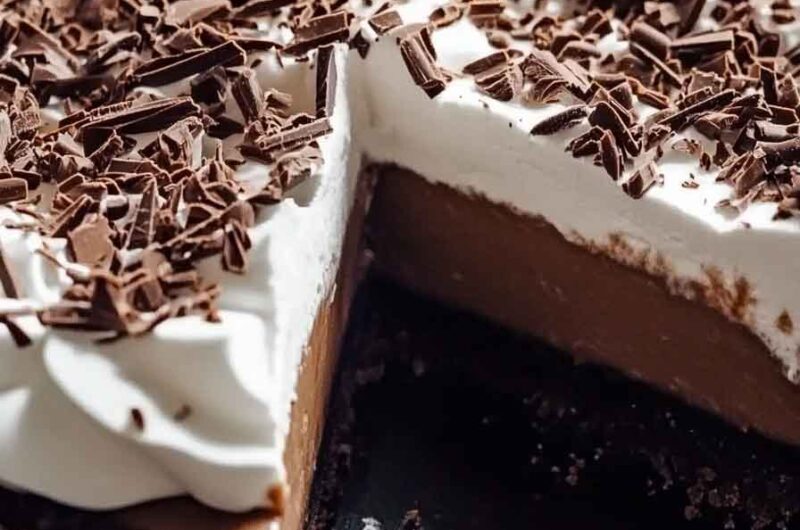
- Whipped Cream: Top the pie with freshly whipped cream or a dollop of whipped topping for extra richness.
- Chocolate Shavings or Grated Cocoa: Garnish the pie with finely grated chocolate or cocoa powder to add a beautiful touch.
- Coffee Beans: If you want to make the pie even more mocha-inspired, scatter a few whole coffee beans on top.
How to Serve Mocha Dream Pie
This pie is perfect on its own, but it also pairs beautifully with a cup of coffee or a dessert wine. Here are a few ideas for serving:
- As a Standalone Dessert: The pie is rich enough to stand on its own and will be the star of any dessert table.
- With Ice Cream: Serve with a scoop of vanilla, chocolate, or coffee ice cream to complement the mocha flavors.
- For a Coffee Lovers’ Gathering: Serve slices alongside your favorite brewed coffee or an espresso for a truly indulgent experience.
Storing Mocha Dream Pie
- Refrigeration: Store the pie in the refrigerator for up to 3 days. Keep it covered to prevent it from drying out.
- Freezing: You can freeze the pie, but I recommend freezing it without the whipped cream topping. Wrap it tightly in plastic wrap and foil, and store it in the freezer for up to 1 month. Thaw in the refrigerator for several hours before serving.
Nutrition Information (Per Serving)
| Nutrient | Amount |
|---|---|
| Calories | 420 kcal |
| Total Fat | 25 g |
| Saturated Fat | 14 g |
| Trans Fat | 0 g |
| Cholesterol | 65 mg |
| Sodium | 210 mg |
| Total Carbohydrates | 42 g |
| Dietary Fiber | 2 g |
| Total Sugars | 30 g |
| Protein | 5 g |
| Calcium | 8% DV |
| Iron | 10% DV |
| Potassium | 6% DV |
Conclusion
This Mocha Dream Pie is a showstopper dessert that combines the bold flavors of coffee and chocolate in a dreamy, creamy filling. With a no-bake crust and an easy preparation method, it’s the perfect dessert for busy days or special occasions. Whether you’re treating yourself or entertaining guests, this pie will never disappoint. Happy baking—and enjoy every delicious bite!
Mocha Dream Pie
Course: Uncategorized8-10
servings20
minutes420
kcal4
hoursIngredients
Frozen Phyllo Pastry Leaves: 8 sheets, thawed
Unflavored Gelatin: 1 envelope
Cold Milk: 1/2 cup
Hot Milk: 1/2 cup
Unsweetened Cocoa Powder: 2 tablespoons
Instant Coffee: 2 teaspoons
Ricotta Cheese (Part-Skim): 15 ounces
Sugar: 1/2 cup
Vanilla Extract: 1 teaspoon
Ground Cinnamon: 1/2 teaspoon
Salt: 1/4 teaspoon
Directions
- Preheat oven to 375°F (190°C). Brush phyllo sheets with melted butter and layer in a pie dish. Bake for 10-12 minutes until golden. Let cool.
- In a small bowl, dissolve gelatin in cold milk. Heat remaining milk to boiling and mix with gelatin until dissolved. Whisk in cocoa and coffee.
- Cool the mocha mixture, then combine with ricotta, sugar, vanilla, cinnamon, and salt. Mix until smooth.
- Pour the filling into the cooled phyllo crust and refrigerate for 4 hours or overnight.
- Top with whipped cream and garnish with chocolate shavings or coffee beans. Serve chilled.
Mocha Dream Pie FAQs
Can I use a store-bought crust?
Yes, if you’re in a hurry, you can use a pre-made graham cracker or chocolate cookie crust instead of phyllo pastry.
Can I make this pie without coffee?
If you’re not a coffee fan, you can simply omit the instant coffee and still have a delicious chocolate cream pie.
How do I know when the filling is set?
The filling should be firm to the touch and no longer jiggle when you move the pie. Make sure to chill it long enough for it to set properly.